
Related Manuals for HOMCOM 800-226V70


Summary of Contents for HOMCOM 800-226V70
- Page 1 IN240900104V01_UK 800-226V70 MICROWAVE OVEN IMPORTANT, RETAIN FOR FUTURE REFERENCE: READ CAREFULLY INSTRUCTION MANUAL...
-
Page 2: Important Safeguards
IMPORTANT SAFEGUARDS WARNING: If the door or door seals are damaged, do not use the oven until it has been repaired by a qualified professional. WARNING: Only trained professionals should remove protective covers to service or repair this appliance, as it can expose you to microwave energy. WARNING: Do not heat liquids or food in sealed containers –... -
Page 3: Installation
INSTALLATION 1. Unpack the microwave and remove any protective film. Check for damage and notify the dealer or service centre if any is found. 2. Place the microwave in a dry, non-corrosive location, away from heat and humidity sources like gas burners or water tanks. 3. -
Page 4: Tips For Cleaning
TIPS FOR CLEANING Exterior: - Wipe with a damp soft cloth. Door: - Wipe the door and window with a damp soft cloth. - Wipe door seals and adjacent areas to remove spills or spatters. - Wipe the control panel with a slightly damp soft cloth. Interior walls: - Wipe with a damp soft cloth. -
Page 5: Operation Of Control Panel
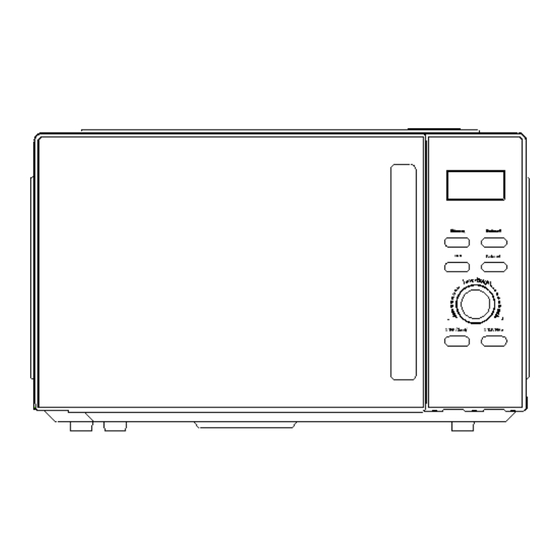
7) Outer cover - Protects the internal structural parts and electrical components. 8) Waveguide cover - Located inside the microwave next to the control panel wall. WARNING - Never remove the waveguide cover. OPERATION OF CONTROL PANEL 1. BEFORE COOKING - Plug in the power supply. -
Page 6: Microwave Function
2. MICROWAVE FUNCTION - Five microwave power levels: 100P, 80P, 50P, 30P and 10P. - Press the ‘Microw.’ button repeatedly to select the desired power level. - Turn the ‘Time. Weight’ knob to set the cooking time from 0:10-60;00. - Press the ‘START/+30s’ button to start cooking. - A buzzing sound indicates completion of operation. -
Page 7: Auto Cooking
3.2 CLOCK (24-hour clock) In standby mode, press and hold down the “DEFROST/CLOCK” button for more than 3 seconds to enter the clock setting interface. At the same time, the display screen blinks in hours. The hour time can be set by turning the knob. After setting the hour, press the "START/+30s"... -
Page 8: Child Lock Function
7. START/+30s - After pressing the mode and time, press ‘START/+30s’ to begin cooking. - Press ‘START/+30s’ during cooking to increase time by 30 seconds for each press (not applicable in menu mode and defrosting by weight mode). - Press ‘START/+30’ during pause to continue cooking. 8. -
Page 9: Maintenance
Doneness indicators - Steam comes from all parts of the food. - Movable joints in poultry. - No blood in pork/poultry. - Fish is opaque and easily flaked. Browning dish - To prevent damaging the turntable and rotating ring, use a heat-resistant insulator (such as a porcelain plate) under the dish. - Page 10 Correct disposal of this product Waste electrical products should not be disposed of with household waste. Please recycle where facilities exist. Check with your local authority or retailer for recycling advice. If you have any questions, please contact our customer care centre. Our contact details are below: 0044-800-240-4004 enquiries@mhstar.co.uk...
Need help?
Do you have a question about the 800-226V70 and is the answer not in the manual?
Questions and answers