Advertisement
Contents:
If you need further technical reference for firmware 4.x.x
for the full technical guide
For units running firmware 2.x.x or 3.x.x
Start
For questions or help contact your local sales rep or reach out to us at:
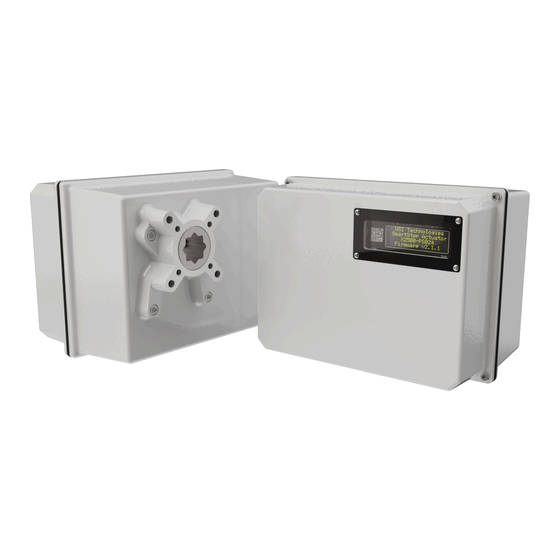
SmartStep Quick Start Guide Ver 2.0
SmartStep
314-432-3282
sales@update-systems.com
joe@update-systems.com
™
Actuator
Quick Start Guide
click here
for that Quick
2
3
5
6
8
10
click here
1
Advertisement
Table of Contents

Subscribe to Our Youtube Channel
Related Manuals for usi SmartStep SO600-PS024-EPB-RF


Summary of Contents for usi SmartStep SO600-PS024-EPB-RF
-
Page 1: Table Of Contents
™ SmartStep Actuator Quick Start Guide Contents: Standard End Point Calibration Automatic End Point Calibration Failsafe Setup Automatic Mode Selection Mechanical Reference Keypad Button Reference If you need further technical reference for firmware 4.x.x click here for the full technical guide For units running firmware 2.x.x or 3.x.x click here for that Quick... -
Page 2: Standard End Point Calibration
Device Defaults ▪ Movement Range: 0-90° ▪ 4-20mA Range: 20mA set as OPEN and 4mA set as CLOSED ▪ Rotation Speed: 70% ▪ Open position is Counter-Clockwise Standard End Point Calibration (For Valves without End Stops) Press together to see the following screen: →PS→End Points 1/4 ↓... -
Page 3: Automatic End Point Calibration
Press or hold to move the valve in the direction OPEN CLOSE of the CLOSED end point. When in position press to save the position to memory. Note: If setting a 90° Span you can automatically add 90° to the current end point after it’s set. To do this, repeat step c for the second end point and then press to add 90°. - Page 4 Press to clear the current setting of that end point. The third line display arrows around the CLSD to show that’s the end point being edited. Edit CLOSED position → OPEN → «CLSD» Press and hold . The display will show as below and AUTO then a countdown will start.
-
Page 5: Failsafe Setup
Failsafe Setup From the PS EndPoints screen, Press the button to reach Failsafe setup. →PS→Failsafe 2/4↑↓ Cntrl Loss: CLOSE Power Loss: CLOSE Press to edit Failsafe Options. Both Control signal loss and Power signal loss options may be configured but have the same options: •... -
Page 6: Automatic Mode Selection
Automatic Mode Selection To change the current AUTO mode of the actuator: ◦ Press to cycle through the modes AUTO ◦ Press to choose the proper mode for your application 4-20mA Wiring Example IN + / IN - : Insert 4-20 mA or 0-10 V control signal into appropriate terminal. - Page 7 One-wire (OC1-WIRE) Wiring Example Positive control wire inserted into open by default. When voltage is applied to positive control wire, valve moves to open position. Valve closes when signal is removed. May be set up for closed. Option must be set in OC1-Wire setup screen and control wire must be inserted into CLOSE instead of OPEN.
-
Page 8: Mechanical Reference
Mechanical Reference Front 11.25 [286mm] Rear 3.14 [80mm] 2.88 [73mm] SmartStep Quick Start Guide Ver 2.0... - Page 9 Bottom 1.65 4.82 [41.9mm] [122.6mm] 4.12 [104.6mm] 3.13 [79.5mm] 1.55 [39.5mm] Note: add 3.5" [89mm] clearance for cover removal. Cover removal also requires 3/16” Allen Wrench Mounting Detail 2.84 M10x1.5 thread [72.13mm] 18mm deep 4 places 1.95 [49.5mm] 1.06 [27mm] Standard 27mm Double...
-
Page 10: Keypad Button Reference
Keypad Button Reference Buttons Use to navigate menus and set values Store Values/Confirm Cancel Entry/Back out of Menu In calibration, press to set direction valve moves to open; Clockwise or Counter-Clockwise Manual Mode Move to calibrated open position Press to clear set point during calibration Move to calibrated closed position Press to clear set point during calibration Cycle between Automatic Modes (must press ENT to set...
Need help?
Do you have a question about the SmartStep SO600-PS024-EPB-RF and is the answer not in the manual?
Questions and answers