Advertisement
Quick Links
Technical Support and E-Warranty Certificate www.vevor.com/support
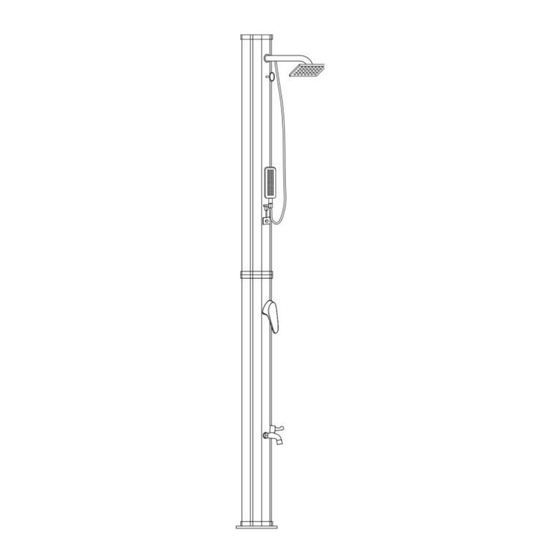
SOLAR WATER HEATER
MODEL:LY40L03
We continue to be committed to provide you tools with competitive price.
"Save Half", "Half Price" or any other similar expressions used by us only represents an
estimate of savings you might benefit from buying certain tools with us compared to the major
top brands and does not necessarily mean to cover all categories of tools offered by us. You
are kindly reminded to verify carefully when you are placing an order with us if you are
actually saving half in comparison with the top major brands.
Advertisement

Related Manuals for VEVOR LY40L03


Summary of Contents for VEVOR LY40L03
- Page 1 Technical Support and E-Warranty Certificate www.vevor.com/support SOLAR WATER HEATER MODEL:LY40L03 We continue to be committed to provide you tools with competitive price. "Save Half", "Half Price" or any other similar expressions used by us only represents an estimate of savings you might benefit from buying certain tools with us compared to the major top brands and does not necessarily mean to cover all categories of tools offered by us.
- Page 3 This is the original instruction, please read all manual instructions carefully before operating. VEVOR reserves a clear interpretation of our user manual. The appearance of the product shall be subject to the product you received. Please forgive us that we won't inform you again if there are any technology or software updates on our product.
- Page 4 Warning-To reduce the risk of injury, user must read instructions manual carefully. Keep small parts, plastic bags and other packaging out of the reach of children. Pay attention especially when unpacking your item. The danger of suffocation! Check the delivery for completeness. Later complaints cannot be accepted.
- Page 5 When not in use, the shower should be emptied and the tap turned on to prevent the formation of germs. - Make sure that no electrical appliances and/or power connections are in contact with the shower or within reach of the shower's water jet. - Avoid unintentional start-up.
- Page 6 damage or even personal injury. The manufacturer or dealer accepts no liability for damage caused by improper or incorrect use. Before Putting Into Service 1. Take the parts of the solar shower out of the packaging. 2. Check whether the delivery is complete. 3.
- Page 7 to remove deposits and dirt from the shower. Use only clear water and never cleaning agents. Rinse the openings and the shower head with clean water to remove dirt Maintain the device with care. Check whether moving parts of the device work properly and do not jam, and whether parts are broken or damaged so that the function of the device is impaired.
- Page 8 1. Screw both parts together with the connecting clamp. Pay attention to the - 6 -...
- Page 9 connection on the inside. These have to be put together exactly to avoid water leaks. 2. Now check the shower for stability! Possibly. It may be necessary to retighten the screws or place washers in between. 3. We recommend adding Teflon sealing tape to the assembly of the shower head to achieve maximum tightness.
- Page 10 Note for the installation of the single-lever mixer: 1. Unscrew the grub screw slightly so that the handle can be fitted. 2. Put the handle on. 3. Tighten the grub screw. 4. Do not use too much force! Then put on the red cap. 5.
- Page 11 the shut-off valve at the foot of the shower. Warning: Damage caused by mud, salt water or frost is not covered by our warranty. Close the tap when you are not using the shower. Ideally, water should flow out of the shower if a defect occurs. In case of dripping water, please check the proper connection between the shower head and the foot of the shower.
- Page 12 Technical Support and E-Warranty Certificate www.vevor.com/support...
Need help?
Do you have a question about the LY40L03 and is the answer not in the manual?
Questions and answers