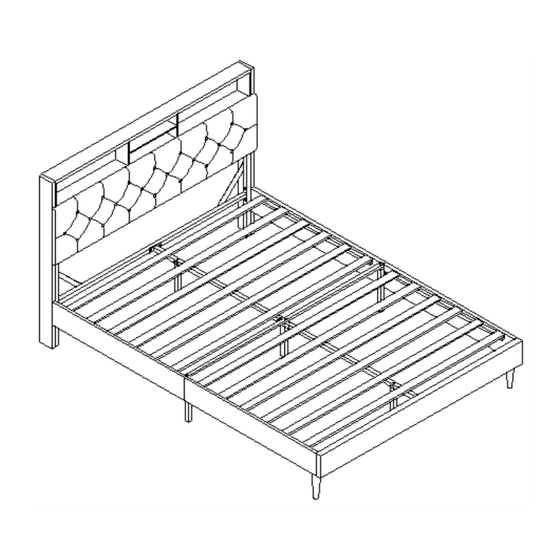
Summary of Contents for Oikiture BF-C-NOVI-D
- Page 1 A S S E M BLY IN S T R U C T I O N S ru c u r e r e e as e r ea o n s ca r e re a ss em y a n ee p re n c e d t h...
- Page 2 Assembly and Maintenance Tips 1. Keep children and pets away from 2. Some furniture may require two 3. To protect the surfaces of the the working area as small parts may persons to assemble for safety furniture, lay the parts and perform cause choking if swallowed.
- Page 3 sse m r e p a r e r o u g r u c n s ca r e e s u r e y o u a v e a l l t h e r e q u t i o h t h e v e r u se...
- Page 4 P a r t s L i s t...
- Page 5 Part K 8pcs...
- Page 13 When assembling, these holes face outwards Holes Holes...
- Page 14 Insert screw B into Part 8 first and then assemble it. The hook and loop fastener of Part 8 is located at the back.
- Page 16 Do not fully tighten the screws at this stage...
- Page 17 Hook up the headboard panel first and then tighten the screws...
- Page 18 Attach Part 25 using the hook and look fastener.
- Page 21 Remote control Power cord Pull out light bar Please insert the light bar through the openings.
- Page 22 Pull out light bar Please take note that one side of the light bar is sticky and the other side is a luminous band. Remove the anti-sticking strip of the light bar and attach it to Slot through the lamp at the top. the hole at the back.
- Page 23 Assemble 2 Sets Do not fully tighten the screws at this stage.
- Page 27 Please be aware that there are mute stickers facing upwards and the material feels soft to the touch.
- Page 31 ATTENTION and bind them with the large magic tape. bind the wires if the magic tape is insufficient.
- Page 32 Well done! Love our furniture? Share it! Tag us on instagram or facebook @KampradsOikos1943...


Need help?
Do you have a question about the BF-C-NOVI-D and is the answer not in the manual?
Questions and answers