Advertisement
Quick Links
Change for life
Owner's Manual
Original Instructions
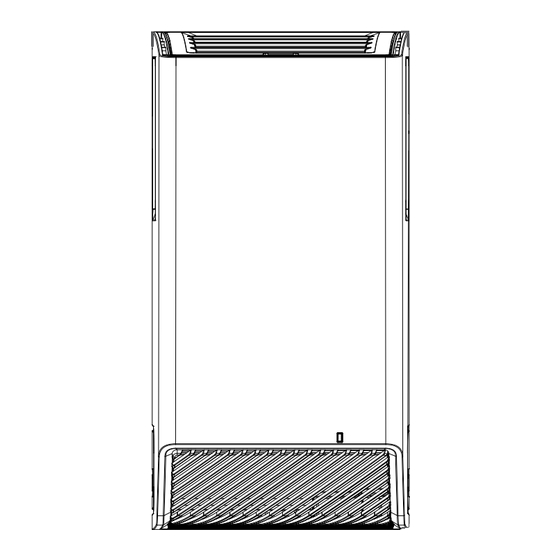
Two-way Ventilation System
CONTENTS
Product Introduction
Equipment Installation
Installation Schematic Diagram of Two-way Ventilation System
Thank you for choosing our product.
Please read this Owner's Manual carefully before operation and
retain it for future reference.
If you have lost the Owner's Manual, please contact the local agent
or visit www.gree.com or send an email to global@cn.gree.com for
the electronic version.
NOTE:
Actual product may be different from graphics,
please refer to actual products.
...................................................................................
................................................................................
01
04
06
...................
Advertisement

Summary of Contents for Gree XF30-SXQG02
- Page 1 Please read this Owner’s Manual carefully before operation and retain it for future reference. If you have lost the Owner's Manual, please contact the local agent or visit www.gree.com or send an email to global@cn.gree.com for the electronic version. NOTE:...
- Page 2 Table 1 Function list Model Function Remark XF30-SXQG02 Operation control Linkage control Fan speed Heat exchange mode Total heat exchange Air purify...
- Page 3 Table 1 Outline dimension Unit:mm Model XF30-SXQG02 Note: There may be some errors for above parameters due to production or assembly errors or individual errors. Please refer to the actual size. After the power cord passing through the cable-cross loop on the base plate, it can be led out from the knockout holes at both sides.
- Page 4 Filter and element parameters Schematic diagram of filter and heat exchange element Healthy filter Total heat exchange element sub-assy Table 3 Parameters of filter and heat exchange element sub-assy Specification Whether it can Suggested Name Recycle or not (mm) be washed with water replacement time Healthy filter 124×77×30...
- Page 5 Accessories list Expansion pipe Mounting plate sub-assy 1 piece 1 set Fresh air pipe 1 (air in) (original colour) Rainproof joint 2 pieces 1 set Joint sub-assy 2 Screw accessory (air in) 1 set 2 sets Wire of two-way ventilation system(A) 1 set Rainproof joint Wire of two-way...
- Page 6 Figure 4 Service access port position Unit:mm Model XF30-SXQG02 This fresh air unit should not be installed at below places: The unit can't be installed at the places where is close to high-temperature areas or naked fire. Otherwise, it may cause overheating or even fire hazard.
- Page 7 The unit can't be installed at the places where is with oil mist or oi gas, such as kitchen. Otherwise, it may cause fire hazard. The unit shouldn't be installed at the places where is wet or closing to bathroom room.
- Page 8 Mounting plate Knock expansion pipes into the holes used for installing the wall-mounted Expansion plate, and then use tapping screws to pipes fix the wall-mounted plate on the Screws wall. Indoor unit Wall Knock out the knockout holes at the right side of the air conditioner and the left side of the two-way ventilation system;...
- Page 9 Stale air inlet Take out the wire of two-way ventila- tion system, open the electric box cover and then set the clasp of wire into to the slot of electric box. Two-way ventilation Connect the motor wire of two-way system ventilation system with the wire of Indoor unit display well and then close the elec-...
- Page 10 Insert the fresh air pipe along with the air duct hole; rotate the air pipe hole in Fresh air inlet an clockwise direction when inserting it, and then tighten the fresh air pipe Joint sub-assy and the air duct joint together. When the fresh air pipe can't be rotated and pull out, it's installed well.
- Page 11 Set the rainproof joint into the fresh air pipe, stick the rainproof joint at the wall to confirm the position of that two Φ6mm holes and then make holes. At the same time, knock the expansion pipe into the hole. 2×Φ6mm Rainproof sub-assy Fix the rainproof joint with screws,...
- Page 12 GREE ELECTRIC APPLIANCES, INC. OF ZHUHAI Add: West Jinji Rd, Qianshan, Zhuhai, Guangdong, China, 519070 Tel: (+86-756) 8522218 Fax: (+86-756) 8669426 E-mail: global@cn.gree.com Web: www.gree.com 600005067596...


Need help?
Do you have a question about the XF30-SXQG02 and is the answer not in the manual?
Questions and answers