Advertisement
Quick Links
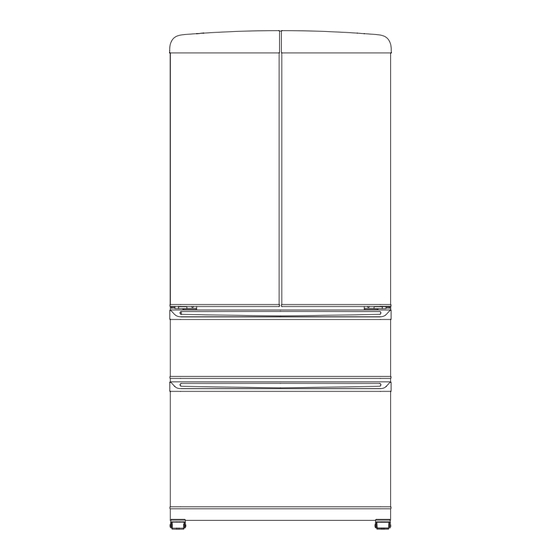
33 inch 18 CU.FT French Door No Frost Refrigerator
FFFFD1791-33RED
MODEL NUMBER SERIES:
INSTRUCTION MANUAL &
INSTALLATION GUIDE
Read these instructions carefully before using your appliance, and keep it carefully.
If you follow the instructions, your appliance will provide you with many years of good service.
Advertisement

Related Manuals for Forno FFFFD1791-33RED


Summary of Contents for Forno FFFFD1791-33RED
- Page 1 33 inch 18 CU.FT French Door No Frost Refrigerator FFFFD1791-33RED MODEL NUMBER SERIES: INSTRUCTION MANUAL & INSTALLATION GUIDE Read these instructions carefully before using your appliance, and keep it carefully. If you follow the instructions, your appliance will provide you with many years of good service.
- Page 3 TABLE OF CONTENTS Customer Care Warning Important Safety Product Dimension Cutout Names of Parts and Accessories Installations Operating Instruction Adjusting the Temperature Setting Care and Maintenance Cleaning your Refrigerator Moving the Refrigerator Racking Con guration How to Remove a Sliding Shelf and Drawer Troubleshooting Wire Diagram Warranty...
- Page 4 A customer service representative will contact you as soon as possible. All warranty work needs to be authorized by FORNO customer service. All our authorized service providers are carefully selected and rigorously trained by us.
- Page 5 WARNING FOR YOUR SAFETY We have provided many important safety messages in this manual and on your appliance. Always read and obey all safety messages This is the safety alert symbol. This symbol alerts you to potential hazards that can kill or hurt you and others.
- Page 6 Important Safety Instructions • The appliance is intended to be used exclusively for storage of wine and beverage. • Make sure the voltage/current marked on the rating label corresponds with your supply voltage. Plug into a grounded 3-pin outlet, do not remove grounding pin, do not use an adapter, and do not use an extension cord. •...
- Page 7 Product Dimension Overall Height top Height to top Hing Depth Door to Overall Width Depth Without Hing to bottom foot to top foot back door to back (on maximum) (on minimum ) ” 74” ” ” ” ” 7/16 1/16 83.5cm 3.6cm 188cm...
- Page 8 Cutout ’’ ’’ ’’ 15/16 5/16 198cm 103.5cm 79.5cm...
- Page 9 Name of Parts and Accessories LED Lamp of Fridge Adjustable Feet Door Rack Lamp Switch of Fridge Glass Shelf Control Panel Moisture Retaining Cover Sub-compartment of Fridge Crisper Fridge Door LED Lamp of Freezer Upper Freezer Drawer Upper Freezer Bottom Freezer Tray Bottom Freezer Drawer Bottom Freezer Before using, please remove the foaming and tapes which used for fixing drawers, glass...
- Page 10 Operating Instruction Fridge Sub-compartment Freezer Zone Temperature Setting Temperature Display ZONE Temperature Up and Down Buton Mode Botton Lock Icon TEMP F/ C Set Button Quick Quick Cooling Freezing Vacation This is an energy saving no-frost refrigerator which applies intelligent control system. Plugin, it will access to optimized working performance.
- Page 11 Operating Instruction (continued) MODE Press button 3 to select your desired mode. Available special modes are: Quick Cooling, Quick Freezing, ECO and Vacation . Each press, the modes will cycle according to: Quick Cooling →Quick Cooling+ Quick Freezing → Quick Freezing → ECO →Vacation → Quick Cooling. During mode switching, each related icon will flash 5 times to confirm.
- Page 12 Care & Maintenance (continued) VACATION • Short vacations: Leave the appliance operating during vacations of less than three weeks. • Long vacations: If the appliance will not be used for several months, remove all items and turn Off the appliance. Clean and dry the Interior thoroughly.
- Page 13 Troubleshooting No power • A fuse may be blown or the circuit breaker tripped • Plug not fully inserted into the wall outlet Internal temperature not cold enough • Temperature setting is tCM) warm • The door or lid is not shut properly or opened excessively •...
- Page 14 Wire Diagram Sub-comp artment Sensor Freezer Freezer Frigde Capteur de sous-comp Congélateur Réfrigérateur Congélateur artiment La terre Lampe Ventilateur Radiateur à Appareil de faisceau La terre Amortisseur dégivrage Vertical...
- Page 15 Retain proof of original purchase to establish warranty period. than what is normal and customary for residential use. Forno’s liability on any claim of any kind, with respect to the • Replacement of parts/service calls due to wear and tear...
- Page 16 PURCHASER ASSUMES ALL RISK AND LIABILITY FOR LOSS, DAMAGE OR INJURY TO PURCHASER AND PURCHASER’S PROPERTY AND TO OTHERS AND THEIR PROPERTY ARISING FROM THE USE, MISUSE, OR INABILITY TO USE THIS PRODUCT SOLD BY FORNO THAT IS NOT A DIRECT RESULT OF NEGLIGENCE ON THE PART OF FORNO THIS LIMITED WARRANTY SHALL NOT EXTEND TO ANYONE OTHER THAN THE ORIGINAL PURCHASER OF THIS PRODUCT, IS NON-TRANSFERABLE, AND STATES YOUR EXCLUSIVE REMEDY.
- Page 17 Customer Support: Call 1-866-231-8893 or email: info@forno.ca...
Need help?
Do you have a question about the FFFFD1791-33RED and is the answer not in the manual?
Questions and answers