Advertisement
- 1 Package Content
- 2 INS-1 USB Document Camera overview
- 3 Installing application software on compute / laptop
- 4 Connecting INS-1 and computer / laptop with USB cable
- 5 Using the Documate application software
- 6 Adjusting INS-1 position
- 7 Adjusting focus
- 8 Adjusting brightness
- 9 Supplemental illumination
- 10 Anti - glare
- 11 Connecting a microscope (advanced operation)
- 12 Customer Service
- 13 Documents / Resources

Package Content
- INS-1 USB Document Camera
- Anti-Glare Sheet
- Quick Guide
- Microscope Adapters
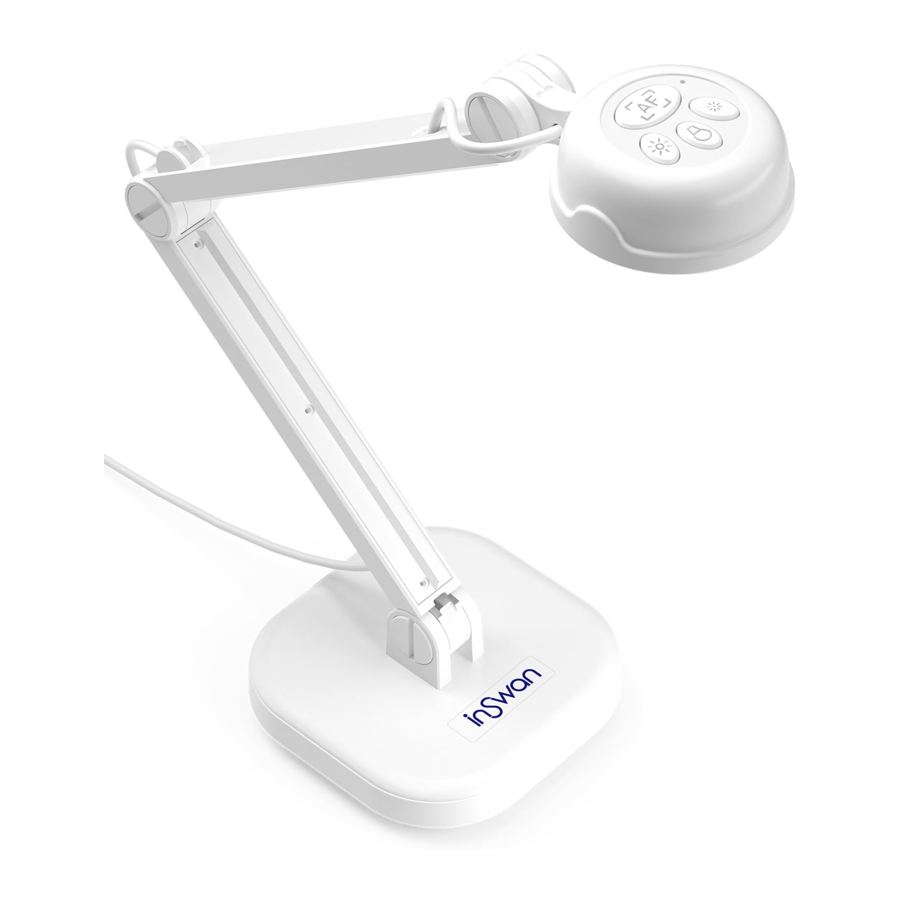
INS-1 USB Document Camera overview

- LED Lamp
- Microphone
- Camera
- Lamp Button
- Auto Focus Button
- Brightness Adjusting Button
- USB Cable
- Camera Indicator
Installing application software on compute / laptop
INS-1 requires the Documate application or other webinar software to function. Please download the latest version of the Documate application for PC, Mac, or Chromebook at www.inswan.com. Use Documate to display the textbook/objects, and then use screen sharing in any webinar application for high-engagement remote teaching/conferencing. INS-1 is compatible with most webinar software applications.
Connecting INS-1 and computer / laptop with USB cable

Using the Documate application software
Start the application on your computer/laptop and choose the desired operation mode.
 Live mode (default):
Shows the live image captured by the INS-1 and provides various functions to enhance your presentation.

Recording video and image capture
Click  to take snapshots or
  to record video clips for future use.
 Playback mode:
Review and/or edit snapshots and video clips taken by INS-1 or other devices.

 Drawing mode:
Use the whiteboard space and markup tools to add text, create drawings or markup existing images.

 Scan mode:
Scan documents or images into PDF, PNG, JPG or TIFF file formats. Also, perform OCR (optical character recognition) to extract text for editing.


Adjusting INS-1 position
Change the height and/or positioning of the INS-1 multi-joint document camera to capture a wide variety of objects.

Adjusting focus

 The Auto Focus button automatically adjusts to optimal focus one time.
Adjusting brightness

 Adjust brightness levels up or down with the Brightness button.

Supplemental illumination
 Turn on the LED lamp to improve image quality in dark environments.
Anti - glare
Eliminate glare from glossy surfaces (e.g., magazine pages) by overlaying the anti-glare sheet.

Connecting a microscope (advanced operation)
Connect your INS-1 to a microscope to project microscopic objects on a big screen.
- Adjust the microscope and focus on the desired object.
- Choose an appropriate microscope adapter.
Microscope adapter accessories are applicable to Ø28mm, Ø31mm, Ø33mm, and Ø34mm eyepieces.
![Inswan - INS-1 - Connecting a microscope - Step 1 Connecting a microscope - Step 1]()
- Mount the microscope adapter to the lens.
![Inswan - INS-1 - Connecting a microscope - Step 2 Connecting a microscope - Step 2]()
- Connect the lens with microscope adapter to the microscope.
![]()

Customer Service
Email: service@inswan.com
Website: https://www.inswan.com
Documents / Resources
References
Download manual
Here you can download full pdf version of manual, it may contain additional safety instructions, warranty information, FCC rules, etc.
Advertisement


Need help?
Do you have a question about the INS-1 and is the answer not in the manual?
Questions and answers