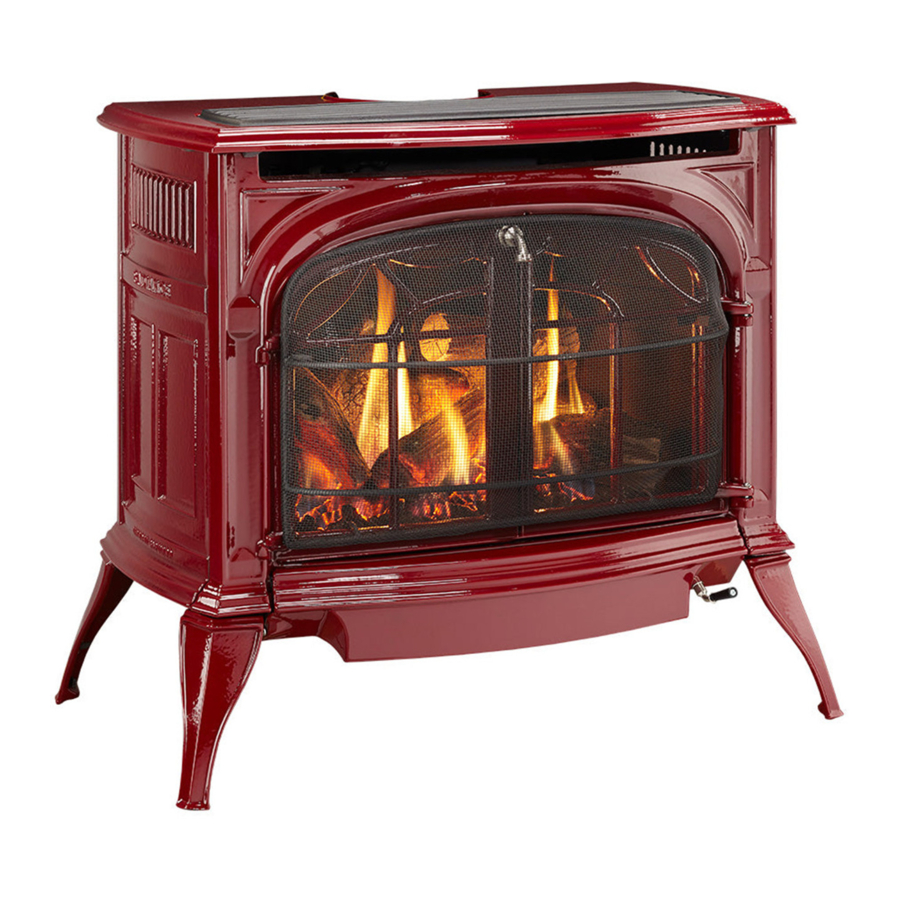
Vermont Castings RADIANCE, STARDANCE, RADVT-IFT, SDVT-IFT Manual
- Brochure & specs (4 pages) ,
- Quick start manual (4 pages)
Advertisement
Tools Required
- 3/8" Wrench
- 9/32" (7 mm) Wrench
- 7/16" Wrench
- 1/2" Wrench
- 1/4" Nut Driver
- Torx T20 Driver (Tamper Proof)
- Flat Head Screwdriver
- Gas Leak Detector Solution

This conversion kit shall be installed by a qualified service agency in accordance with the manufacturer's instructions and all applicable codes and requirements of the authority having jurisdiction. If the information in these instructions is not followed exactly, a fire, explosion or production of carbon monoxide may result causing property damage, personal injury or loss of life. The qualified service agency is responsible for the proper installation of this kit. The installation is not proper and complete until the operation of the converted appliance is checked as specified in the manufacturer's instructions supplied with the kit.

The gas supply shall be shut off prior to disconnecting the electrical power, before proceeding with the conversion.
Before You Start
This conversion kit is to be used only with the models listed below.
Models: RADVT-IFT, SDVT-IFT.
Natural Gas (NG) to Propane (LP) Kit Contents:
(1) Pilot Orifice: 4602-301
(1) Propane (LP) Regulator: LPK-DXV-50
(1) Orifice Hood #51 (RADVT): 20008557
(1) Orifice Hood 1.45mm (SDVT): 20308650
Propane (LP) to Natural Gas (NG) Kit Contents:
(1) Pilot Orifice: 582-880
(1) Natural Gas (NG) Regulator: NGK-DXV-50
(1) Orifice Hood #33 (RADVT): 20012554
(1) Orifice Hood 2.4 mm (SDVT): 4604-316
Before proceeding, turn control knob on valve to OFF and turn gas supply OFF. Turn OFF any electricity that may be going to the appliance. Allow the stove to cool before proceeding with the conversion.
Conversion Procedure
- Remove stove front by lifting stove front up and then swinging bottom out and away disengaging from the stove body.

Figure 1 - Remove the stove front. - Undo the right and left latches at the top of the glass frame, Figure 2.

Figure 2 - Release the latches to remove the glass frame.
- Pull the top edge of the glass and frame assembly away from the firebox face. Place the assembly out of the way on a flat, padded surface such as a counter protected by a towel.
- Remove the logset from the firebox.


Valve Conversion
- Turn master switch to the OFF position, and shut off the gas supply to the valve.
- Allow the stove to cool to room temperature.
- Remove three (3) nuts on bottom side of burner pan with a 9/32" or 7mm wrench, Figure 3.

Figure 3 - Remove three (3) nuts securing ember bed in place. - Carefully remove ember bed by tilting the right side up and lifting out toward the right side of the unit, Figure 4.

Figure 4 - Tilt ember bed slightly to correctly place on venturi and air shutter.
- Remove injector orifice from left burner bracket with a 1/2" wrench. Use a back up wrench to prevent damage to the manifold, Figure 5.

Figure 5 - Use two wrenches to avoid damage to manifold.
- Install conversion orifice. See Table 1 below for appropriate sizing.


Table 1 - Injector Orifice Size Matrix
| Model | Gas Type | Orifice Size | Orifice Part Number | Min. Btu/H | Max. Btu/H |
| RADVT-IFT | Natural | #33 / 0.113" | 20012554 | 25,000 | 38,000 |
| RADVT-IFT | Propane | #51 / 0.067" | 20008557 | 25,000 | 36,000 |
| SDVT-IFT | Natural | 2.4 mm | 4604-316 | 20,000 | 28,000 |
| SDVT-IFT | Propane | 1.45mm /.057" | 20308650 | 21,000 | 25,000 |
- The air shutter is factory set to 1/2" open and should not need adjustment. The air shutter opening may be verified by measuring as shown in Figure 6.

Figure 6. The air shutter setting is 1/2" (13 mm) from the orifice bracket to the edge of the air shutter. - Remove tie-wraps and unplug the wire lead.
- Using a Torx T20 driver, remove and discard the regulator and rubber gasket in the face of the valve.
- Install the new regulator with rubber gasket from the conversion kit. Make sure the gasket is seated properly, Figure 7.

Figure 7 - Valve Regulator
- Remove module from metal cradle by picking up and pulling forward. Using a small screwdriver, remove rubber boot and carefully adjust the setting on the module to the appropriate gas type. Slide the LP/ Natural Gas selector switch to the right for Natural Gas or to the left for Propane. Excessive force may cause damage to the module, Figure 8.

Figure 8 - Convert the control box - Using a 1/4" nut driver, remove four (4) screws securing pilot assembly. Remove pilot support bracket, Figure 9.
![]()
Figure 9 - Remove TEK Screws.
- Using a 7/16" wrench, remove fitting attached to the silver gas line tube, Figure 10.
![]()
Be careful not to crimp or excessively bend the tube to avoid leaks.
![]()
Figure 10 - Remove fitting. - Remove pilot orifice from inside of the pilot chamber and replace. Make sure pilot orifice is seated properly before reassembly, Figure 11.

Figure 11 - Remove pilot orifice.
- Reinstall the pilot support bracket, Figure 9.
- Replace burner making sure the venturi on the bottom of the ember bed aligns with the orifice and is seated properly on the air shutter assembly. Make sure the burner is slid into place at a slight angle and opposite to how it was removed. When burner is slid into place, the three (3) pem studs should slide down through clearance holes into the bottom of the control panel.
- Reinstall tie-wraps to retain wiring. Ensure wire routing keeps all the wires away from hot surfaces.
- Thread and tighten the (3) nuts back onto the pem studs on the underside of the control panel, reversing step 3, shown in Figure 3.
- Replace glass and stove front.
- Restore gas to the system and relight the appliance according to the lighting instructions in the Owner's Manual.
- Leak check the system using a gas leak detector solution.
- Relight the main burner to verify proper burner ignition and operation.
- Conversion is complete.


Documents / Resources
References
Download manual
Here you can download full pdf version of manual, it may contain additional safety instructions, warranty information, FCC rules, etc.
Download Vermont Castings RADIANCE, STARDANCE, RADVT-IFT, SDVT-IFT Manual
Advertisement


Need help?
Do you have a question about the RADIANCE and is the answer not in the manual?
Questions and answers