Advertisement
Quick Links
RADIANCE and STARDANCE -
Kits - LPK-RADVT-IFT / LPK-SDDVT-IFT
Models: RADVT-IFT, SDVT-IFT
Tools Required
• 3/8" Wrench
• 9/32" (7 mm) Wrench
• 7/16" Wrench
• 1/2" Wrench
• 1/4" Nut Driver
• Torx T20 Driver (Tamper Proof)
• Flat Head Screwdriver
• Gas Leak Detector Solution
This conversion kit shall be installed by a qualified
service agency in accordance with the manufacturer's
instructions and all applicable codes and requirements
of the authority having jurisdiction. If the information in
these instructions is not followed exactly, a fire, explosion
or production of carbon monoxide may result causing
property damage, personal injury or loss of life. The
qualified service agency is responsible for the proper
installation of this kit. The installation is not proper and
complete until the operation of the converted appliance
is checked as specified in the manufacturer's instructions
supplied with the kit.
The gas supply shall be shut off prior to disconnecting the
electrical power, before proceeding with the conversion.
Before You Start
This conversion kit is to be used only with the models listed
below.
Models: RADVT-IFT, SDVT-IFT.
Natural Gas (NG) to Propane (LP) Kit Contents:
(1) Pilot Orifice ................................................4602-301
(1) Propane (LP) Regulator ............................LPK-DXV-50
(1) Orifice Hood #51 (RADVT)........................20008557
(1) Orifice Hood 1.45mm (SDVT) ...................20308650
Propane (LP) to Natural Gas (NG) Kit Contents:
(1) Pilot Orifice ................................................582-880
(1) Natural Gas (NG) Regulator ......................NGK-DXV-50
(1) Orifice Hood #33 (RADVT)........................20012554
(1) Orifice Hood 2.4 mm (SDVT) ....................4604-316
1
Gas Conversion Instructions
WARNING
CAUTION
Before proceeding, turn control knob on valve to OFF and
turn gas supply OFF. Turn OFF any electricity that may
be going to the appliance. Allow the stove to cool before
proceeding with the conversion.
Conversion Procedure
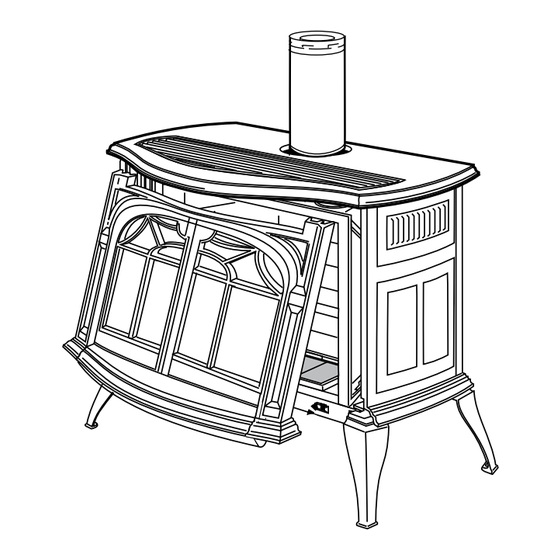
1. Remove stove front by lifting stove front up and then
swinging bottom out and away disengaging from the
stove body.
Figure 1 - Remove the stove front.
2. Undo the right and left latches at the top of the glass
ST139
frame, Figure 2.
Radiance
remove front
4/20/01 djt
Figure 2 - Release the latches to remove the glass frame.
3. Pull the top edge of the glass and frame assembly away
from the firebox face. Place the assembly out of the way
on a flat, padded surface such as a counter protected by
a towel.
4. Remove the logset from the firebox.
S T141
pull glass latch
10/ 99
30007502_R6 • 06/21
Advertisement

Related Manuals for Vermont Castings RADIANCE


Summary of Contents for Vermont Castings RADIANCE
- Page 1 RADIANCE and STARDANCE - Gas Conversion Instructions Kits - LPK-RADVT-IFT / LPK-SDDVT-IFT Models: RADVT-IFT, SDVT-IFT Tools Required Before proceeding, turn control knob on valve to OFF and turn gas supply OFF. Turn OFF any electricity that may • 3/8” Wrench be going to the appliance.
- Page 2 Valve Conversion 5. Remove injector orifice from left burner bracket with a 1/2” wrench. Use a back up wrench to prevent damage 1. Turn master switch to the OFF position, and shut off the to the manifold, Figure 5. gas supply to the valve. 2.
- Page 3 8. Remove tie-wraps and unplug the wire lead. 12. Using a 1/4” nut driver, remove four (4) screws securing pilot assembly. Remove pilot support bracket, Figure 9. 9. Using a Torx T20 driver, remove and discard the regulator and rubber gasket in the face of the valve. 10.
- Page 4 14. Remove pilot orifice from inside of the pilot chamber and replace. Make sure pilot orifice is seated properly before reassembly, Figure 11. Figure 11 - Remove pilot orifice. 15. Reinstall the pilot support bracket, Figure 9. 16. Replace burner making sure the venturi on the bottom of the ember bed aligns with the orifice and is seated properly on the air shutter assembly.
Need help?
Do you have a question about the RADIANCE and is the answer not in the manual?
Questions and answers