Table of Contents
Advertisement
Quick Links
Advertisement
Table of Contents

Related Manuals for Standard Imaging MAX-4000


Summary of Contents for Standard Imaging MAX-4000
- Page 1 WWW. .COM MAX-4000 Electrometer REF 90015 Software package for installation CD-ROM STANDARD IMAGING, INC. TEL 800.261.4446 7601 Murphy Drive TEL 608.831.0025 Middleton, WI 53562-2532 FAX 608.831.2202 Feb / 2005 ©2005 Standard Imaging, Inc. DOC #80206-16...
-
Page 2: General Precautions
CAUTION: When connecting or discon- necting an ionization cham- CAUTION: ber to the MAX-4000, set the This device should never bias voltage to 0% (0 VDC). be submerged in water or a solvent to clean, or scrubbed with an abrasive cleaner. -
Page 3: Table Of Contents
General Operation 1. With nothing connected to the input jack 7. Check the system leakage. Take a read- of the MAX-4000, turn the power on and ing without exposing the chamber to radia- wait at least 10 minutes for the electrometer tion. -
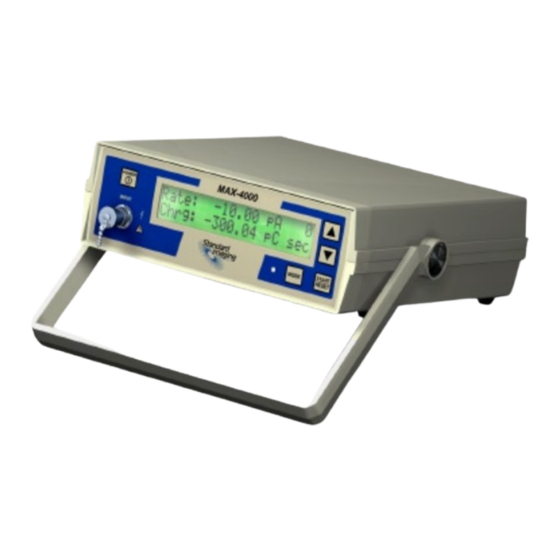
Page 4: Front Panel
Connect the battery charger to this input jack when charging the internal Input connection: A standard two battery. Note: If the MAX-4000 is being used in a patient environment, lug, BNC, triax connector for signal input. This connector features low do not plug in the charger. -
Page 5: Setting Up The Max-4000
Setting up the MAX-4000 Before using the MAX-4000 to take measurements, perform the following steps to ensure accurate readings. The MAX-4000 features an automatic zero function and a convenient way to check battery status and bias level. Auto Warm Up and Zero Adjustment Bias Mode 1. - Page 6 1. Connect the ionization chamber to the MAX-4000 and select the desired 1. The threshold start and stop levels voltage bias. Allow at least 10 min- are displayed in pA and are adjust- utes for the system to stabilize.
-
Page 7: Using The Max-4000
Charge modes. Refer to page 6 for more cent display in the Bias mode will information on system zeroing. indicate “CHRG”. 3. The MAX-4000 will also operate with Rate Mode the charger plugged into a wall out- let, regardless of the battery capacity. - Page 8 Using the MAX-4000 Continued Charge Mode & Rate/Charge Mode 1. Use the Range mode to select the range of operation. 2. Use the Bias mode to set the bias voltage. 3. Use the Mode button to select the Charge Mode or Rate/Charge Mode.
-
Page 9: Max Comm Software
Do not use water or liquid on triax jack. Do not permit any liquid to seep into the MAX-4000 in any manner during cleaning. It is not recommended to clean the window of the LCD with anything other than a mild detergent and a very soft cloth. -
Page 10: Troubleshooting
3 hours. If you require further assistance, please contact Standard Imaging’s Service Department at (800) 261-4446 or (608) 831-0025 for international calls. Parts and Accessories List... -
Page 11: Features And Specifications
Features and Specifications Rate Mode Ranges: Low: 0.001 pA - 950.00 pA High: 0.001 nA - 195.00 nA Charge Mode Ranges: Low: 0.01 pC - 999,999 nC High: 0.01 nC - 999,999 nC Charge Collection Modes: Timed: Timed charge collection Max Run: Continuous charge collection Thr Det:... - Page 12 Features and Specifications Continued Display: LCD, 2 x 20 with 5/16 in. high characters Input: BNC two lug, triaxial connector Bias Voltage: Nominal ±300 volt bias Five user settings: -300, -150, 0, 150, 300 (VDC) Zeroing: Automatic zero function, user activated Output: Isolated RS-232, Default: uni-...
- Page 13 Notes...
- Page 14 Notes...
-
Page 15: Service Policy
RMA number, the product can be returned by or made available from Standard to Standard Imaging. It is the responsibility Imaging Inc. of the customer to properly package, insure and ship the product, with the RMA number CAUTION: Federal law in the U.S.A. -
Page 16: Warranty
Standard Imaging, Inc. or as a new product from an authorized dealer or distributor of Standard Imaging, Inc. For a period provided in the table below from the date of original delivery to the purchaser or a distributor, this Standard Imaging, Inc.
Need help?
Do you have a question about the MAX-4000 and is the answer not in the manual?
Questions and answers