Advertisement
Quick Links
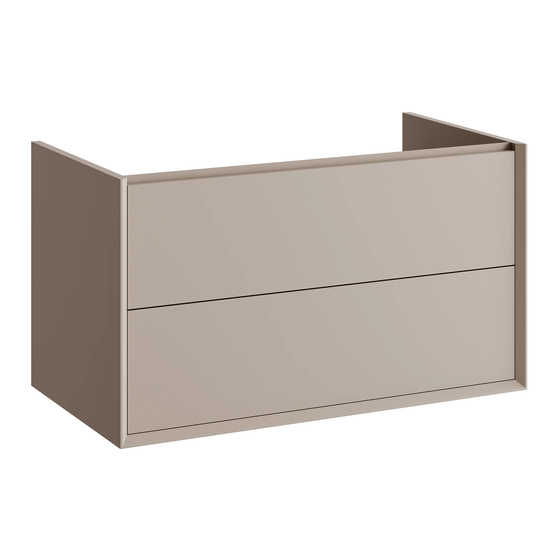
Vantage
Thank you for purchasing this Novum product.
Please read through these instructions carefully and refer back to them during
installation to ensure that your product is fitted safely and that it retains its high
quality finish.
Please retain this leaflet for future reference.
Before drilling, ensure there are no hidden cables or pipes in the wall.
Tools Required for Installation
1. Pencil
4. Drill & Suitable Drill Bits
2. Tape Measure / Ruler
5. Screw Driver
3. Level
6. Silicone
1.
Installation
Please ensure the wall is suitable for wall hung furniture. For stud wall installations, add extra timber support into the stud wall prior to finishing the wall to
improve strength.
HiB recommends removing the drawers prior to installation.
1. Vanity units can be installed as either standalone or joined together to create a larger run of furniture. For standalone installations, skip to Step 2.
• Carefully unpack and place both vanity units down onto a flat and level surface. Position both units next to each other so that they line up correctly, then secure them together
with clamps.
• Drill four evenly spaced holes right through the carcass sides to be connected. To prevent any break-out when drilling, a sacrificial piece of wood can be secured over the exit
location of the drill before drilling.
• Secure together with the connecting bolts provided. When the two units are joined securely with the connecting bolts, remove the clamps.
2. Position the unit in a suitable location. Taking note of the recommended install height below, carefully mark the desired position of the unit using a soft pencil.
3. Using a spirit level, mark a horizontal line below the pencil mark, taking into account the location of the furniture hangers. Place the brackets on the pencil line paying attention to
the distance between the furniture hangers. Carefully mark the position of the holes using a soft pencil.
4. Before drilling, ensure there are no hidden cables or pipes behind the mounting points. Using a suitable drill bit, drill holes in the marked positions to a suitable
depth. Insert wall plugs level with the surface of the wall. If fitting to a tiled surface, wall plugs should be inserted below the tile surface to avoid cracking. NB. For plasterboard
walls, specialist heavy duty fixings should be purchased from any DIY or hardware store. Fix the brackets to the wall using the screws provided
5. Hang the furniture unit, ensuring the claws on the hangers are securely located on the wall brackets.
6. Using a spirit level, make the unit level by adjusting the top screw on the wall hangers. Once straight, tighten the bottom screw until the unit is secure against the wall.
7. Mount the basin / countertop onto the furniture using a fine bead of silicone to seal it to the unit and wall edges.
8. If necessary, the drawer runners can be adjusted in order to fine tune their alignment. Ensure the securing screw on the underside of the drawer runner is removed before
adjusting the drawer runner and the screw is re secured when adjustments have been completed.
2.
x4
Recommended Install Heights
830mm
900mm
3.
Screw position
Horizontal Line
FI
#03 012 R240620
Ver No.
2.0 July 2019
Advertisement

Related Manuals for HiB novum Vantage


Summary of Contents for HiB novum Vantage
- Page 1 Please ensure the wall is suitable for wall hung furniture. For stud wall installations, add extra timber support into the stud wall prior to finishing the wall to improve strength. HiB recommends removing the drawers prior to installation. Vantage 1. Vanity units can be installed as either standalone or joined together to create a larger run of furniture. For standalone installations, skip to Step 2.
- Page 2 Building 3, North London Business Park, Oakleigh Road South, New Southgate, London. N11 1GN ©HiB Copyright: No part of this document may be reprinted or duplicated without HiB consent. All sizes and measurements are approximate, but we do try and make sure...
Need help?
Do you have a question about the novum Vantage and is the answer not in the manual?
Questions and answers