Vizio M215aw-K6, M Series Manual
- User manual (17 pages) ,
- User manual (48 pages) ,
- User manual (48 pages)
Advertisement
- 1 Package Contents
- 2 Controls & Connections
- 3 First-time Setup
- 4 Using the Remote
- 5 Proper Placement
- 6 Mode & Level Settings
- 7 Using Button Combinations
- 8 Programming the Device
- 9 Bluetooth Pairing
- 10 Using Bluetooth Mode
- 11 Connecting to a Voice Assistant
- 12 Advanced Setup
- 13 Connecting with HDMI ARC
- 14 Connecting a Subwoofer
- 15 Wall-mounting
- 16 Help & Troubleshooting
- 17 IMPORTANT SAFETY INSTRUCTIONS
- 18 Limited Warranty
- 19 Product Registration and Support
- 20 Documents / Resources
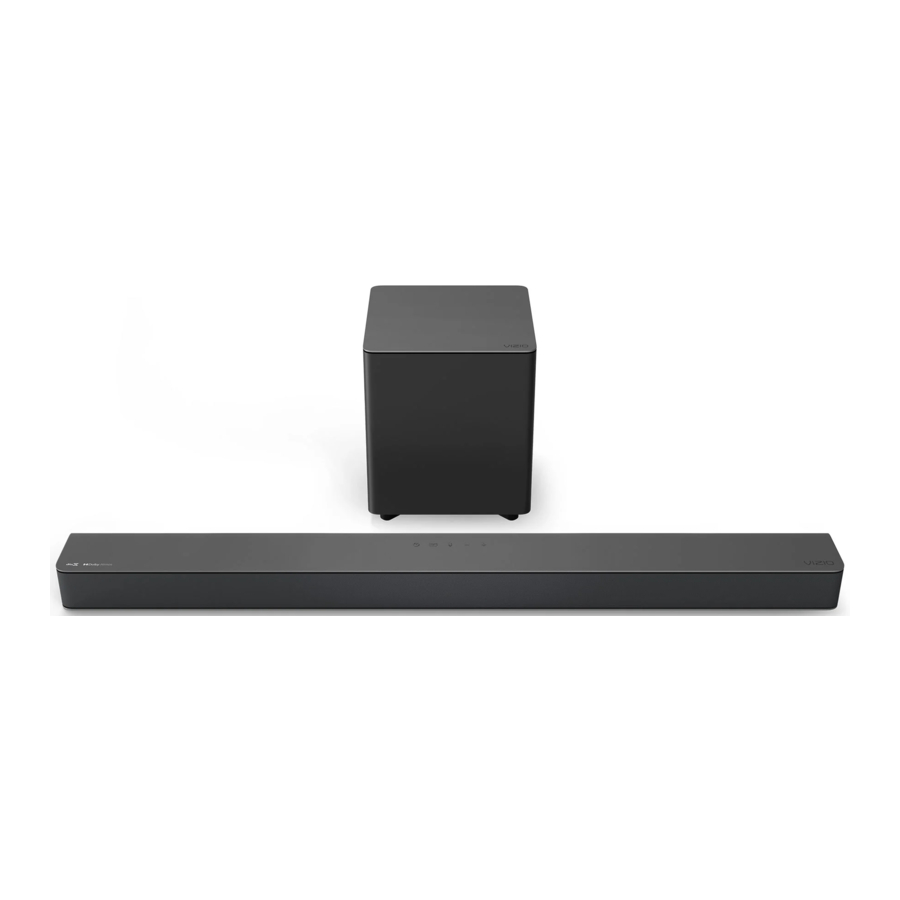
Package Contents

Controls & Connections
Back of the Sound Bar


* Only use this port to connect a Voice Assistant device. See Connecting to a Voice Assistant section for more information.
** Supports. WAV and. MP3 file format playback only.
Top of the Sound Bar

Back of Subwoofer

First-time Setup
- Choose the best possible connection cable type and connect it to your TV. (Not all cables are included.)


*Not all TVs have the audio outputs shown.
To connect the sound bar directly to your other devices (Blu-ray player, game system, etc.) see your device's user manual.
** Some TVs do not pass through digital audio:
When using the digital input, if there is no audio, try:
- setting the TV output to PCM, or
- connecting directly to your Blu-ray or other source.
- Connect the power cable to the sound bar AC IN as shown.
Plug the power cable into an electrical outlet.

- Connect the power cable to the subwoofer.

![]()
- Plug the power cable into a power outlet.
![]()
- The subwoofer should automatically power on and link to the sound bar when plugged in. The LED will glow to solid to confirm.
![]()
- Remove the battery cover by gently sliding it away from the remote.
![]()
- Insert the included batteries and gently slide the battery cover back into place.
![]()


When needed, VIZIO recommends replacing the batteries that came with this remote with two, new Duracell 'AAA' alkaline batteries.
- After turning on both your TV and sound bar, it will automatically begin searching for an active input.* The LED indicator on the front of the sound bar will begin cycling in different colors through inputs until an audio source is detected. **
You can press the INPUT button to switch between audio sources.
![]()

 Tip: Pressing the INPUT button will stop the auto detect function.
For example, if you connected your TV to HDMI (ARC), set the sound bar to HDMI eARC.
*Occurs only during first-time set up.
**Auto detect function only occurs once when the sound bar is first powered on. To enable this feature again, you must do a Factory Reset (see the Using Button Combinations for more information) or press and hold the INPUT button for 3 seconds.
Using the Remote

*Press INPUT and Previous to select previous input.
Specific inputs will show a different LED color:
- AUX In: Green
- AUX VA: Violet
- Digital Optical: Red
- HDMI (eARC): Magenta
- HDMI In: Yellow
- Bluetooth: Blue
- USB: Orange
Proper Placement

For the best surround sound experience, position the sound bar and subwoofer as shown.
The sound bar should be close to ear level.
Mode & Level Settings

Press each setting button and use the Up/Down buttons to access the different settings. Each setting will be displayed on the remote control's LCD display. The LED indicators will behave differently with each function.


Using Button Combinations
There are other functions that are triggered by different button combinations on the sound bar.


Programming the Device
You can program your sound bar to accept TV remote IR commands.
- Press the SETUP button on the remote, then use the Up/Down buttons to navigate to Prg Remote.
- Use the Next/Previous buttons to toggle through Learn Vol -, Learn Vol +, and Learn Mute.


Point both the sound bar and TV remotes towards the front of the sound bar when programming.
Turn off your TV speakers when programming your sound bar.
Bluetooth Pairing

To pair the sound bar with a Bluetooth device:
- Press and hold the Bluetooth button
![]() on the sound bar or remote control for five (5) seconds.
on the sound bar or remote control for five (5) seconds. - Search for the sound bar (VIZIO M215aw) using your Bluetooth device. For more information, refer to the user documentation that came with the device.
- Now you can play audio from your Bluetooth device. Volume can be controlled on both your source device and the sound bar.
The LED indicators on the display panel on the front of the sound bar will light up sequentially from bottom to top and back again.
Once the device is paired, the LED indicators will stop flashing.
Using Bluetooth Mode
- Your sound bar supports music streaming from devices with Bluetooth capability.
(Device compatibility will vary, see your device's documentation for more information.) - Once you have paired your source device to the sound bar your device should remain paired (within range).
- If the source is changed back to Bluetooth, any paired Bluetooth device will reconnect automatically.
- If the input is changed, the Bluetooth device will disconnect.
Maximizing Signal
A Bluetooth signal has a range of up to 30 feet. Keep in mind that Bluetooth is a compressed audio format, so streamed music may lose some integrity when compared to a wired connection. Try the following if your sound quality is less than optimal:
- If you hear any break-up or disconnect while streaming music from your device, move the source device closer to the sound bar.
- Be sure that there are no solid obstructions in the line-of-sight between the sound bar and the source device.
- Other wireless devices can affect Bluetooth range, including wireless security cameras, wireless video baby monitors, cordless phones, and microwave ovens. Turning off or moving these devices may improve Bluetooth range.
Your sound bar is not equipped with a microphone, so it cannot operate as a hands-free device for a smartphone.
 Reduce the volume levels on your device and on the sound bar before pressing Play. High volume levels can damage your hearing.
Connecting to a Voice Assistant
Your sound bar can connect to a Voice Assistant (VA) device through an AUX VA or Bluetooth connection. Once connected, your sound bar will now act as the VA speaker.
Features and Benefits:
- Voice Assistant Dedicated Input: VA can be active on the sound bar even if the sound bar is set to a different input with audio playing.
- Auto Muting: If playing audio from the sound bar, the VA will play over the original source audio for 10 seconds. If continued after the 10 seconds, the VA audio will mute the original source audio. Once the VA audio is stopped the original source audio will resume.
Make sure your sound bar is turned ON and Eco Power setting is turned OFF. Refer to Eco Power mode in the Mode & Level Settings section to disable.
Setup Tips:
- If the VA audio is too low, adjust the volume from the VA device.
- If the start of the response from the VA is cut off, enable "Start of Request" from your VA app settings.
- To disable the VA function, use the display remote to turn the Auto VA feature to OFF. Refer to Auto VA in the Mode & Level Settings section for more information.
Turn on the AUTO VA Settings:
- Press the Setup
![]() button and use the up/down buttons to go to the AUTO VA setting.
button and use the up/down buttons to go to the AUTO VA setting. - Use the left/right buttons to change the setting to AUX/BT or BOTH (depending on how you connect).
Using the AUX VA Port to Connect
(If there is no AUX port on the VA device, use a Bluetooth connection instead.)
- Use a 3.5mm audio cable to connect the AUX VA port on the sound bar to an AUX port on your voice assistant device.


Using Bluetooth to Connect
- Press and hold the Bluetooth button on the sound bar or remote for three (3) seconds. Search for the sound bar (VIZIO M215aw) using your VA device app. For more information, refer to the user documentation that came with the device.


Advanced Setup

*Always use HDMI 2.0 certified cables.
**Supports. WAV and. MP3 file format playback only.
Connecting with HDMI ARC

HDMI cables transmit both audio and video.
To view video from these devices:
- Turn the sound bar on.
- Set the sound bar input to HDMI In.
- Set your TV input to the same HDMI port that the sound bar is connected to.
Dolby Vision Compatible
HDMI ports pass through the highestquality audio and video formats.
* HDMI ARC port location may differ by TV manufacturer. See your TV's user manual for more information.
What is HDMI Audio Return Channel
- Using HDMI ARC, your TV can send audio to the sound bar using an HDMI cable.
- Connect your sound bar to your TV's HDMI ARC port using an HDMI cable that is ARC compatible.
To connect using HDMI
* The following steps are for use with a VIZIO TV, steps may differ by TV manufacturer. See your TV's user manual for more information.
- Connect one end of the HDMI cable to the HDMI 1 (ARC) port on the back of your TV.
- Connect the other end to the HDMI (eARC) port on your sound bar.
- From the AUDIO menu on your TV, change the Digital Audio Setting to Dolby Digital or Bitstream.
- From the SYSTEM menu, enable CEC and ARC (SAC)† functions.
- From the CEC menu, select Device Discovery to register the sound bar with the TV.
If you want to use the TV remote to control the sound bar volume:
Enable System Audio Control from the CEC menu.
† CEC Function naming may differ by TV manufacturer. See your TV's user manual for more information.
Connecting a Subwoofer

What does pairing mean?
Pairing means to wirelessly connect.
The subwoofer has already been paired with the sound bar by VIZIO. However, the subwoofer may need to be re-linked to the sound bar if there is no sound coming from the subwoofer.
- First confirm that the power LED is illuminated. Press and hold the ON/OFF button on the back of the subwoofer for 5 seconds. The LED on the back of the subwoofer will begin to blink.

- Press and hold the Power button on the top of the sound bar for 5 seconds. The LED indicators on the front will flash 3 times. The subwoofer is now linked with the sound bar.


Wall-mounting
- Place the included wall mounting template against the wall under your TV. Mark the two bracket holes using a pencil.

- Then place the shorter end of the bracket on the two holes you just marked and screw into the wall. Be sure your screws are attached to wood studs, drywall anchors (for drywall), or concrete anchors (for brick/concrete walls).
![]()


Bracket Screw*
(Not included with sound bar)
Suggested screw size: 3.5 mm diameter, 1.63" minimum length
Screws for attaching the bracket to the wall are not included. Choose the screw type and length appropriate to your home's construction. If in doubt, consult a professional installer.
- Place sound bar onto the L-shaped bracket and use the included bracket screws to attach.

![]()


Wall-mount Screw
(Included with sound bar)
Screw size: M4 x 8L
* Do not use any of the included screws for the wall mount installation. These are not intended for mounting.
Help & Troubleshooting
There is no power |
|
There is no sound |
|
I hear buzzing or humming |
|
The remote isn't working |
|
IMPORTANT SAFETY INSTRUCTIONS


Your Unit is designed and manufactured to operate within defined design limits, and misuse may result in electric shock or fire. To prevent your Unit from being damaged, the following rules should be observed for its installation, use, and maintenance. Please read the following safety instructions before operating your Unit. Keep these instructions in a safe place for future reference.
- Heed all warnings.
- Follow all instructions.
- Do not use this Unit near water.
- Clean only with a dry cloth.
- Do not block any ventilation openings. Install in accordance with the manufacturer's instructions.
- Do not install near any heat sources such as radiators, heat registers, stoves, or other Unit (including amplifiers) that produce heat.
- Do not defeat the safety purpose of the polarized or grounding-type plug. A polarized plug has two blades with one wider than the other. A grounding type plug has two blades and a third grounding prong. The wide blade or the third prong are provided for your safety. If the provided plug does not fit into your outlet, consult an electrician for replacement of the obsolete outlet.
- Protect the power cord from being walked on or pinched particularly at the ends where the plug is located, near convenience receptacles, or where they exit from the Unit.
- Only use attachments/accessories specified by the manufacturer.
- Use only with the stand, tripod, or bracket specified by the manufacturer, or sold with the Unit. When a cart is used, use caution when moving the cart/Unit combination to avoid injury from tip-over.
![]()
- Unplug this Unit during lightning storms or when unused for long periods of time.
- Refer all servicing to qualified service personnel. Servicing is required when the Unit has been damaged in any way, such as when the power supply cord or plug is damaged, liquid has been spilled or objects have fallen into the Unit, the Unit has been exposed to rain or moisture, does not operate normally, or has been dropped.
![shock hazard]() To reduce the risk of electric shock or component damage, switch off the power before connecting other components to your Unit.
To reduce the risk of electric shock or component damage, switch off the power before connecting other components to your Unit.- Unplug the power cord before cleaning your Unit. A damp cloth is sufficient for cleaning. Do not use a liquid or a spray cleaner on your Unit. Do not use abrasive cleaners.
- Always use the accessories recommended by the manufacturer to ensure compatibility.
![burn hazard]()
![shock hazard]()
When moving your Unit from an area of low temperature to an area of high temperature, condensation may form in the housing. Wait before turning on your Unit to avoid causing fire, electric shock, or component damage.- Slots and openings in the back and bottom of the Unit are provided for ventilation. To ensure reliable operation of your Unit and to protect it from overheating, be sure these openings are not blocked or covered. Do not place your Unit in a bookcase or cabinet unless proper ventilation is provided.
![burn hazard]()
![shock hazard]()
Never push any object into the slots and openings on your Unit. Do not place any objects on the top of your Unit. Doing so could short circuit parts causing a fire or electric shock. Never spill liquids on your Unit.- Do not block the subwoofer ports. Allow for 1-2 inches of space around all sides for ventilation.
![]()
Exposure to loud sounds can damage your hearing causing hearing loss and tinnitus (ringing or buzzing in the ears). With continued exposure to loud noises, ears may become accustomed to the sound level, which may result in permanent damage to hearing without any noticeable discomfort.- When connected to a power outlet, power is always flowing into your Unit. To totally disconnect power, unplug the power cord.
![burn hazard]()
![shock hazard]()
Do not overload power strips and extension cords. Overloading can result in fire or electric shock.- The wall socket should be located near your Unit and be easily accessible.
![burn hazard]()
![shock hazard]()
Keep your Unit away from moisture. Do not expose your Unit to rain or moisture. If water penetrates into your Unit, unplug the power cord and contact your dealer. Continuous use in this case may result in fire or electric shock.- Do not use your Unit if any abnormality occurs. If any smoke or odor becomes apparent, unplug the power cord and contact your dealer immediately. Do not try to repair your Unit yourself.
![burn hazard]()
![shock hazard]()
Avoid using dropped or damaged appliances. If your Unit is dropped and the housing is damaged, the internal components may function abnormally. Unplug the power cord immediately and contact your dealer for repair. Continued use of your Unit may cause fire or electric shock.![burn hazard]()
![shock hazard]()
Do not install your Unit in an area with heavy dust or high humidity. Operating your Unit in environments with heavy dust or high humidity may cause fire or electric shock.- Ensure that the power cord and any other cables are unplugged before moving your Unit.
![burn hazard]()
![shock hazard]()
When unplugging your Unit, hold the power plug, not the cord. Pulling on the power cord may damage the wires inside the cord and cause fire or electric shock. When your Unit will not be used for an extended period of time, unplug the power cord.![shock hazard]() To reduce risk of electric shock, do not touch the connector with wet hands.
To reduce risk of electric shock, do not touch the connector with wet hands.- Insert the remote control batteries in accordance with instructions. Incorrect polarity may cause the battery to leak which can damage the remote control or injure the operator.
- Read and follow all warnings printed on the Unit.
![]()
This equipment is not waterproof. To prevent a fire or shock hazard, do not place any container filled with liquid near the equipment (such as a vase or flower pot) or expose it to dripping, splashing, rain, or moisture.![]()
Danger of explosion or fire if batteries are mistreated. Replace only with the same or specified type.- Do not leave the batteries exposed to direct sunlight for a long period of time with doors and windows closed. Do not disassemble the batteries or dispose of it in fire.
- If the main wall plug or the appliance coupler is disconnected, the disconnected device will remain readily operable upon reconnection to an appropriate power source.
- No open flames, such as lighted candles, should be placed on the Unit.
- The ventilation should not be impeded by covering the ventilation openings with items, such as newspapers, table-cloths, curtains, etc.
- The equipment shall be used at maximum 35 degree C ambient temperature.


To reduce the risk of fire or electric shock, do not expose this Unit to rain or moisture.

RISK OF ELECTRIC SHOCK
DO NOT OPEN
The lighting flash with arrowhead symbol within an equilateral triangle is intended to alert the user to the presence of not isolated dangerous voltage within the appliance that may be sufficient magnitude to constitute a risk of shock to persons.
The exclamation point within an equilateral triangle is intended to alert the user to the presence of important operating and servicing instructions in the literature accompanying the appliance.

This equipment is a Class II or double insulated electrical appliance. It has been designed in such a way that it does not require a safety connection to electrical earth.

Limited Warranty
How to Get Service
Before obtaining warranty service, you may visit www.vizio.com for additional help and troubleshooting. To obtain warranty service, contact VIZIO Customer Support by going to support.vizio.com and selecting Contact Us. You can also call Customer Support (US): 855-209-4106.
Product Registration and Support
Get helpful tips and register your sound bar.
Scan with your phone camera or QR reader.

Customized Support
Get assistance quickly with your information on hand.
News and Offers
Take advantage of the latest news and special offers from VIZIO.
Updates and Enhancements
Stay up-to-date with important product updates and notifications.
More questions? Find answers at:
SUPPORT.VIZIO.COM
Accessibility
Contact VIZIO for accessibility support at:
Email: accessibility@vizio.com
Phone: 1-877-698-4746
Documents / Resources
References
Download manual
Here you can download full pdf version of manual, it may contain additional safety instructions, warranty information, FCC rules, etc.
Advertisement


Need help?
Do you have a question about the M Series and is the answer not in the manual?
Questions and answers