Myenergi Harvi Manual
- Installation manual (2 pages) ,
- Installation manual (5 pages) ,
- Installation instructions manual (8 pages)
Advertisement
Installation Parameters
harvi should not be installed:
- In outdoor locations
- Where relative humidity could be greater than 95%
- At an altitude >2000m
- In an environment with a temperature below -30°C or above 50°C
Product Description
harvi is an energy harvesting wireless sensor which enables myenergi devices to be installed without using a directly connected current transformer (CT) for measuring the grid and/or generation power. Instead, the CT is connected to harvi. No power source is needed for harvi - the energy harvested from the CT is used to transmit the measurement signal to your other myenergi device(s). This means batteries or separate power supplies are eliminated.
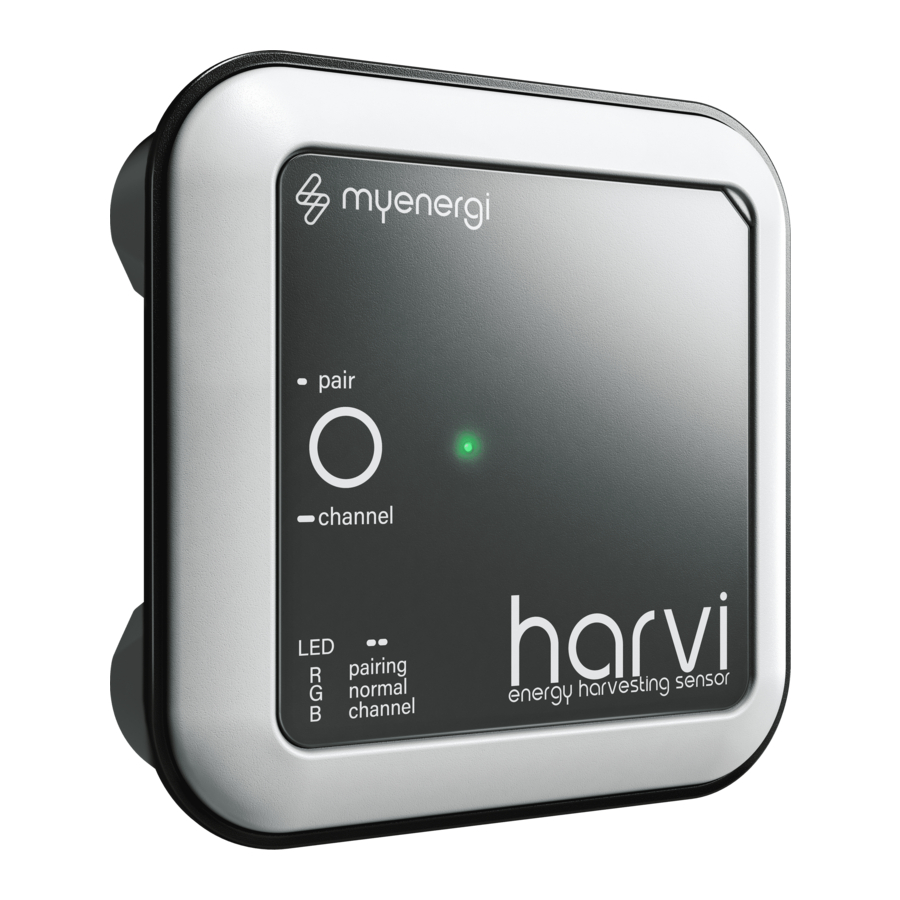
Device Appearance

Installation
Before you start:
- harvi can be wall mounted
- harvi can have up to 3 CTs connected
- Multiple harvi devices can be used on one site
- Batteries or power supply NOT required
- The CT clamp supplied by myenergi must be used
- Ensure the CT is securely clipped around the live conductor to be monitored - make sure the arrow sticker on the CT is pointing in the direction of normal current flow (usually towards the consumer unit). For single phase installs only, the CT may be clipped around the neutral conductor and direction reversed.

- There is a cable grip installed on the back of the harvi. Simply pass the CT wire through the top hole and then push down to lock into place.
![]()
- Connect 1, 2 or 3 CTs to the CT input terminal(s), the red wire should be connected to the (+) terminal and the black wire to the (-) terminal of the harvi device.

- Refit the back enclosure.
- Ensuring there is power being drawn on the chosen live tail, allow up to two minutes for the status LED to start flashing green.


Pairing with a myenergi device
Before you start:
- If pairing the harvi to a network of already paired devices, the harvi should only be paired with the 'Master'.
- Press the pair button briefly
- By default the LED should flash blue once, indicating that harvi is on channel 1. However, there may be times when the channel may need to changed; see "Changing Channel"
- Then the LED will flash red to indicate the harvi is in pairing mode.
- First, check the myenergi device you are pairing harvi to is set as "Master".
- Then, select Settings > Installer Settings > "enter passcode" > Linked Devices > Pairing Mode
- The harvi should appear on the screen within a few seconds.
- Check the serial number on the screen matches the number on the front of the harvi device and press (✓) or (+) to add the harvi device.
Changing Channel
(Optional)
The default channel is number 1 and normally this will not need to be changed however, there may be a situation where there is another device causing interference on a particular channel.
If connecting to older myenergi devices (those with serial no. starting with a '1'), only channels 1 & 4 can be used.
To change channel:
- Press and hold down the button, the current channel will then cycle from 1 to 8 indicated by the LED. Once the desired channel is indicated, immediately release the button.
- Ensure all other myenergi paired devices are set to the same channel. Settings > Installer Settings > "enter passcode" > Linked Devices > Channel
Configuration
After pairing the harvi, the myenergi device will need to be configured to use the harvi. The function of the CTs connected to the harvi are also configured via the myenergi unit.
- On the myenergi 'Master' device, go to Settings > Installer Settings > CT config
- Disable the relevant CT input(s) for that device - this ensures the unit uses the harvi CT instead of a wired CT. i.e. disable "grid" as this is now being measured using CT connected to harvi.
- Then, go to Installer Settings > Linked Devices > Devices
- Highlight the harvi device and press (✓) or (+)
- Configure the CTs according to the installation instructions. (Refer to specific manual for the myenergi device you are configuring).
- If harvi is to be used on a 3-phase installation then ensure you set harvi to "three phase". This will automatically set all 3 CT inputs to the same input source e.g. grid, generation etc. If used on 3-phase make sure that the Net Phases setting on your myenergi device is turned on.
Please ensure you refer to our golden CT rules, which can be found in all myenergi device manuals, when connecting the CTs.
Technical Specification
| CT Inputs: | Up to 3 inputs for 1 or 3-phase supply |
| Current Range: | 0.1A to 65A² |
| Energy Harvesting Range: | 0.25A1 and above |
| Accuracy: | 2.0% Typical |
| Transmission Rate: | 1s @ 8A+, <2s @ 2A+, <30s @ <0.25A+ |
| Wireless Interface: | 868/915MHz (proprietary protocol) |
| Mounting Location: | Indoor only (can be housed in a suitably IP rated plastic box, if required) |
| Dimensions: | 98 x 98 x 38mm (including feet) |
| Operating Temperature: | -30°C to +50°C |
| Altitude: | <2000m |
| Relative Humidity: | 0 - 95% (Non-condensing) |
| Pollution Degree: | PD2 |
| Overvoltage Category: | OVIII |
¹ Minimum operating current may vary depending upon application of use.
² 65A maximum rated current in measured circuit. harvi will measure higher currents to ensure any overload is correctly detected and managed in accordance with G100 requirements
Help Centre
If you experience any issues with your myenergi device, please visit our Help Centre by scanning the QR Code or clicking the link below.
https://myenergi.com/support-centre/

Safety
Read all the safety instructions. Failure to operate the harvi in accordance with these instructions may cause injury, damage to the unit or inefficient operation and invalidate the manufacturer's warranty.
harvi has no user serviceable parts therefore, reparation of the unit should not be attempted. In case of faults, please contact myenergi technical support.
Only the CT(s) supplied by myenergi with libbi, zappi and/or eddi devices shall be used with harvi.
Designed and manufactured in the UK by myenergi Ltd, Pioneer Business Park, Faraday way, Stallingborough, Grimsby, DN41 8FF
T: +44 (0)333 300 1303
E: sales@myenergi.com
W: myenergi.com
Documents / Resources
References
Download manual
Here you can download full pdf version of manual, it may contain additional safety instructions, warranty information, FCC rules, etc.
Advertisement


Need help?
Do you have a question about the Harvi and is the answer not in the manual?
Questions and answers