Hunter Swanson 50881 / 50882 / 50885 Manual
- Installation manual (4 pages)
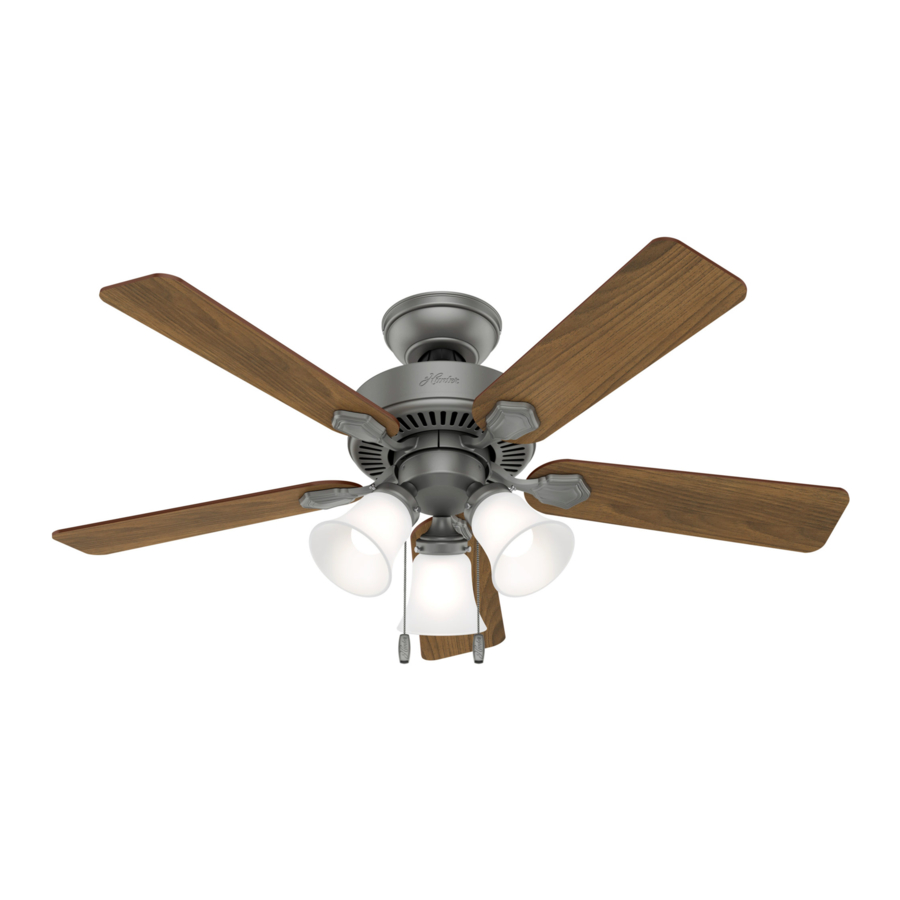
Advertisement
Preparation
Here are the tools you'll need to complete your installation:

OPTIONAL
If mounting to a support structure, you will also need these tools.


You must be able to secure the fan to building structure or fan-rated outlet box.


To avoid possible electrical shock, before installing your fan, disconnect the power by turning off the circuit breakers to the outlet box associated with the wall switch location.

Remove the shipping blocks from the motor. Save the screws. They will be needed for blade iron installation.

Assembly Instructions

Wiring Instructions
Single switch
The ceiling fan must be grounded. If the ground wire for the installation site is not present, immediately STOP installation and consult a qualified electrician.
All wiring must be in accordance with national and local electrical codes ANSI/NFPA 70. If you are unfamiliar with wiring or in doubt, consult a qualified electrician.

- Connect the three grounding wires (green, green/yellow stripe, or bare copper) coming from the ceiling, downrod, and hanging bracket.
- Connect the white (grounded) wire from the ceiling to the white wire from the fan.
- Connect the black (ungrounded) wire from the ceiling to the black wire and blue wire from the fan.
Dual switches

- Connect the three grounding wires (green, green/yellow stripe, or bare copper) coming from the ceiling, downrod, and hanging bracket.
- Connect the white (grounded) wire from the ceiling to the white wire from the fan.
- Connect the black (ungrounded) wire from the ceiling to the black wire from the fan.
- Connect the second ungrounded (light) wire from the celing to the blue wire from the fan.
Note: To connect the wires, hold the bare metal leads together and place a wire connector over them, then twist clockwise until tight. Turn the splices upward and push them carefully back through the hanger bracket into the outlet box. Spread the wires apart, with the grounded wires on one side of the outlet box and the ungrounded wires on the other side of the outlet box.
Troubleshooting
Fan Doesn't Work
- Make sure power switch is on.
- Pull the pull chain to make sure it is on.
- Push the motor reversing switch firmly left or right to ensure that it is engaged.
- Check the circuit breaker to ensure the power is turned on.
- Make sure the blades spin freely.
- Turn off power from the circuit breaker, then loosen the canopy and check all the connections according to the wiring diagram.
- Check the plug connection in the switch housing.
Excessive Wobbling
- Make sure the blades are properly installed on the blade iron posts.
- Turn the power off, support the fan carefully, and check that the hanger ball is properly seated.
- Use the provided balancing kit and instructions to balance the fan.
Noisy Operation
- Make sure the blades are properly installed.
- Check to see if any of the blades are cracked. If so, replace all of the blades.
Down Rod
If you need a different downrod length follow these steps:
Follow steps 1-5 to remove standard downrod pipe
Follow steps 6-10 to reassemble with new downrod


 FAN FALL HAZARD
To prevent SERIOUS INJURY or DEATH:
- ALWAYS follow the downrod assembly instructions exactly.
- VERIFY the downrod is assembled correctly by firmly pulling on the hanger ball.
- To reduce the risk of fire, electrical shock, or personal injury, mount fan directly from building structure and/or an outlet box marked acceptable for fan support of 70 lbs (31.8 kg) and use the mounting screws provided with the outlet box.
- To avoid possible electrical shock, before installing or servicing your fan, disconnect the power by turning off the circuit breakers to the outlet box and associated wall switch location. If you cannot lock the circuit breakers in the off position, securely fasten a prominent warning device, such as a tag, to the service panel.
- To reduce the risk of electric shock, this fan must be installed with an isolating wall control/switch.
- To reduce the risk of personal injury, do not bend the blade brackets when installing the blade brackets, balancing the blades, or cleaning the fan. Do not insert foreign objects in between rotating fan blades.
We are here to help!
We provide telephone support at 1.888.830.1326 or visit us at HunterFan.com.
Documents / Resources
References
Download manual
Here you can download full pdf version of manual, it may contain additional safety instructions, warranty information, FCC rules, etc.
Advertisement


Need help?
Do you have a question about the Swanson 50881 and is the answer not in the manual?
Questions and answers