Echelon CONNECT SPORT BIKE, ECH-SPORT -Exercise Bike Manual
- Instruction manual (32 pages)
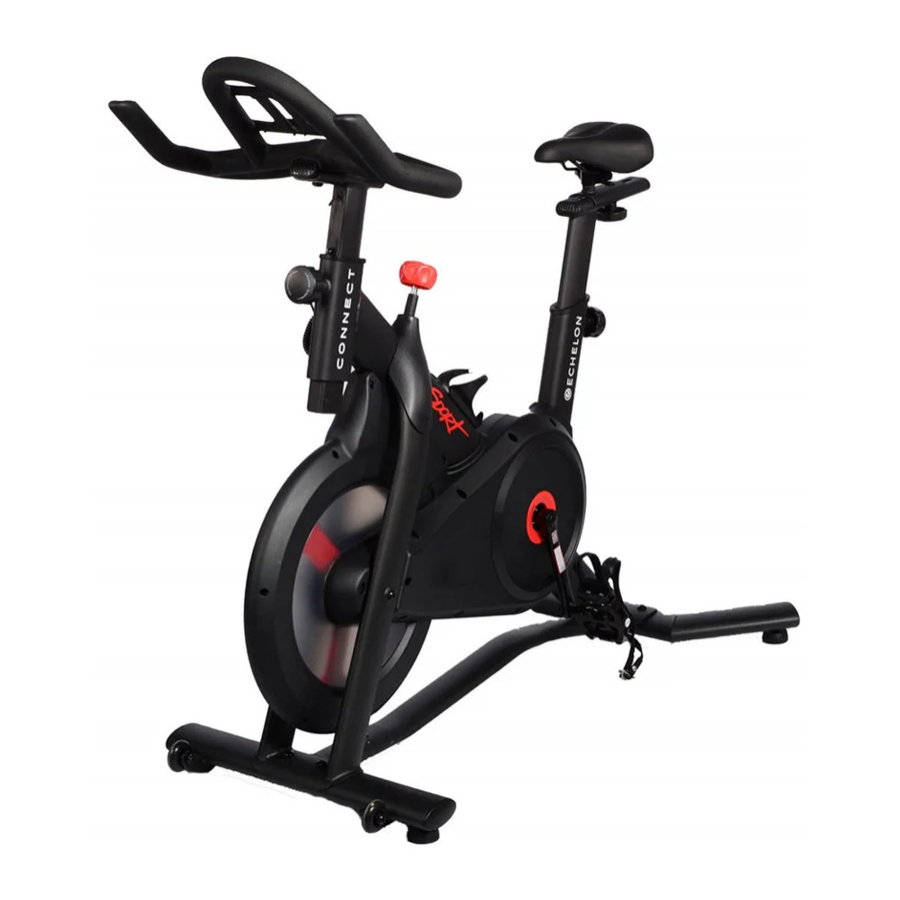
Advertisement
ACCOUNT CREATION
DOWNLOAD THE ECHELON FIT® APP
Ensure latest version of the Echelon Fit® App is installed from the Google Play™ store or the App™ store.


Scan Here to Start Your Free Trial

OPERATIONAL INSTRUCTIONS
Connect to the Echelon Fit® App to access tutorials and operation instructions.

If this product was purchased on the echelonfit.com website, you should have received an activation email.
Go to member.echelonfit.com and follow the on-screen instructions to choose a plan and setup your account. This info will be needed to login to your account on the Echelon Fit® App.
All account info and plans are managed at member.echelonfit.com and use the same login. After creating your account login on member.echelonfit.com, write down your login info. This will be the same login for the app.
- CHOOSE SIGN UP NOW
- SELECT PURCHASE LOCATION
Select purchase location and follow the on-screen instructions. - CHOOSE YOUR PLAN
Monthly / 1-Year / 2-Year - SET UP YOUR PAYMENT METHOD
- ENTER PERSONAL ACCOUNT INFO
- VIEW YOUR ACCOUNT
Where you can edit your billing info, add family members, manage subscriptions, and (if on your mobile device) download the app and sign in.
ACCOUNT ACTIVATION
If this product was purchased on the echelonfit.com website, you should have received an activation email. Click the link in the activation email and follow the on-screen instructions. Enter your information to verify your payment information.
You will not be charged until the next month.
PARTS LIST

INCLUDES
- Handlebar Height Adjustment Knob
- Handlebar Post Frame
- Resistance Knob/Brake
- Crank Arm
- Seat Height Adjustment Knob
- Shipping Insert (Remove Before Riding)
- Front Bracket
- Rear Bracket
- Wheel Chock (Not Visible)
- Handlebars
- Front Foot
- Rear Foot
- Handlebar Post
- Seat
- Water Bottle Holder
- Pedals
- Seat Post
- Seat Slide Adjustment Knob
- Power Adapter
- Handlebar Bottom Bracket
- Waterbottle Holder Screws (x2)
- Handlebar Post Screw
- Foot Bolts (x4)
- Hex Key with Philips Screwdriver Head
- Double-Sided Wrench
- Wrench
ASSEMBLY
- Open the box and remove the bike parts and accessories.
![]()
- Carefully cut the tape holding the styrofoam together and the bike parts and accessories in place.
- Remove the seat, handlebars, rails, and other accessories from the top and sides of the styrofoam.
- Remove hardware blister pack but do not open sections until needed.
- Remove all the plastic.
- Have one person lift the front of the bike body while the second removes the styrofoam.
- Repeat with the back.
- Styrofoam, tape, and plastic can be discarded.
- Lay the Connect Sport Bike on its side.

- Remove wheel chock bolts.
- Using your wrench or fingers, pull wheel chock out and set aside.
Assembly should take place on a soft surface, such as carpet or a rug, or with the cardboard box opened to protect the floor. Two people are recommended for assembly.
-
Place the front foot with wheels facing forward under the front bracket.

- Insert foot bolts into front foot and tighten down with hex key.
- Place the rear foot under the rear bracket.

- Insert foot bolts into rear foot and tighten down with the hex key.
- Assemble the handlebar post to the bike.

- Unscrew handlebar height adjustment knob, but do not remove. Pull knob out and fully insert handlebar post into frame. Release lever and make sure post is secure.
- Connect the coiled wire from the bike to the wire coming out from the handlebar post.
- Place the handlebars on the handlebar post.

- Place the handlebar bottom bracket and screw in the handlebar post screw with hex key.
- Place water bottle holder over the two screw holes near the Sport logo and secure with two water bottle holder screws.
- For right pedal, remove nut as pictured by turning the nut counterclockwise.
![]()
- Assemble the Right Pedal using the double sided wrench, turning clockwise until the pedal is seated firmly against the crank arm.
- Take the correlating nut and finger tighten the nut counterclockwise onto the exposed side of the pedal bolt.
- Using the double sided wrench secure the pedal.
- While the pedal is secured with the double-sided wrench use the other wrench to tighten the nut by turning counterclockwise.
For left pedal, remove nut as pictured by turning the nut clockwise.
![]()
- Assemble the Left Pedal using the double sided wrench, turning counterclockwise until the pedal is seated firmly against the crank arm.
- Take the correlating nut and finger tighten the nut clockwise onto the exposed side of the pedal bolt.
- Using the double sided wrench secure the pedal.
- While the pedal is secured with the double-sided wrench use the other wrench to tighten the nut by turning clockwise.

- Hold pedal with double sided wrench and use single sided wrench to tighten the nut back onto the pedal clockwise (left side) or counterclockwise (right side).

- Place seat onto seat post and adjust the position.
- Evenly tighten the nut on each side, and make sure once your seat is positioned in the right setting that the nuts are tightened down very tight.
- After ensuring the pedals are safely attached, the Connect Sport Bike is almost ready to ride.

- Plug power adapter into port located on the rear foot bracket then plug into wall outlet.
- Attention! Please remove the yellow plastic insert located on the front before riding the bike.
- Remove yellow shipping insert before riding! (See location in Fig. a)
![]()


Congratulations! You now have your assembled Connect Sport Bike.
Please note that a minimum of 3 feet of clearance space around the bike is recommended.
To adjust seat
- Turn seat slide adjustment knob counterclockwise to loosen. Move seat along track to desired location. Turn seat slide adjustment knob clockwise to tighten and secure in place.

- Turn seat height adjustment lever counterclockwise until you are able to pull the knob halfway out. Pull and hold the seat height adjustment lever and raise the seat to desired position. Ensure lever engages one of the adjustment holes. You can check this by lifting up on, or pushing down on the seat post untill you hear the pin "click" into place. (You may need to loosen the knob to get the pin to seat in place). Turn seat height adjustment knob clockwise until secure.

Trouble Connecting
If your bike does not connect, navigate to the Settings app on the tablet and select Apps™ (on older versions of Android™ you will select 'Application' and then 'Application Manager'). At the top right, select the 'MORE' icon and then select 'Show System' or 'Show System Apps'. Select 'Bluetooth Share', then 'Storage', and then either 'Clear Data' or 'Clear Cache', depending on which button is highlighted. Restart the Echelon Fit® App and attempt connection again. If you have any issues after completing this process, please contact us at: appsupport@echelonfit.com
OPERATION
There are two different positions you will see during classes on the Echelon Fit® App. Fig. 1 demonstrates a relaxed upper body while in a seated position.

Fig. 2 demonstrates proper hand placement and weight distribution while in an upright position.

To adjust resistance while using the Echelon Connect Sport, turn the resistance adjustment knob to the left or right, as shown in Fig. 3. To stop the bike press down on the resistance adjustment knob, as shown in Fig. 4.

CARE & MAINTENANCE
Daily
Inspect the pedals of your bike before each ride for any looseness or deformation. Doing this ensures your safety, the quality of your experience, and the overall life of your bike. If any issues are found cease using the equipment immediately and call a customer service representative.
(If applicable) Check your SPD cleats if using cycling shoes to make sure they are oriented straight to ensure proper clipping into the SPD clip on the pedal. Take care to tighten the cleat down as needed to avoid any potential malfunction when riding.
It is important to inspect your SPD's before each ride to ensure there is no damage to the clip, if any damage is detected cease using the equipment until a replacement pair of pedals can be installed. If a replacement is needed contact customer service (833-937-2453).
Power off the bike and clean every high use or exposed areas with a non acidic cleaner (no ammonia, alchohol, or chlorine). Take care NOT to spray any solution directly onto the bike. This could ruin any electrical components, ports on the bike, or the supplied tablet (specific models). Raise seat and handlebar posts to their highest setting to expose any excess moisture.
Inspect the power cord to make sure it has no damage, if damaged replace immediately by calling our customer service department (note: take care to store these in a secure dry area, away from children).
Inspect for any noises that could indicate potential issues, If a troubling noise is indicated please contact our customer service team for any service needs.
Weekly
Inspect all the assembled and pre-assembled hardware to find if anything needs to be tightened down or secured better.
This includes but is not limited to:
- All height and distance adjustment knobs/levers
- Tablet securing screws (select models)
- Dumbbell rack & drink holder bolts
- Handlebar securing bolts (select models)
- Bolts for the tablet amount
- Hinge bolt for tablet mount (select models)
- SPD clips and toe cages
- Seat clamp
We recommend lightly applying threadlocker to your pedal threads if the equipment is used more than 2 to 5 times a week.
Power off the bike, dust, vacuum and wipe down all the areas around and on the bike, that are not normally cleaned in your daily cleaning procedures, (note: move the bike to a staging area for cleaning if cleaning on stainable flooring).
Ensure your app and equipment firmware are up to date with the latest versions.
Assess the feet leveling system to make sure your bike is sitting level to the floor (adjust all four rubber feet accordingly). Adjust the left foot if the bike is leaning to the left and vice versa.
Monthly
Assess the saddle and handlebar adjustments for wear and tear. If a replacement is needed contact customer service (833-937-2453).
Assess the quality of the drive belt every 5–6 months by CAREFULLY removing the screws from the right side frame cover and using a flashlight to assess the belt from the top down while pedaling with one hand.
Check nylon foot straps on toe cages for wear.
Yearly
Inspect the vertical and horizontal adjustment knobs and call customer service for replacements if they are determined to be worn out. When this occurs the user will be unable to tighten the lever or knob down no matter how hard they try.
As Needed
Test the brake pads for wear periodically by utilizing the emergency brake a few times during a controlled sprint.
To adjust the belt tension for slipping:
- Open the right side panel by removing the bolt that is positioned over the flywheel.
- Remove the screws around the perimeter of the flywheel cover.
- Remove all the conjoining screws from the opposite side of the flywheel cover.
- Peel back the plastic cover to expose the belt tension nut, use a 3/8" Ratchet Wrench with a 6" extension, and a 13mm socket to tighten the nut from the underside of the bike (may require assistance keeping the frame open).
- Tighten 1/4 turn, resecure the flywheel cover bolt and test until your forward momentum feels smooth.
Note: it is important that proper adjustment is followed to avoid any premature belt fraying and damage occurs.
IMPORTANT SAFETY INSTRUCTIONS
WARNING LABELS

Care should be taken in mounting or dismounting the stationary exercise bike. Before mounting or dismounting, move the pedal on the mounting or dismounting side to its lowest position and bring the machine to a complete stop.
The manufacturer recommends placing the Echelon® Connect Sport bike in a space where you have two feet of clearance on all sides of the bike for safe mounting and dismounting of the exercise bike.
The minimum dimensions are: 0.5 m (19.7 in.) on at least one side, and 0.5 m (19.7 in.) either behind or in front of the exercise bike.
While cleaning your Echelon® Connect Sport bike, please use a soft rag with mild detergent or water to wipe down the machine. Do not use corrosive chemical liquids which may damage the cover.
When using an electrical appliance, basic precautions should always be followed, including the following:
Read all instructions before using the Echelon® Connect Sport Bike.
FOR HOUSEHOLD USE ONLY.

TO REDUCE THE RISK OF ELECTRIC SHOCK:
Always unplug this appliance from the electrical outlet immediately after using and before cleaning.

TO REDUCE THE RISK OF BURNS, FIRE, ELECTRIC SHOCK, OR INJURY TO PERSONS:
- An appliance should never be left unattended when plugged in. Unplug from outlet when not in use, and before putting on or taking off parts.
- Do not operate under blanket or pillow. Excessive heating can occur and cause fire, electric shock, or injury to persons.
- This appliance is not intended for use by persons with reduced physical, sensory or mental capabilities, or lack of experience and knowledge, unless they have been given supervision or instruction concerning use of the appliance by a person responsible for their safety. Keep children under the age of 13 away from this machine.
- Use this appliance only for its intended use as described in this manual. Do not use attachments not recommended by the manufacturer.
- Never operate this appliance if it has a damaged cord or plug, if it is not working properly, if it has been dropped or damaged, or dropped into water. Return the appliance to a service center for examination and repair.
- Do not carry this appliance by supply cord or use cord as a handle.
- Keep the cord away from heated surfaces.
- Never operate the appliance with the air openings blocked. Keep the air openings free of lint, hair, and the like.
- Never drop or insert any object into any opening.
- Do not use outdoors.
- Do not operate where aerosol (spray) products are being used or where oxygen is being administered.
- To disconnect, turn all controls to the off position, then remove plug from outlet.
BEFORE starting any fitness or strength program, consult with your physician or health official. This will ensure that you engage in the proper strength or fitness program for your age and physical condition.
Before using the Echelon® Connect Sport Bike, answer these questions:
- Have you been sick recently?
- Have you had prolonged dizziness recently?
- Have you been out of breath for no reason recently?
- Have you had chest pain recently?
- Do you currently have any injuries preventing you from exercise?
- Are you pregnant?
- Do you have any conditions or reasons you should NOT exercise?
- Are you over 35 years old and physically inactive?
- Have you been told by a doctor that you should NOT exercise?
If you answer "yes" to any of the above questions, you should seek further advice from your doctor prior to using the Echelon® Connect Sport Bike.
Read the user manual fully and follow all instructions. This ensures your safety.
- ALWAYS use the Echelon ® Connect Sport Bike on solid, level ground and in a well-lit and ventilated area.
- ALWAYS check that the seat, handlebars, and pedals are securely fastened before use.
- NEVER allow children to play on or around the bike. This helps protect them from injury from moving parts.
- ALWAYS set the bike up properly for your specific body type. The Echelon Connect Sprt Bike offers up/down and fore/aft adjustments that are clearly marked to ensure quick and easy customization for each workout.
- ALWAYS check the bike before use.
- NEVER use the bike if it is not properly/completely assembled or is damaged in any way.
- NEVER exceed the weight limit for this bike. The weight limit for this bike is 300 pounds. Do not use the Echelon ® Connect Sport Bike if your body weight is in excess of 300 pounds.
- NEVER use Echelon ® Connect when sick or fatigued.
- ALWAYS wear proper attire and footwear that fully covers your feet. Long hair should be tied back or tucked away. Ensure that shoelaces are tucked into your shoes.
- ALWAYS warm up/stretch before starting exercise.
- ALWAYS be cautious when getting on and off the Echelon ® Connect Sport Bike.
- ALWAYS wait until the pedals have come to a complete stop before taking your feet off of the pedals or dismounting. Do not stand or climb on the handlebars.
- ALWAYS keep hands away from moving parts and ensure that hands are never placed where there is no rubber handlebar grip.
- NEVER overexert yourself or work to exhaustion. If you feel faint, dizzy, short of breath, or if you have chest or other pains, STOP IMMEDIATELY! Consult your physician before using the Echelon ® Connect Sport Bike again.
- ALWAYS ensure that you have a water bottle filled with at least 12 oz. of water and a towel close by to absorb sweat from your body and the handlebars.
- NEVER use the Echelon ® Connect Sport Bike in a standing position at high revolutions per minute (RPM).
- ALWAYS keep your pelvis positioned over the center line of the Echelon Connect Sport Bike.
- NEVER adjust the resistance of the flywheel or the position of the handlebars while in a standing position.
- NEVER use accessory attachments that have not been recommended by the manufacturer. Using such attachments may cause injury or damage to the bike and will affect the warranty of the bike.
- ALWAYS ensure that the Echelon ® Connect Sport Bike is wiped down after each use to keep it sanitary.
- Cleaning and user maintenance shall not be made by children without supervision.
If any problems arise affecting the performance of the Echelon® Connect Sport Bike, contact the manufacturer immediately. Always ensure that parts which undergo wear are checked regularly.
This safety information and user manual do not replace the need to be alert and to use common sense when using the Echelon® Connect Sport Bike!
CUSTOMER SERVICE
Questions or Concerns
Our members are our priority! If you require assistance or have concerns, please contact our customer service team.
(833) 937-2453
cs@echelonfit.com
Submit a Request:

Documents / Resources
References
![www.apple.com]() App Store - Apple
App Store - Apple![play.google.com]() Google Play
Google Play![echelonfit.com]() Home Exercise Equipment | Echelon – Echelon Fit US
Home Exercise Equipment | Echelon – Echelon Fit USEchelon Member Portal
Download manual
Here you can download full pdf version of manual, it may contain additional safety instructions, warranty information, FCC rules, etc.
Download Echelon CONNECT SPORT BIKE, ECH-SPORT -Exercise Bike Manual
Advertisement


Need help?
Do you have a question about the CONNECT SPORT BIKE and is the answer not in the manual?
Questions and answers