Advertisement
- 1 Dash cam detail introduction
- 2 Button Function
- 3 Common Problems and Solutions
- 4 Set up and Installation
- 5 Installing the rear camera
- 6 Operating Mode
- 7 Video Recording Mode
- 8 Video Recording Menu
- 9 Photo Mode Menu
- 10 Playback Mode
- 11 Playback Menu
- 12 System Setting Menu
- 13 Specification
- 14 Safety
- 15 Documents / Resources
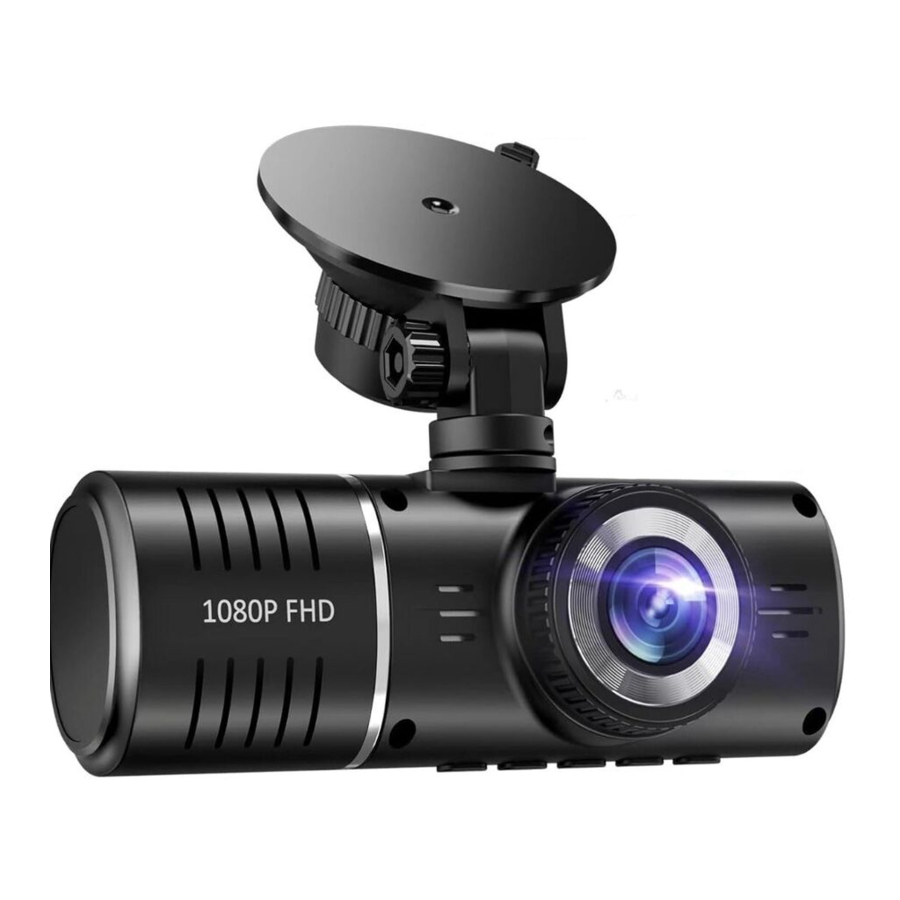
Dash cam detail introduction


- Front Lens
- Screen
- inside
- Mini USB Power in
- Rear Cam Interface
- Mount Socket
- MIC
- Power
- 0K
- up
- Menu
- Down
- Memory card Slot
- Reset
Button Function
| Power | Long press to tum ON / CFF the camera Short press the power button to darken/brighten the screen |
| OK | In Standby / Video / Photo Mode Short press to start / stop video recording or take a photo In Setting Menu, short press to confirm selection and adjustment In Playback, short press to select and play recorded files |
| UP | In Setting Menu Short press to select option and adjust In Playback, short press to select media files, long press to switch front and rear media files During video recording short press to switch front, rear and inside camera display |
| Menu/ Mode | Please press OK button to pause recording firstly, short press to access the menu settings, and then press once again to access System Setting Menu In standby, Long press to switch mode between Video / Photo / Playback |
| Down | In Setting Menu Short press to select option and adjust values n Playback, short press to select media files, long press to switch front and rear media files During video recording, short press to turn ON/OFF audio recording |
Common Problems and Solutions
Even though set the screen saver, but the screen will randomly.
The power supp y might not be stable, please change another car charger to try
Why dash cam drain car battery?
Please check whether the cigarette lighter still be on after you turn off car engine
The camera keeps starting and off?
That could be the parking monitor function being triggered, check the setup menu
The dash cam will stop automatically while recording
- Check whether the memory card is full
- Check whether the Micro SD card is high-speed above C10
- Check the memory card, there might be too many locked video that the loop recording won't work right
- Check the car charger connection status, if the connection is loose, the power supp y is not stable, the camera will automatically turn off
If the video played on the computer is somehow not fluent or jammed.
- Try to play the video with other video players, like: Potplayer or VLCplayer.
- Format your Micro SD card in the camera
- Run speed test on the memory card to make sure the memory card fits the requirement: Write Speed is over 10MB/S
There are stripes interference in the image
There should be wrong light frequency.
According to the local main frequency, make the appropriate settings 50HZ or 60HZ
Excellent after-sales service:
If you have any questions about our products or have problems during use, please send your questions to the email:
support@suvcon.store
We help you as soon as possible
Set up and Installation

- Before install ation, please check the camera s normal function, and make sure you are using a high speed Micro SD card (speed Class 10 or above),and format the card in the camera menu before recording
- Use the suction cup mount to install the J06 dash cam on the windshield The recommended place is near the rear view mirror facing front, adjust the ens angle for best coverage
- Adjust the lens angle of the camera, make sure you get the best coverage over the hood and the road ahead, so you can record what happens
- Connect the power to the camera and the cigarette Iighter, hide the rest of the cable in the gap of the interior trim board
Installing the rear camera
Position 1: For easy installation, install the rear camera on the rear windshield

Position 2: Rear camera should be install ed near the license plate Position 2 is very advised Both the rear viewing and reverse quidance images are sharp and clear TO use the reversing function please install the rear camera in this position


Twist the regulator behind the suction cup, turn it to the left  , hear a "click" sound, loose, remove the suction cup from the glass,
Twist to the right  and hear a "click' sound, indicating that the suction cup has been fixed on the glass

- Screw "a" to remove the suction cup from the tachograph
- Push the bottom of the suction cup "b"to the eft with your thumb to remove the suction cup from the dashcam
Operating Mode
The J06 operates in 3 modes: Video Recording Mode, Photo Mode and Playback Mode. These modes also have menu to help you configure recording and taking photos. Press and hold 'Menu"to switch between different modes and access to the mode you want. Watch the icon on top left corner of the screen for each mode.
Video Recording Mode
The camera will automatically enter Video Recording Mode and start recording when connected to a car charger and power on A Red dot flashing on the top eft corner indicates recording is in progress Press the OK to stop recording, or start recording again.
In all 3 operating mode, you can press the Menu button once to access the menu settings for that particular mode, and press twee to display System Setting Menu.
The System Setting Menu is common to al modes.
Press UP and DOWN to scroll through the various setting options and press OK to select and confirm selection, Press MENU again to exit the setting menu.

- Video Mode icon
- Loop Recording
- Exposure
- HDR
- G -Sensor
- Recording Time
- Resolution
- Parking Monitor
- LED Status
- Memory Card Status
- Power Status
- Audio Status
- Time & Date
In all 3 operating mode, you can press the Menu button once to access the menu settings for that particular mode, and press twice to display System Setting Menu The System Setting Menu is common to all modes.
Press UP and DOWN to scroll through the various setting options and press OK to select and confirm selection, Press MENU again to exit the setting menu
Video Recording Menu

Resolution: Adjust front lens recording video resolution 3CH:1080P+720P+480P 720P+480P+480P
Loop Recording: This function allows you to set video length to Off/ 1/3 minutes, Select a val e to activate loop recording, so when storage is full it will automatically loop back to the earliest file and record over it.
High Dynamic Range: Turn on to optimize video quality with wider light range and image details.
Exposure: Adjust exposure value to adjust the brightness of the video.

Audio Recording: Turn ON/OFF audio recording in video.
Date & Time Stamp: Enable/DisabIe the date and time marks in video files.
Collision Sensitivity: G-sensor will detect significant or sudden shock and movement, then automatically locks current file from loop recording Low/medium/High sensitivity are available
Park Mode: lt s used to protect your car after parking. With this function on, after you stop the car and the camera turns off, it stays standby. When camera detects shock and collision, it will automatically turn on and take a short video, then shut down automatically.
This function require continuous power and Hard Wire Kit (NOT included in package)
Photo Taking Mode:
The d06 camera can operate in Photo Taking Mode, and take HD photo up to 10 Mega pixels
To take a photo:
Simply power on the d06 camera Long press MENU to select Photo Mode, and Press OK to take photo.
Like the Video Recording Mode, you can press the Menu button once to access the setting menu for Photo Mode, Press Menu twice to enter system setting menu
Photo Mode Menu

Photo Resolution: Set the photo resolution, Up to 10 Mega Pixels available
Image Stabilization: Turn ON/OFF image stabilization function Date & Time Stamp: Enable/DisabIe the date and time marks in image files
Playback Mode
This mode allows you to play back recorded video or view photos
- Stop video recording, long press MENU button twice to enter playback mode
- Use UP and DOWN button to scroll through the recorded files/photos, and press OK to view recorded video
Playback Menu
After choosing a recorded video or photo, press the Menu button once to access the setting menu for Playback Mode

Delete: Delete the current file displayed or delete all files
Protect: Lock/Unlock the current fie displayed or Lock/ Unlock all files
System Setting Menu
Press MENU button twice to access System Setting Menu in any mode. The TOOL icon is highlighted in the upper left corner

Screen Saver: Set the time to automatically turn off the LCD display after no operation
Auto Power Off Delay: Set the time for the camera to automatically power off to save power. The camera will automatically power Off when it is standby under the setting time
Frequency: Set light frequency to 50Hz or 60Hz according to local regulation
Beep Sound: Turn on/off sound when you press any button
Language: English / German / Chinese /Japanese available
Date & Time Stamp: Set the time and date Press the up and Down keys to adjust the numbers, then press the [OK] button to confirm/change, and press the [M] button again to exit the time setting
Format Memory Card: Format the Inserted Micro SD card
Reset to Default: Restore default
Firmware Version: N3D4C JOO 20230822
IR Night Vision: Turn on or Off the 4 R LED lights next to the inside camera
Specification

Safety

- This product is intended for using in motor vehicles only. Do NOT install the camera where it might block the driver's view of road (including the mirrors) or the deployment of the airbag Before using this device, please insert the memory card first, and need to format micro SD card to FAT32 format on PC firstly, then format the memory card in camera menu
- This camera records video at high resolution Be sure to use high speed Micro SD card (Class 10 or above) 16 GB or 128GB Micro SD card is recommended
- For safety reasons, this camera has a small built in battery, which is used to save the video file after external power supp y cuts off (car turns off)
- Be sure the camera lens is clean and there is nothing blocking. DO NOT eave the camera in direct sunlight for a long period of time or where the temperature could go above 1400F(600C) Any silicone suction mount will shrink when exposed to heat, so please do not install the suction mount at more than 1400F/600C to avoid the suction mount falling
- Before installing the adjustable suction mount, tear off the protective film on the adjustable suction mount and clean the dust on the glass to prevent dust from sticking to the glass and air entering between the suction mount and the glass, causing the suction cups to fall.
- If you want to remove the suction base from the mounting socket, push the bottom of the suction base to make it easier to remove
Documents / ResourcesDownload manual
Here you can download full pdf version of manual, it may contain additional safety instructions, warranty information, FCC rules, etc.
Advertisement


Need help?
Do you have a question about the J06 and is the answer not in the manual?
Questions and answers