Advertisement
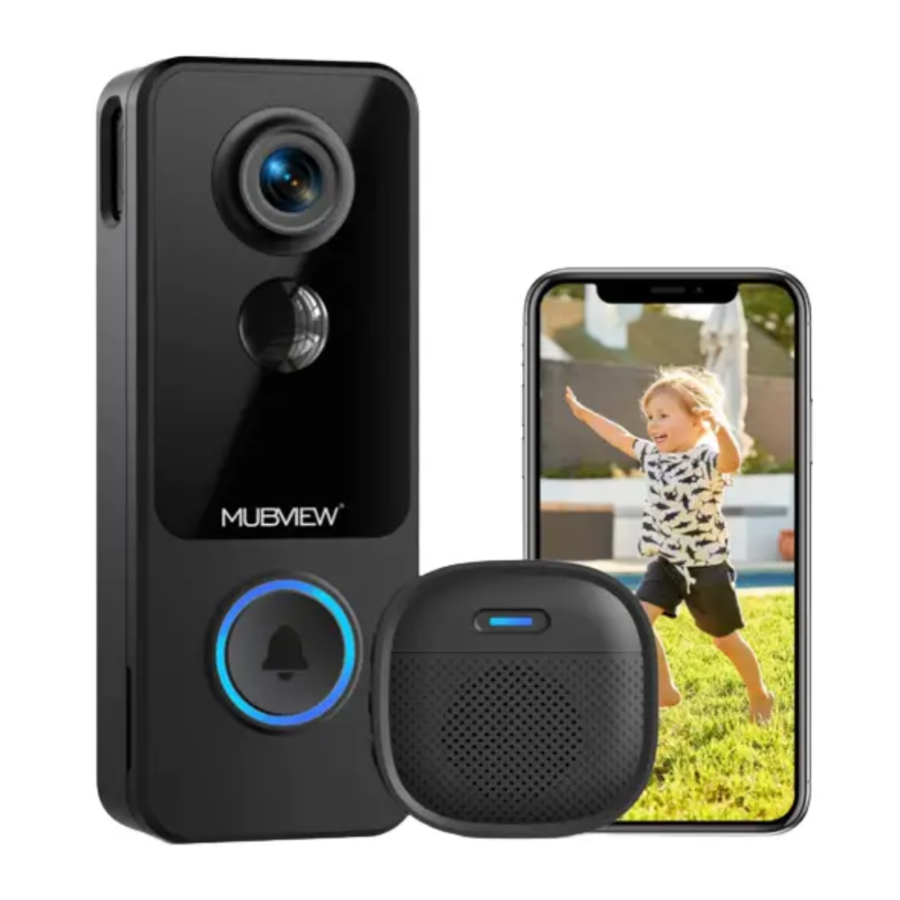
What's in the Box

Doorbell * 1
USB Cable *1
DingDong *1
Screws Set/Screwdriver *1
Quick User Guide *1
3M Tape *2
 NOTE: Micro SD card and power adapter are not included.
Meet the Doorbell

- Doorbell comes with a 4,800mAH rechargeable battery.
Download and Install App
Download Mubview App from Google Play™

or App Store™.

Or scan the QR codes as below, with your smart phone:

iOS

Android
NOTE: Make sure turning on both permissions below.
- Allow Mubview App to access mobile cellular data and wireless LAN, otherwise it will fail to connect the camera (in mobile Setting).
- Allow Mubview App to send messages, otherwise the phone will not receive alarms when motion is detected (in mobile Setting-Mubview).
Account Registration
New user needs to sign up in Mubview App with email address. Click 'Sign up' to create a New Account and follow the steps to complete registration.
Add Doorbell to App
Preparations for connection
- Insert Micro SD Card into the camera to save videoclips or you can start the 3-day free cloud service. Without Micro SD Card or cloud service, no video will be saved.
- The camera only support 2.4GHz Wi-Fi, not support 5GHz.
- When connect to the network, please take the camera close to the router (suggest within 10-15ft).
Connect Doorbell to App


Charge your Doorbell
Prior to the doorbell installation, please charge up your doorbell for about 8-10 hours till the charging LED turns BLUE from RED.
| LED STATUS | INDICATION |
 Solid red | Battery charging |
 Solid blue | Fully charged |
Compatible charger
(not provided)
USB compatible mobile phone charger (DC 5V 1A~2A).

Set up Doorbell
- Press your doorbell to activate, and you will see the LED indicator flashes red (once per second). If not press and hold reset button for 5 seconds to restore factory defaults.

![information]() Tips
Tips - Please operate the setup near your Wi-Fi router.
- Make sure your phone connect to a 2.4GHz Wi-Fi.
- Make sure the doorbell is turned on and its indicator LED is flashing red. If not, press and hold RESET for 5 seconds.
- Ensure the Wi-Fi signal is good, and the Wi-Fi password is correct.


| LED STATUS | INDICATION |
 Solid red Solid red | Device is abnormal |
 Flash red (once/sec) Flash red (once/sec) | Ready for Wi-Fi configuration |
 Flash red (twice/sec) Flash red (twice/sec) | Connecting to Wi-Fi |
 Solid blue Solid blue | Device is online |
 Flash blue (once/sec) Flash blue (once/sec) | LiVe-viewing doorbell cam |
 Flash blue (twice/sec) Flash blue (twice/sec) | Firmware upgrading |
Pair With Your Indoor Chime
- Click the SETTING button on the chime, and the chime will be in pairing mode for 20 seconds, with its red LED flashing.

- Press the doorbell button to send a pairing signal, and your chime will sound to react, together with its blue LED flashing. Chime pairing succeeds.

- Chime settings.
![]() Settings.
Settings.
Click to enter/quit pairing mode;
Press & hold for 5 seconds to restore factory defaults.
![]() Volume control button.
Volume control button.
Click to control volume:
level 1: 110 dB;
level 2: 100 dB
level 3: 90 dB;
level 4: 80 dB
![]() Ringtone selection.
Ringtone selection.
Click to change ringtone (4 ringtones available).


 Settings.
 Volume control button.
 Ringtone selection.
Install Your Doorbell
- Select location for your doorbell.

- Mount your doorbell.
- Release the rear mount using the unlock pin.
![]()
- Mark the screw holes with the doorbell mount.
![]()
- Release the rear mount using the unlock pin.
- Standard installation.
- Mount the rear mount to your wall with screws and tools.

- Adhesive tapes are optional to mount the doorbell on flat surfaces.

- Attach the doorbell to its rear mount, and push the doorbell to lock up.

- Press the doorbell down again. All set!

- Mount the rear mount to your wall with screws and tools.


Product Specifications
Video Doorbell Model No.: Bell J9
| Camera | 1080P Full-HD Camera |
| Effective pixels | 1920H x 1080V |
| IR LED | High power dot-array IR LED x 1 |
| View angle | 120° |
| Motion detect range | 100° (Max 5m) |
| Motion sensitivity | 5 level sensitivity settable |
| Alarm trigger | Call button, motion detect |
| Wi-Fi | 2.4 ~ 2.4835 GHz WIFI (IEEE802.11b/g/n) |
| Video recording | Video clips against events |
| Audio | Full duplex 2-way audio |
| Storage | SD card (Max. 128G) |
| Cloud storage | Yes (3-days-free trial) |
| Power supply | Built-in rechargeable Li-ion battery |
| Battery capacity | 4,500mAh |
| Ingress protection | IP65 |
| Operating Temp | -20℃ to 50℃ |
| Dimensions | 56.2 x 38 x 147.5mm |
| Net weight | 243g |
Wireless Chime Model No.: Chime09
| Power source 1 | DC 5V 1A (from Micro USB) |
| Power source 2 | AA LR6 1.5V battery x 3 units |
| Consumption | 0.4W |
| Ringtones | 4 ringtones optional |
| Connection type | Radio frequency 433MHz/868MHz |
| Place of use | Indoor |
| Red LED flashing | Pairing mode |
| Blue LED flashing | Working normally |
| Red LED flashing | 3 times Reset factory default succeeds |
| Working Temp | -20℃ ~ 50℃ |
| Humidity | <90%, no condensation |
| Dimension | 65.5 x 65.5 x 27mm |
| Weight | 89.2g (Battery Included) |
Register via link below to get 3 Years Warranty Extension.
https://bit.ly/3zBSB2y
Product Service
Email: support@mubview.com
Distributor: business@mubview.com
More About Us
Web: www.mubview.com
Facebook: www.facebook.com/mubview
Amazon Store: www.amazon.com/mubview
Documents / Resources
References
![play.google.com]() Google Play
Google Play![www.apple.com]() App Store - Apple
App Store - Apple![bit.ly]() weixi Customer Registration Form
weixi Customer Registration Form![www.mubview.com]() Mubview
Mubviewhttp://www.facebook.com/mubview
Amazon.com: MUBVIEW
Download manual
Here you can download full pdf version of manual, it may contain additional safety instructions, warranty information, FCC rules, etc.
Advertisement


Need help?
Do you have a question about the Bell-J9 and is the answer not in the manual?
Questions and answers