
Related Manuals for MUBVIEW Bell-J7


Summary of Contents for MUBVIEW Bell-J7
- Page 1 A Smarter Safety Solution WIRELESS I WIFI I OUTDOOR I WATERPROOF FCC ID: 2AUSP-BELLJ6...
- Page 2 We will solve your problems within 24 hours. Besides, your advice or suggestions will be much appreciated and welcomed. Register via link below to get 3 Years Warranty Extension.http://bit.ly/zuReg Product Service Email: support@mubview.com Distributor: business@mubview.com About Us Web: www.mubview.com Facebook: www.facebook.com/mubview Amazon Store: www.amazon.com/mubview...
-
Page 3: Table Of Contents
------------------------ P1 2.2 Power by DC 5V adapter 3. What’s in the Box------------------------------- P2 4. Switch on the Doorbell ------------------------ P3 5. Download Mubview APP ---------------------- P4 6. Account Registration---------------------------- P4 7. Add Doorbell to App--------------------------- P5 -------------------- P5 7.1 Preparations for connection 7.2 Connect Doorbell to App-----------------------------... -
Page 4: Charge The Doorbell
1. Charge the Doorbell Please charge your doorbell with a DC 5V 1A~2A phone adapter and the provided charging cable. The LED will glow blue once fully charged. Start Charging: Fully Charging: 2. Supply Power to the Chime 2.1 Power by three AA batteries Three units of AA batteries is required to make your indoor chime 100% wire-free. -
Page 5: What's In The Box
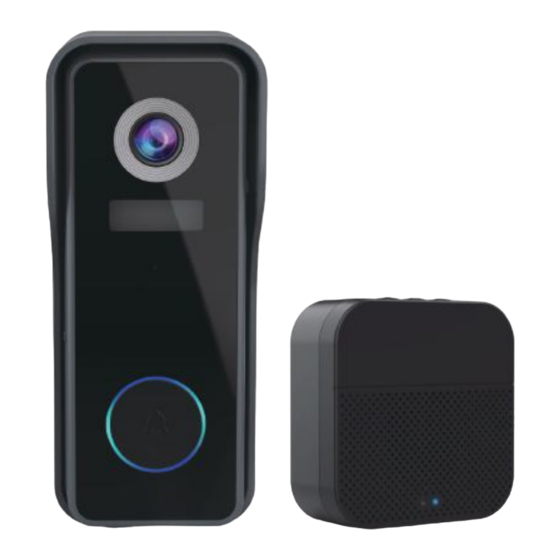
3. What’s in the Box A Smarter Safety Solution WIRELESS I WIFI I OUTDOOR I WATERPROOF USB Cable *1 Doorbell * 1 Screws Set/Screwdriver *1 DingDong *1 Quick User Guide *1 3M Tape *2 NOTE: Micro SD card and power adapter are not included. -
Page 6: Switch On The Doorbell
4. Switch on the Doorbell Remove the wall mounting bracket and silicone cover, switch on your doorbell. The LED indicator will flash red (once per second), and it is ready for network setting. On/Of switch Solid Red Device is abnormal Flashing Red Slowly (Once per second)... -
Page 7: Download Mubview App
(in mobile Setting-Mubview). 6. Account Registration New user needs to sign up in Mubview App with email address. Click 'Sign up' to create a New Account and follow the steps to complete registration. -
Page 8: Add Doorbell To App
7. Add Doorbell to App 7.1 Preparations for connection ① Insert Micro SD Card into the camera to save video clips or you can start the 3-day free cloud service. Without Micro SD Card or cloud service, no video will be saved. - Page 9 Reset the Camera Activate the doorbell Prepare to Scan Scan QR Code Wait till 100% Perform Network Diagnosis...
-
Page 10: Connect The Chime
LED flashing. Chime pairing succeeds. NOTE: If your home is large and you need more than one Dingdong, please buy it on Amazon or contact Mubview team to get extra 2. -
Page 11: Chime Settings
Level 4: 80 dB Settings Click to enter/quit pairing mode; Press & hold 5 seconds to restore factory defaults NOTE: If you need 3-day overwriting cloud storage for half a year for free, please contact us to get it. Email: support@mubview.com... -
Page 12: Install The Doorbell
9. Install the Doorbell 9.1 Select a location You can purchase the following angled brackets so as to point your doorbell to a specific view angle. Wedge Mount Corner Mount (Not included) (Not included) 8 degrees stackable 25 to 50 degree... -
Page 13: Mark The Screw Holes & Install The Wall Mount
9.2 Mark the screw holes & Install the wall mount 1.Take apart the wall mount from your doorbell and mark the location of the two mounting holes on your wall. 2.Screw your bracket into wood wall with the provided screws. -
Page 14: Tamper Alart Setting
10. Tamper Alart Setting Kindly notice the anti-theft alarm in doorbell settings. Tamper Alert on Once the doorbell is detached from the bracket, a 30-sec alarm will be triggered. Meanwhile, video recording will be activated, and alarm notification will be pushed to the owner’s APP account. -
Page 15: Product Specifications
11. Product Specifications Video Doorbell Model No.: Bell J7 Wireless Chime Model No.: Chime 06...
Need help?
Do you have a question about the Bell-J7 and is the answer not in the manual?
Questions and answers