D-Link DAP-1360 - WIRELESS N ACCESS POINT Manual
- User manual (270 pages) ,
- Quick installation manual (86 pages) ,
- Brochure & specs (4 pages)
Advertisement
Package Contents
Open the DAP-1360 package and check to see if all of the following items are included inside:
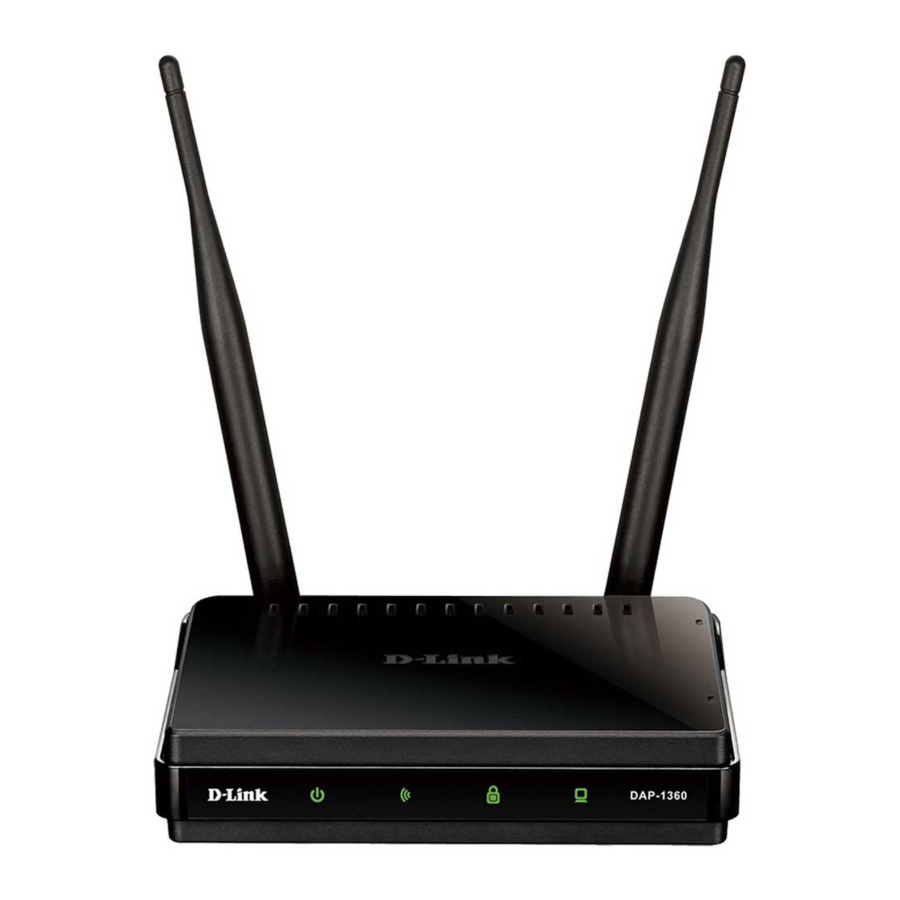
- DAP-1360 Wireless N Access Point
- Two detachable antennas
- Power adapter
- Cat. 5 Ethernet cable
- CD-ROM containing the User's Manual and this Quick Installation Guide
If any of the above item is missing or damaged, contact the reseller from whom you purchased this package immediately.
System Requirements
The DAP-1360 Wireless N Access Point is designed to work with computers equipped with Windows®, Macintosh®, or Linux-based operating systems.
To configure this Wireless N Access Point, you need a computer with an Ethernet interface and an Internet browser such as Microsoft Internet Explorer 6.0 or above, Netscape Navigator 7.0 or above, or FireFox 1.5 or above.
Setting Up the DAP-1360
Step 1: Connect the Power Adapter.
Check the AC voltage of your AC power outlet against the AC power input of the power adapter. Connect the power adapter supplied with the DAP-1360 to the power socket on the back of this device first, then plug it to your AC power outlet. Check to see that the Power LED on the front panel of the DAP-1360 is turned ON.

The DAP-1360's power output is 5 volts DC, 1.2 Ampere. Use only the power adapter supplied with this DAP-1360 or one with the same power specifications. Using a power adapter with a different voltage or plugging your DAP-1360 to a wrong AC voltage outlet will damage this device and will void the warranty for this product.

Step 2: Connect the Antenna and Ethernet Cable
Connect both antennas to the antenna connectors on the back of the DAP-1360. Connect one end of the Ethernet cable to the LAN port on the back panel of the DAP-1360, and the other end of this cable to your computer's Ethernet port. If your computer is connected to an Ethernet network via an Ethernet switch, connect this end of the cable to the switch's port.
Step 3: Begin Configuring your DAP-1360
This configuration step presumes that you will use the DAP-1360's default factory setting of operation mode of AP (access point). This mode allows computers and devices equipped with 802.11n standard wireless LAN interfaces to communicate with other wireless computers and devices through the DAP-1360. In addition, the default factory setting provides no wireless security. To set the DAP-1360 to another operation mode and to set its wireless security, refer to its User's Manual.
Run a web browser on your computer.
The following login screen will appear:

Once you have logged in, the following Setup screen will appear:

Select Access Point as the wireless mode.

Enter the device name of AP and click Next to continue. It is recommended to change the Device Name if there is more than one D-Link device within the subnet.

Customize your own password and click Next.

Select Auto as the configuration method only if your wireless device supports Wi-Fi Protected Setup.
Click Next to continue.

Click Save to save your network settings.

Select Manual as the configuration method to setup your network manually.
Click Next to continue.

Enter a network name and choose the option to Automatically assign a network key. To Manually assign a network key, see information below. Click Next to continue.

If you choose WPA-PSK encryption, the following screen will display the Network Key to be entered on your wireless clients. Click Save to finish the Setup Wizard.

If you choose WEP encryption, a following screen will show you your Network Key to enter on your wireless clients.
Click Save to finish the Setup Wizard.

Choose Manually assign a network key to create your own key and click Next to continue.

For WPA encryption, enter a Network Key between 8 and 63 characters long or enter exactly 64 characters using 0-9 and A-Z.

If you select WPA encryption, the following screen will display the network key to be entered on your wireless clients.
Click Save to finish the Setup Wizard.

For WEP encryption, enter a Network Key exactly 5 or 13 characters long or exactly 10 or 26 characters using 0-9 and A-F. Click Next.

If you select WEP encryption, the following screen will show you your network key to enter on your wireless clients.
Click Save to finish the Setup Wizard.

YOUR NETWORK SETUP

Documents / ResourcesDownload manual
Here you can download full pdf version of manual, it may contain additional safety instructions, warranty information, FCC rules, etc.
Advertisement


Need help?
Do you have a question about the DAP-1360 and is the answer not in the manual?
Questions and answers