Advertisement
INTRODUCTION

Do not store the emergency key inside the safe!
INSERTING THE BATTERIES
Open the safe, remove the plastic cover on the inside of the door and insert 4 AA 1.5V batteries, checking that the polarity is correct to ensure the safe functions properly.
PROGRAMMING THE OPENING CODES
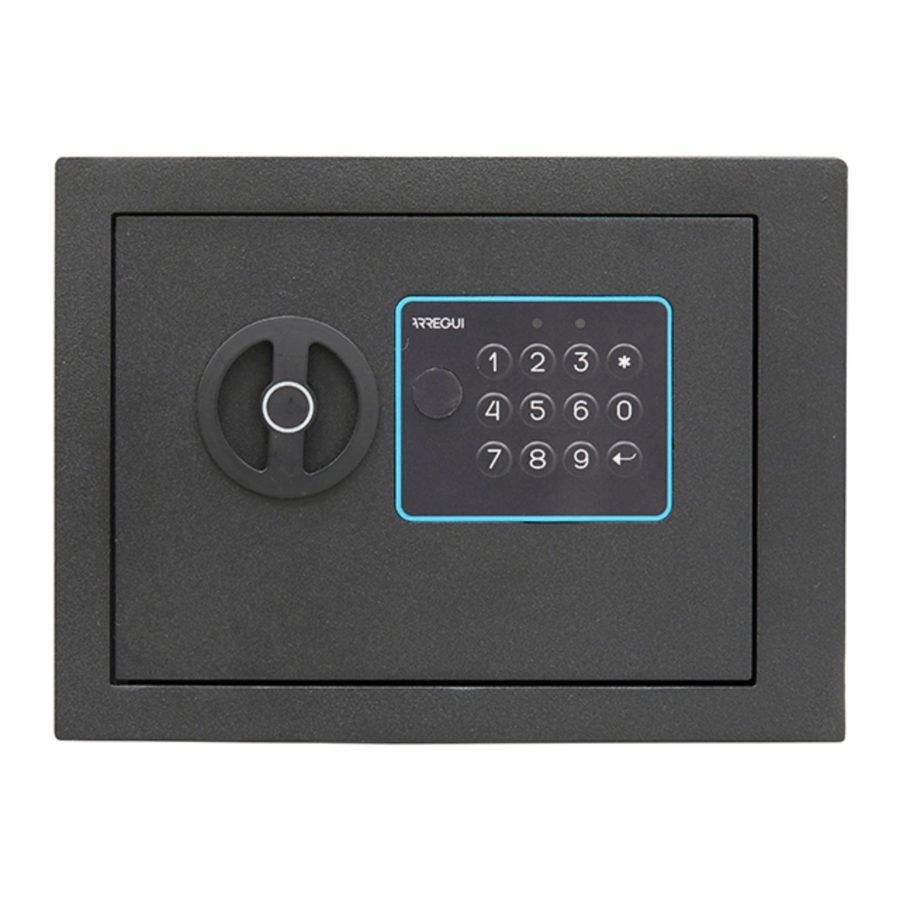
This safe allows you to programme 2 opening codes (user and master) of 3 to 6 digits.
Initial user code: 000000
Initial master code: 888888
For security reasons, it is important to change them and set up new codes of your choice.
Programming the user code
- With the safe door open, enter the user code (initial code 000000), press
![]() and then press
and then press ![]() .
. - Enter the new user code (3 to 6 digits) and press
![]() . You will hear 3 beeps.
. You will hear 3 beeps. - Enter the new user code again and press
![]() . You will hear a long confirmation beep.
. You will hear a long confirmation beep.
If there is an error, the red light will turn on. Restart the process from point 1.
 Note: If necessary, press
  to delete the last digit entered.
Programming the master code
- With the safe door open, enter the master code (initial code 888888), press
![]() and then press.
and then press. - Enter the new master code (3 to 6 digits) and press
![]() . You will hear 3 beeps.
. You will hear 3 beeps. - Enter the master code again and press
![]() . You will hear a long confirmation beep.
. You will hear a long confirmation beep.
If there is an error, the red light will turn on. Restart the process from point 1.
Note: If necessary, press to delete the last digit entered.
RESETTING CODES
If you forget the opening codes, use a non-sharp object to press the green reset button on the side of the door, near the hinge. Hold it down for 3 seconds and you will hear a long beep, the green light will blink once and the safe will return to its original configuration.

OPENING THE SAFE
- Enter the opening code (user or master) and press
![]() . You will hear 2 beeps.
. You will hear 2 beeps. - You have 5 seconds to turn the knob clockwise and open the safe.
Note: If an incorrect code is entered 3 times in a row, the safe will emit several beeps and lock for 20 seconds.
CLOSING THE SAFE
Close the safe door and turn the knob anticlockwise.
OPENING WITH EMERGENCY KEY
If you do not have the opening codes or the batteries have run out, you can open the safe with the emergency key.
Remove the lock cover, insert the key and turn it anticlockwise. Next, turn the knob clockwise and pull to open the safe.
Note: If you are opening with the emergency key because the safe has locked after the wrong codes have been entered, the key will open the door but the beep will continue for the 20-second locking period. To stop this, you will need to remove the batteries.
OTHER CHECKS AND CONTROLS
Battery status check
Each time you enter the correct code to open the safe, the electronic system will check the battery status. If they are running out, the red light will turn on after the green light.
If this happens, replace the batteries with new ones as soon as possible.
Sound control
To use the safe in silent mode, press 6 . If you want the safe to emit sounds again, press 6 once more.
MAINTENANCE
Periodically (every 6 months) check the condition of the battery compartment to detect possible signs of rust, sulphation, etc.
Grease/oil any mechanical moving parts, such as locks and bolts.
INSTALLING THE SAFE
Attention
Safes, whether they are desktop or wall safes, should be installed such that the door is vertical and opens to the right, except for specific models whose door opens to the left.
SAFE RIM LOCKS
- Drill holes for the expansion bolts (or fastening screws) in the appropriate location.
- Use the expansion bolts (or fastening screws) to secure the safe to the wall or floor.
- Ensure the safe is mounted in the desired location and tighten all bolts or screws.
Security Warning:
- Use the expansion bolt when the wall surface is concrete.
- Use the fastening screw when the wall surface is wood.
SAFE EMBEDDING
Proper and correct installation of the safe to be embedded is essential for the security of the product.
- Before embedding, the safe's correct functioning must be checked by carrying out door opening and closing tests (see the set of operating instructions).
- The safe must be installed with the door opening from left to right (except for left-sided opening models). It must never be installed turned around, or be placed on the floor. The guarantee cover is invalid if these conditions are not complied with.
- The safe must be installed maintaining a 2-cm gap towards the inside of the wall in which it is being installed..
- It is advisable to position the safe in places where access with large size tools such as picks, hammers, cudgels and spikes etc., but where access to the door is easy for the user.
- Choose a Wall at least 10 cm thicker than the depth of the safe. Avoid walls with condensation or moisture problems in order to prevent damage to the locking system mechanisms.
- Drill a bore hole on the chosen Wall of 15cm greater in width and height than the acquired safe's dimensions, and to a depth 7cm greater than the depth of the safe.
- Provide suitable protection to the safe door area using plastic sheeting to avoid moisture and mortar damage to the locking system areas.
- A lath with a grid size of 50 x 50 mm should be placed around the four side faces and the rear face using diameter 8 rods. There should be a 3-cm gap to the walls.
- Produce a wooden panel in the form of shuttering to cover the front part, leaving a useful space for the application of the mortar required to fill the gap left.
- Fill up the embedding area with high-resistance cement composed of type CEM II A-LL 42.5R according to BS (British Standards) UNE EN 197-1, using sand and water, carefully filling and compacting the mortar evenly over the area without leaving unfilled areas. The use of quick-try cement is advised.
- Once the applied mortar has set and hardened, leave the door open for 5 days to get rid of residual moisture from the casing. Finish off the wall with a coat of plaster or other coverings. Take special care to avoid contamination with any residual element or dirt, etc., during casing procedures, mortar filling, plastering, painting or the application of other types of final finishes by ensuring these do not get into door surround areas, in key holes, keypads or other elements and locking systems (keypads, external battery connections...)
![]()

PROBLEMS & SOLUTIONS
| COMMON PROBLEMS | POTENTIAL SOLUTIONS |
| The safe's batteries have run out | Use the emergency key to open the safe and replace the batteries. |
| You have lost the emergency key | Request a duplicate from the establishment where you purchased the safe, providing the serial number. |
Documents / ResourcesDownload manual
Here you can download full pdf version of manual, it may contain additional safety instructions, warranty information, FCC rules, etc.
Advertisement


Need help?
Do you have a question about the BLUE and is the answer not in the manual?
Questions and answers