Advertisement
PACKAGE

* These items come pre installed on the T2
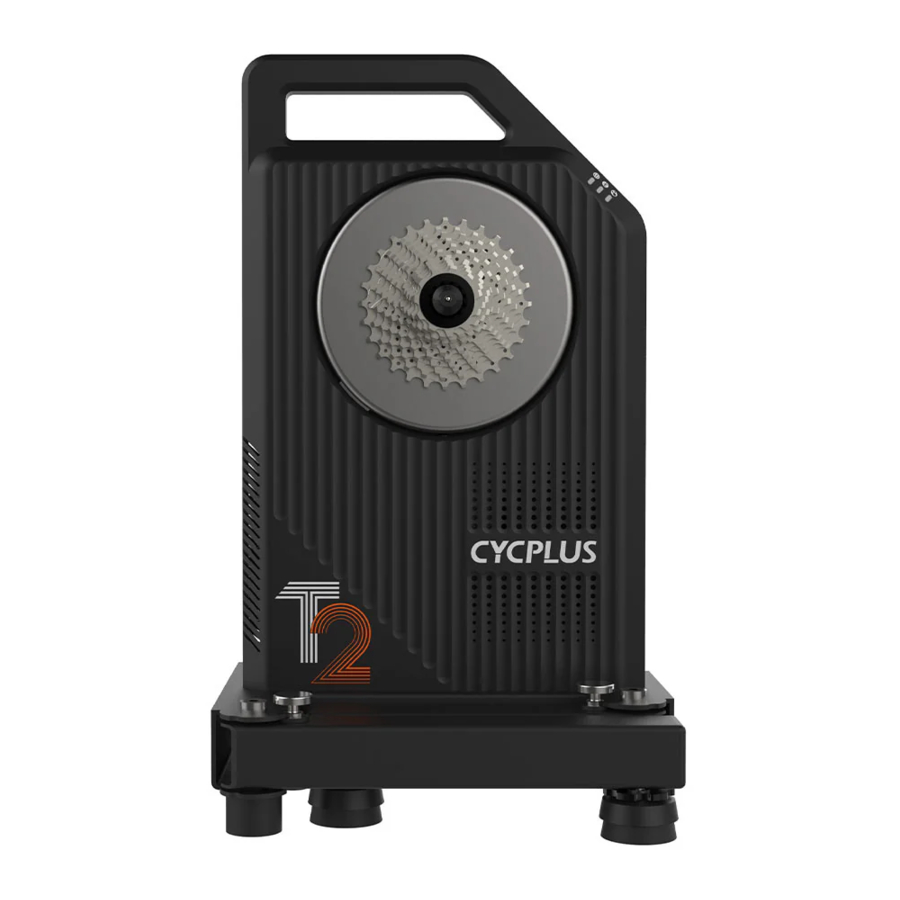
- CYCPLUS T2
- AC Power Source
- Quick Release Skewer *
- 11 Speed Cassette Sprocket*
- 1.8 mm Spacer
- Adapter A (For 130mm and 135mm Quick Release) *
- Adapter B (For 130mm and 135mm Quick Release) *
- Adapter C (For 1 and Thru Axle)
- Adapter D (For and Thru Axle)
- Floor mat
T2 INSTALLATION
- Lay the floor mat on the ground, and place T2 in the center of the floor mat.
![]()
- Press down the white buckle, pivot the legs outward until the outriggers are stretched to the locking position. When the occlusion is locked, a "click" will be heard and the white buckle will bounce.

- Unfold and lock the two hind legs and front legs in turn.


- Rotate the leveling feet so that all the four leveling feet of T2 fit the floor mad.
![]()
- Adjust the lock nut to fully fix the four leveling feet on the 4 legs.
![]()


- The T2 is pre-installed with an 1 1-speed cassette sprocket. Users who use 8, 9, and 10 speed cassette sprocket, please remove the cassette sprocket, first install the spacer on the freehub, and then install the cassette sprocket. T2 supports SRAM XDR 12-speed cassette sprocket, please contact us to purchase freehub separately.

- T2 is pre-installed with a 130mm quick release converter. For a 135mm quick release frame, please remove the quick release lever and reverse install the converter B.
![]()
- For the frame of thru Axle specification, please first remove the quick release lever, converter A and converter B, and then install converter C and converter D. Please tighten converter C during installation to avoid the converter C falling when installed the frame.
![]()


ATTACHlNG YOUR BICYCLE
- Adjust the bicycle derailleur and shift the bicycle chain into the smallest sprocket of the chain and cassette sprocket.
- Keep the quick release lever in the open state, and align the bicycle chain with the smallest sprocket of the T2 cassette sprocket.


- Press down the bicycle so that the bicycle frame is completely fixed on the axle of T2.
- Adjust the lock nut of the quick release lever, at the same time open and close the quick release lever frequently until the closing resistance is appropriate, close the quick release lever and lock the quick release lever completely.
- Shake the frame to confirm that the frame is locked on the riding platform.
- For bicycles with thru axle, please use the thru axle parts which come with the bicycle, and tight to manufacturer specification to fix the bicycle on T2.

- Failure to properly fix bicycle may result in serious property damage and personal injury.
- Forbidden to adjust the quick release lever and thru shaft when someone is sitting on the bicycle.
- If you have any installation problems, please contact us for assistance.
WORKlNG MODES
OPERATING MODES
T2 has two operating modes: unplugged mode and plugged mode. The plugged mode provides a better riding experience.
Differences:
| Unplugged | Plugged | |
| Bluetooth & ANT communication | Available in use and within 5 min of stopping | Anytime |
| Simulation of descent and inertia | x |  |
| Max incline | <17% (<15KMH) | 17% |
 Notice: It's advisable to train with mains power for high-intensity cycling, as to provide power for heat disspation after training.
POWER
Please use the power adapter of the product to power the device. The AC cable in the power source can be replaced by yourself.

INDICATOR
| Power indicator is always on | Power supply works normally |
| ANT indicator is always on | ANT data broadcast is normal |
| Bluetooth indicator is always on | Bluetooth connected |
| Bluetooth indicator flashes | No Bluetooth connected |
APP DOWNLOAD AND USE
- Please download "CYCPLUS" app
![]()
from Google Play
![]()
![play.google.com]()
or App Store
![]()
![www.apple.com]()
for firmware update. - T2 is braked by a direct drive motor and does not require calibration.
- When using indoor riding software, place the ANT receiver as close as possible to the indicator light of the bike trainer.


SPEClFlCATlONS
| Model | CYCPLUS T2 |
| Type | Smart direct-drive bike trainer |
| Magnet | 50 neodymium magnets + 45 sets of electromagnets |
| Structure | Foldable X-shape |
| Dimension(expanded) | 520 * 699 * 510 mm |
| Dimension(folded) | 300 * 257 * 510 mm |
| Net Weight (with cassette sprocket) | 33.5 lbs (15.2kg) |
| Electrical Requirement | 48V/1.25A (Unplugged mode supported) |
| Max power | 2200W |
| Power output(40km/h) | 1 600W |
| Accuracy | ±1% |
| Calibration | No calibration needed |
| Max incline | 17% |
| Simulation of descent |  (Plugged mode only) (Plugged mode only) |
| Max torque | 49N.m |
| Max brake force | 144N |
| Wireless communication | Bluetooth 5.0 & ANT+ |
| ANT+FE-C protocol | |
| FTVIS protocol | |
| Suitable axles | 5x130/5x135 QR,
|
| Suitable cassettes | Shimano/sram 8—11 speed cassette SRAM XDR 12-speed cassette (requires special cassette body) |
CAUTION
- Keep children and pets away from the T2 while in use.
- Do not contact the motor and rotating disk while using the trainer.
- The enclosure will heat up when subject to prolonged, extreme use. Always keep the cooling holes clear and plug it in for extreme use to keep the fan working.
- Please use the T2 on a stable surface with adjusted leveling feet before use.
- Use caution when standing while riding on the T2.
- Do not install and disassemble the bicycle without T2 completely stopping movement.
- Do not use other power to sources to power T2.
- Please confirm whether the bicycle is installed properly before every ride.
For instructional videos, FAQS or other after-sales problems, please visit our Youtube homepage and official website: www.cycplus.com, or directly contact our after-sale email: steven@cycplus.com
Documents / Resources
References
Download manual
Here you can download full pdf version of manual, it may contain additional safety instructions, warranty information, FCC rules, etc.
Advertisement


Need help?
Do you have a question about the T2 and is the answer not in the manual?
Questions and answers