Advertisement
- 1 Packing List
- 2 Ground and stabilize T3
- 3 Cassette Mounting
- 4 For Bikes with Rear Thru-Axles
- 5 For Bikes with Quick Release Skewers
- 6 Power Connection
- 7 Working Status
- 8 Application
- 9 Spacers (for possible noise and friction)
- 10 Specifications
- 11 Precautions
- 12 Notice
- 13 Find us
- 14 Documents / Resources
Packing List

Ground and stabilize T3

Cassette Mounting
T3 comes preinstalled with a cassette. Read instruction below if you need to mount another one.
- For 8/9/10 speed cassettes, put on the spacer before installing the cassette.

- For SRAM 12 speed cassettes, an XDR hub will be needed to buy additionally.


For Bikes with Rear Thru-Axles

- Insert the quick release skewer into the axle of T3 and install the nut in place, but don't tighten it yet, in order to install the bike frame.

- Adjust the shifter untill the chain is on the smallest sprockets of both chainwheel and cassette.

- Secure the bike with the thru-axle of your bike.

- Shake the bike frame after installation to make sure the frame is secured to T3.


- Failure to properly secure the bike can result in serious property damage and personal injury.
- Never adjust the quick release skewer or thru axle while someone is sitting on the bike.
- There're still a few bike frames incompatible with T3. Stop the installation immediately if any abnormalities occur.
- Please refer to the disclaimer and don't hesitate to contact us for any installation problems.
For Bikes with Quick Release Skewers

- Insert the quick release skewer into the axle of T3 and install the nut in place, but don't tighten it yet, in order to install the bike frame.

- Adjust the shifter untill the chain is on the smallest sprockets of both chainwheel and cassette.

- Align the bike chain with the smallest sprocket of the cassette on T3, and mount the frame to T3.

- Adjust the lock nut of the quick release skewer, and lift and press the handle frequently at the same time until the pressing resistance is appropriate, then press the handle to secure the skewer.

- Shake the bike frame after installation to make sure the frame is secured to T3.


- Failure to properly secure the bike can result in serious property damage and personal injury.
- Never adjust the quick release skewer or thru axle while someone is sitting on the bike.
- There're still a few bike frames incompatible with T3. Stop the installation immediately if any abnormalities occur.
- Please refer to the disclaimer and don't hesitate to contact us for any installation problems.
Power Connection
Please use the AC adapter only that comes with T3 to power the device. The AC cable can be replaced as you like.

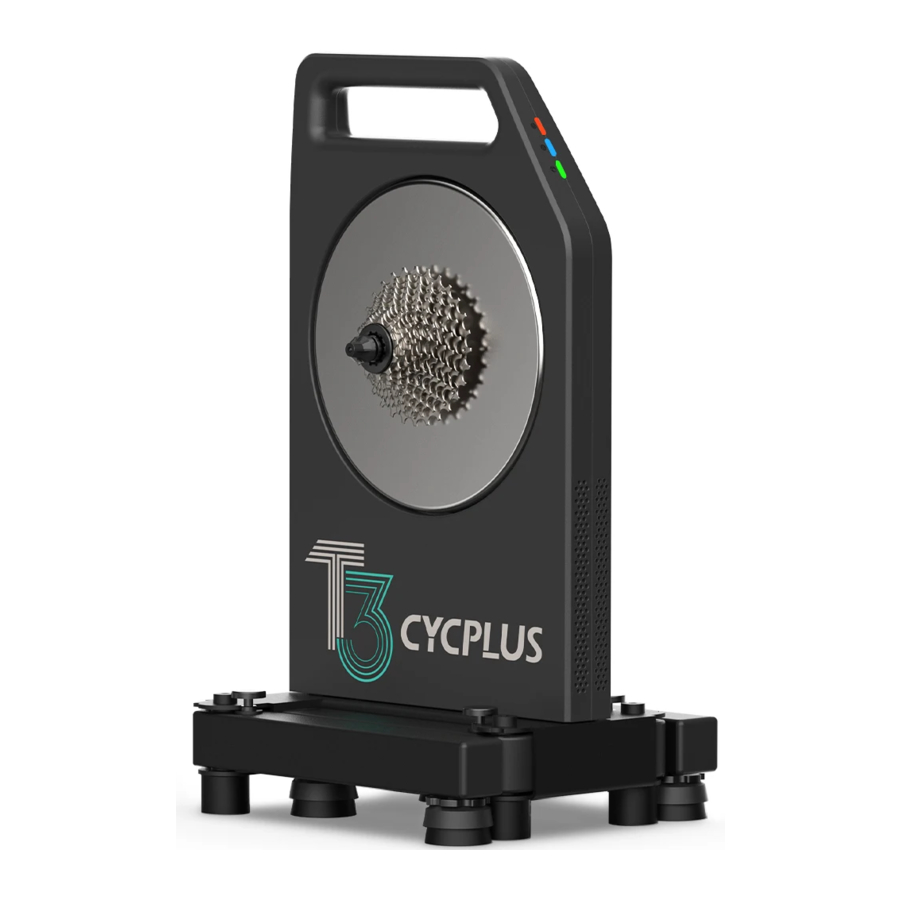
Working Status
Working modes
T3 has 2 working modes, unplugged mode and plug-in mode. Plug-in mode can provide a better riding experience. The main functional differences between the two modes are as follows.
| Unplugged mode | Plug-in mode | |
| Signal connection | When you start riding, you need to pedal to generate power for wireless connection. After you stop, the LED indicator may go out, but the stored power will be available for the wireless signal to work for 5 more minutes. | Ready to connect Bluetooth and ANT anytime |
| Downhill and inertia simulation | Unable to simulate downhill and flywheel inertia | Able to simulate downhill and flywheel inertia |
 Notice: It is recommended for high-intensity riders to ride in plug-in mode for electricity to dissipate heat for T3 after stop.
Indicators

Application
- Pleasedownload "CYCPLUS" App:
![]()
in App Store:
![]()
![www.apple.com]()
or Google Play:
![]()
![play.google.com]()


- T3 is a true direct-drive trainer and requires no calibration.
- T3 supports both Bluetooth and ANT+ wireless connection protocols when using indoor cycling Apps. We recommend using Bluetooth connection in preference, for more stable signal. For ANT+ connection, place the ANT receiver as close as possible to the indicator spot on of T3.


Spacers (for possible noise and friction)
- Cassette adjustment spacer(for loud chain noise) If the chain noise becomes too loud while training, it may be because the distance between the T3 cassette and the rear fork (A) and the distance between your original cassette and the rear fork (B) are different, and the bike chain and cassette do not fit well.
- A<B Try adding more cassette adjustment spacers to T3. Each piece is about 0.5mm thick.
- A>B Contact us directly for more help.
 - Step 1")
- Disc brake spacer(for friction) If friction occurs between the disc brake on your bike and the T3 housing, you can use disc brake spacers to increase the distance between to avoid friction while training. *This mostly happens with SRAM spec 140mm disc brakes.
 - Step 2")
 - Step 1")
 - Step 2")
Visit our youtube channel ( CYCPLUS ) for more detailed official videos, or contact our customer service for more information.
Specifications
| Model | CYCPLUS T3 |
| Type | Intelligent Direct - Drive Trainer |
| Magnet | 50 neodymium magnets + 45 sets of electromagnetic coils |
| Structure | Foldable X-shape |
| Dimension (unfolded) | 520*699*547 mm |
| Dimension(folded) | 300*257*547 mm |
| Net Weight (with cassette) | 42.8 lbs ( 19.4 kg) |
| Power supply | 48V/ 1.25A (UnpIugged mode supported) |
| Max power | 2800 W |
| Output power (40km/h) | 2400 W |
| Accuracy | ±1% |
| Left-right power balance |  |
| Calibration | No calibration needed |
| Max gradient | 27% |
| Downhill simulation | Plug-in mode only |
| Max torque | 110 N.m |
| Max braking force | 323 N |
| Wireless signal | Bluetooth 5.0 & ANT+ |
| ANT+FE-C protocol | |
| FTMS protocol | |
| Frame compatible | 5*130/5*135 (Quick release) 12*142/12*148 (Thru-axle) |
| Cassete compatible | Shimano 8-12 speed cassette SRAM 8-11 speed cassette SRAM 12 speed cassette (XDR hub needed) |
Precautions
- Identify the frame type and stand ard (thru-axle or quick release) before proceeding with installation.
For thru-axle, refer to "For Bikes with Rear Thru-Axles" for installation.
For quick release, refer to "For Bikes with Quick Release Skewers" for installation.
Carefully go through the manual and compare it with the actual parts to make sure all of them are complete and properly installed before mounting your bike to T3. - For hydraulic disc brakes, install the pad spacer between the brake pads (as shown on the right) after removing the rear wheel, to prevent you from accidentally closing the brake without the rotor in place. Please use your own pad spacer if the spacer coming with T3 is not compatible with your disc brake.
![]()
- T3 is compatible with most quick release and thru axle frames including those with disc brake sets. However, there are still a few special frames, because of the shape of the rear fork and the location of the disc brake set, may not be compatible with T3. For bikes with disc brake sets and a chain stay shaped as shown below, they are very likely to be incompatible with T3, and do not force to install. For bikes with disc brake sets, make sure the disc brake set is not against the housing of T3. If you find any contact or friction, do not force to install.

- Please keep the lens of infrared sensor clean and clear of any obstructions.
- Read the manual thoroughly and be sure to follow the instructions provided in the manuals when using T3. Don't hesitate to contact us for support and don't force to install. CYCPLUS is not responsible for damage or loss caused by incorrect installation, incompatible bike frame or customer's forcing installation.


Notice
- Keep children and pets away from the trainer while in use.
- Keep clear of the motor and moving parts while in use.
- The enclosure will heat up when subject to prolonged, extreme use.
Always keep the cooling holes clear and plug it in for extreme use to keep the fan working. - Please use the trainer on a stable surface with adjusted leveling feet before use.
- Use caution when standing while riding on the trainer.
- Do not install or disassemble the bicycle until the trainer full stops.
- Do not use other power source to power the trainer.
- Please confirm whether the bicycle is installed properly before every ride.
Find us
Find us on Instagram and Facebook for instruction videos, FAQ and more support.
Instagram: cycplus_official
Facebook: cycplus
Youtube: CYCPLUS
Official website: www.cycplus.com
After sale email: steven@cycplus.com
Documents / Resources
References
Download manual
Here you can download full pdf version of manual, it may contain additional safety instructions, warranty information, FCC rules, etc.
Advertisement


Need help?
Do you have a question about the T3 and is the answer not in the manual?
Questions and answers