Advertisement

Introduction
Box Contents
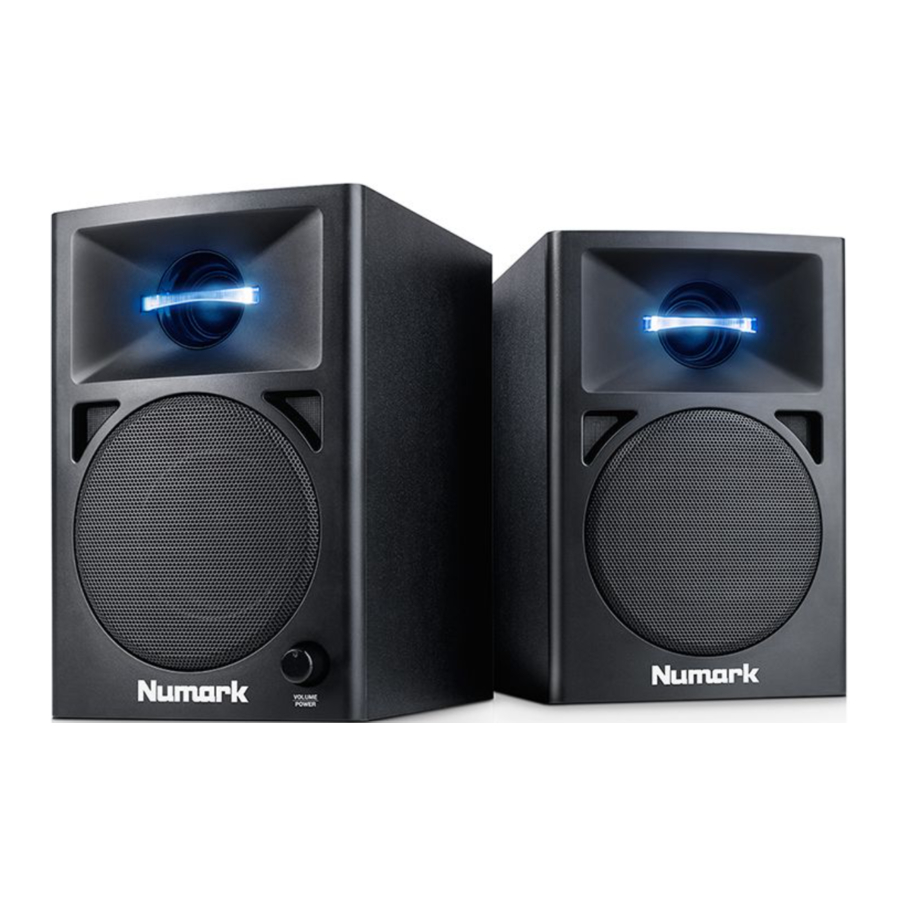
- N-Wave 360
- 1/8" (3.5mm) TRRS Connection Cable
- 1/8" (3.5mm) TRS Audio Cable
- Power Cable
- User Guide
- Safety & Warranty Manual
Support
For the latest information about this product (system requirements, compatibility information, etc.) and product registration, visit numark.com/nwave360.
For additional product support, visit numark.com/support.
Quick Start
Ensure that high quality, shielded audio cables are used away from sources of electromagnetic interference.
Before turning on the power of N-Wave 360's right speaker, do the following:
- Ensure the volume control on N-Wave 360's right speaker is turned down.
- Connect N-Wave 360's left and right speakers with the included 1/8" TRRS connection cable.
- Connect any audio sources (such as an audio interface, mixer, etc.) to the inputs on NWave 360's right speaker. Power on the audio sources.
- Connect the included power cable to the power input on N-Wave 360's right speaker, and then plug the other end of the power cable into an outlet.
- Flip the power switch on N-Wave 360's right speaker to the "on" position.
- Adjust the volume control on the front panel of N-Wave 360's right speaker.
Setup
Speaker Placement

The speakers and listener should be at the three corners of an equilateral triangle.
The placement of your speakers has a huge impact on how well they will perform in your studio. Although nearfield studio monitors are designed to be more forgiving when it comes to placement, you should do your best to make sure they form an equilateral triangle relative to your head. In other words, make sure that each speaker is equally distant from both your head as well as the other speaker. Once each speaker has been placed, rotate the speakers slightly so that the drivers are pointing toward the listener. Take a look at the diagram on the right. Notice that the distance from the listener's head to each speaker is the same as the distance between the left and right speakers. Also note that the speakers are turned slightly so that the drivers are facing the listener. This is an ideal setup but if it is not practical (or possible) to do this, try to match this setup as closely as possible.
Speaker Height

The ideal height for N-Wave 360 is so that the speaker is parallel to the ground and that the midpoint of the woofer and tweeter is at ear-height. The diagram to the right demonstrates the ideal placement height of the speakers relative to the listener. Notice that the listener's ears are directly between the woofer and tweeter.
Features
Front Panel

- Tweeter: This outputs the high frequencies.
- Woofer: This outputs the low frequencies.
- Vol/Power: This knob is used to turn the speakers on and adjust their volume. To turn on, simply turn up the knob. You will feel a click when the speakers turn on. A LED on the left side of the speaker will illuminate. To turn off, simply turn the volume all the way down; the LED will turn off to let you know that the speakers are off.
Rear Panel

- Power Input: Use a power cable (included) to connect this to a power outlet.
- Output to Left Speaker: This is the audio connection to the left speaker. Use the included 1/8" TRRS cable to connect the right speaker to the left speaker.
- Input from Right Speaker: This is the audio connection from right speaker. Use the included 1/8" TRRS cable to connect the left speaker to the right speaker.
- Rear Port: The rear port enhances the bass generated by the woofer, increasing the low frequencies. Make sure these ports are not obstructed since this will adversely affect bass response.
- Input (RCA): Connect your audio interface, mixer, etc. to this input, using a standard RCA cable.
- Stereo/Sub Out: This is a full-range audio output which can be connected to a mixer, powered speakers, or an external recording device.
- Bass Boost: This two-position switch allows you to boost the speakers' bass frequencies.
Documents / Resources
References
Download manual
Here you can download full pdf version of manual, it may contain additional safety instructions, warranty information, FCC rules, etc.
Advertisement


Need help?
Do you have a question about the N-Wave 360 and is the answer not in the manual?
Questions and answers