Table of Contents
Advertisement
Quick Links
FUSION
APOLLO
SPEAKERS
™
®
INSTALLATION INSTRUCTIONS
Important Safety Information
WARNING
See the Important Safety and Product Information guide in the product box for product warnings and other
important information.
This device must be installed according to these instructions to avoid serious personal injury or possible
property damage.
Disconnect the vessel's power supply before beginning to install this device to avoid serious personal injury or
possible property damage.
CAUTION
It is strongly recommended that you have your audio system installed by a professional installer to ensure
optimum performance and to avoid personal injury or property damage.
Continuous exposure to sound pressure levels over 100 dBA may cause permanent hearing loss. The volume
is typically too loud if you cannot hear people speaking around you. Limit the amount of time you listen at high
volume. If you experience ringing in your ears or muffled speech, stop listening and have your hearing checked.
To avoid possible personal injury, always wear safety goggles, ear protection, and a dust mask when drilling,
cutting, or sanding.
NOTICE
When drilling or cutting, always check what is on the opposite side of the surface to avoid damaging the vessel.
You must read all installation instructions before beginning the installation. If you experience difficulty during
the installation, go to
support.garmin.com
for product support.
October 2024
GUID-D10BF3AA-857B-4E42-B439-FA3D8B0F4D23 v1
Advertisement
Table of Contents

Related Manuals for Garmin Fusion Apollo 010-12899-00


Summary of Contents for Garmin Fusion Apollo 010-12899-00
- Page 1 When drilling or cutting, always check what is on the opposite side of the surface to avoid damaging the vessel. You must read all installation instructions before beginning the installation. If you experience difficulty during the installation, go to support.garmin.com for product support. October 2024...
-
Page 2: Tools Needed
• To avoid interference with an amplifier, you should not mount the speakers within 2.5 cm (1 in.) of an amplifier. Selecting the correct mounting location optimizes the performance of each speaker. Garmin speakers are designed to perform in the widest possible range of mounting locations, but the more you plan the installation,... -
Page 3: Mounting The Speakers
Mounting the Speakers Before mounting the speakers, you must choose a location following the guidelines above. 1 Trim the template and make sure it fits in the selected location. 2 Orient the template so the text is level. 3 Secure the template to the selected location. 4 Using a drill bit appropriate for the mounting surface, drill a hole inside the dashed line on the template to prepare the mounting surface for cutting. -
Page 4: Attaching The Grille
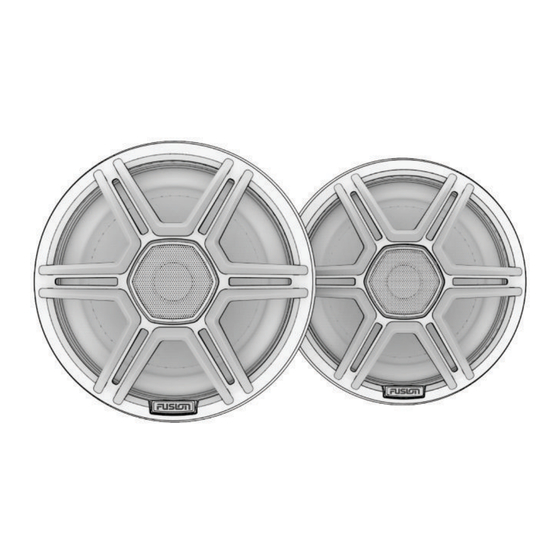
Attaching the Grille 1 Locate the retention tabs on the edge of the speakers NOTE: When the speakers are installed with the connectors on the back at the bottom (with the Fusion logo on the front in the 6 o'clock position), the retention tabs are located at the 2 o'clock, 6 o'clock, and 10 o'clock positions on the edge of the speakers. -
Page 5: Speaker Wiring
Removing the Grille Using Prying Tools If the grille is too difficult to remove by hand, you can use prying tools, such as a pair of flathead screwdrivers, to remove it. 1 Locate the retention tabs by pressing the rim of the grille. The grille flexes next to the tabs but not on top of them. -
Page 6: Led Wiring
See garmin.com for more information. You must use the provided wiring harnesses when connecting the LED wires to a Garmin Spectra LED Controller module or power source. NOTE: LEDs are not available on all models. - Page 7 Connecting the LED Wires Directly If you do not install the recommended remote control, you can set the static color and tone of the LEDs by connecting specific color LED wires from the harness to the negative (-) terminal of a 12 Vdc power source. You must connect only the dark blue LED wire from the harness to the positive (+) terminal of the same power source to complete the circuit.
-
Page 8: Speaker Information
Speaker Information Cleaning the Speakers NOTICE When mounted correctly, the fronts of these speakers are protected against dust and water ingress under normal conditions. They are not designed to withstand high pressure water spray, which may occur when you wash down your vessel. High-pressure spray on the speakers may damage the product and void the warranty. Do not use harsh or solvent-based cleaners on the speakers. - Page 9 ™ Wiring harness connector type LED: Amphenol AT Series AT 6-way The device withstands incidental exposure to water of up to 1 m for up to 30 min, and is protected against powerful jets of water. For more information, go to www.garmin.com/waterrating.
- Page 10 Dimension Drawings Side View Dimension 6.5" Speakers 7.7" Speakers 8.8" Speakers 73.6 mm (2 in.) 81.9 mm (3 in.) 100.9 mm (4 in.) 133 mm (5 in.) 153 mm (6 in.) 177 mm (7 in.) NOTE: You must allow at least 3 mm ( in.) of clearance beyond the depth of the speaker. The above measurements are nominal.
- Page 11 Recommended Amplifier Power (RMS) 6.5" Speakers 25 -150 W RMS per Ch 7.7" Speakers 30 -200 W RMS per Ch 8.8" Speakers 40 - 260 W RMS per Ch Optimum Enclosure Recommendations Specification 6.5" Speakers 7.7" Speakers 8.8" Speakers Sealed enclosure volume 18 L (0.64 ft. 20 L (0.71 ft.
- Page 12 © 2024 Garmin Ltd. or its subsidiaries Garmin , the Garmin logo, Fusion , the Fusion logo, and True-Marine are trademarks of Garmin Ltd. or its subsidiaries, registered in the USA and other countries. These ® ® ™ trademarks may not be used without the express permission of Garmin.
Need help?
Do you have a question about the Fusion Apollo 010-12899-00 and is the answer not in the manual?
Questions and answers