Garmin Fusion Apollo Series Installation Instructions Manual
Multichannel amplifiers
Hide thumbs
Also See for Fusion Apollo Series:
- Manual (16 pages) ,
- Installation instructions manual (13 pages)
Table of Contents
Advertisement
Quick Links
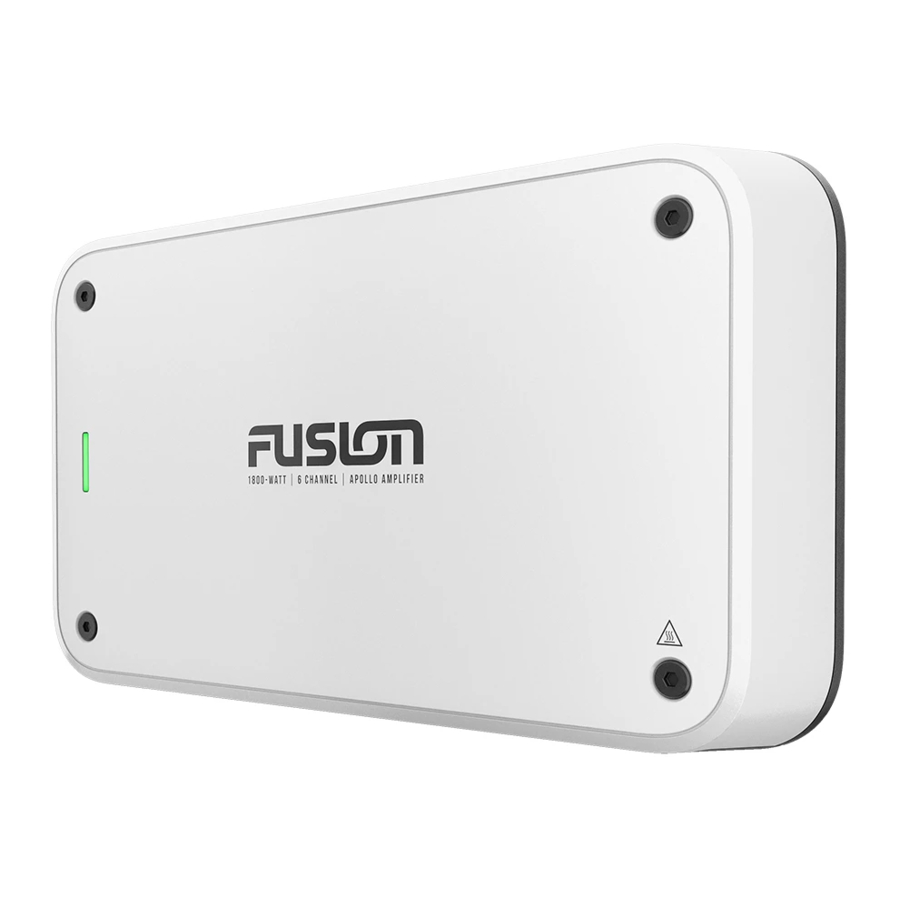
Fusion
Apollo
Series Multichannel Amplifiers Installation
™
®
Instructions
Important Safety Information
WARNING
See the Important Safety and Product Information guide in the product box for product warnings and other
important information.
This device must be installed according to these instructions.
Disconnect the vessel's power supply before beginning to install this device.
CAUTION
Continuous exposure to sound pressure levels over 100 dBA may cause permanent hearing loss. The volume is
typically too loud if you cannot hear people speaking around you. Limit the amount of time you listen at high
volume. If you experience ringing in your ears or muffled speech, stop listening and have your hearing checked.
To avoid possible personal injury, always wear safety goggles, ear protection, and a dust mask when drilling,
cutting, or sanding.
NOTICE
YOU MUST NOT USE THIS AMPLIFIER WITH ANY THIRD-PARTY MARINE AUDIO SYSTEMS. This amplifier is
compatible only with Fusion DSP-enabled marine audio equipment and may cause damage to third-party
speakers due to the amplifier power output.
When drilling or cutting, always check what is on the opposite side of the surface to avoid damaging the vessel.
This device is designed for a 12 Vdc power source. Connecting to a 24 Vdc or larger power source may
damage the device.
It is strongly recommended that you have your audio system installed by a professional installer to ensure
optimum performance.
You must read all installation instructions before beginning the installation. If you experience difficulty during
the installation, go to
support.garmin.com/
for product support.
After installing an audio system, you should run the connected speakers and subwoofers at low to medium
volumes for the first few hours of use. This helps to improve the overall sound by gradually loosening up the
moving components of new speakers and subwoofers, such as the cone, spider, and surround. See the
installation instructions provided with your speakers, because there may be more details about the
recommended time for each model.
May 2021
GUID-12BC9614-2882-4A6F-A581-2894A8B33AAD v1
Advertisement
Table of Contents

Subscribe to Our Youtube Channel
Related Manuals for Garmin Fusion Apollo Series


Summary of Contents for Garmin Fusion Apollo Series
- Page 1 You must read all installation instructions before beginning the installation. If you experience difficulty during the installation, go to support.garmin.com/ for product support. After installing an audio system, you should run the connected speakers and subwoofers at low to medium volumes for the first few hours of use.
-
Page 2: Tools Needed
) wire (amplifier turn-on signal) ◦ Dual RCA cable (1 per stereo pair) (Signal and Speaker Connection Considerations, page ◦ Single RCA cable (1 per mono channel) (Signal and Speaker Connection Considerations, page • Cable ties (optional) Fusion Apollo Series Installation Instructions... -
Page 3: Mounting Considerations
• To avoid interference with a magnetic compass, you should mount the device the specified distance away from a compass. This distance is listed in the specifications section. • You must not mount the device in close proximity to other navigation-critical equipment, antennas, or radio- communication equipment on the vessel. Fusion Apollo Series Installation Instructions... -
Page 4: Installing The Mounting Bracket
3 Using the included pan-head screws or other pan-head mounting hardware, secure the bracket to the mounting surface. NOTICE You must use pan-head screws, because countersunk screws will damage the bracket. Fusion Apollo Series Installation Instructions... - Page 5 3 Insert the wedge over the tab on the top of the mounting bracket it and push down to lock the device in the bracket. 4 Install the included screw covers in the four holes on the top of the amplifier (optional). Fusion Apollo Series Installation Instructions...
- Page 6 1 Lift up to remove the wedge, which unlocks the tab on the mounting bracket. 2 Press the tab on the mounting bracket, and lift up on the amplifier to disconnect it from the mount Fusion Apollo Series Installation Instructions...
-
Page 7: Connection Considerations
Improper terminal or wire contact may result in damage to the audio system. NOTE: You must connect the amplifier to the AMPLIFIER ON wire from the stereo for the amplifier to turn on and off with the stereo. Fusion Apollo Series Installation Instructions... -
Page 8: Port Identification
(Signal and Speaker Connection Considerations, page Zone 1 RCA input Zone 2 speaker block port Zone 2 RCA input Zone 3 speaker block port Zone 3 RCA input Zone 4 speaker block port Zone 4 RCA input Fusion Apollo Series Installation Instructions... -
Page 9: Connecting To Power
(slotted) screwdriver, connect the power (+) wire to the PWR terminal on the power connection block. 6 Route a 20 AWG (0.52 mm ) wire from the amplifier to the AMPLIFIER ON wire on the stereo or to a 12 Vdc power source through a switch. Fusion Apollo Series Installation Instructions... -
Page 10: Signal And Speaker Connection Considerations
L RCA port for ZONE 2 on the amp , and you must connect the two RCA zone line out connectors from the stereo to the other two zone RCA ports on the amplifier Fusion Apollo Series Installation Instructions... - Page 11 6 If you have not done so already, using a dual RCA cable, connect the RCA zone line out connectors from the stereo to the RCA ports for the appropriate zone on the amplifier (Signal and Speaker Connection Considerations, page 10). 7 Repeat the previous step for each zone as necessary. Fusion Apollo Series Installation Instructions...
- Page 12 3 Connect the speaker wire to the subwoofer, observing polarity. 4 Using a #0 Phillips or a 3 mm ( in.) flat (slotted) screwdriver, connect the speaker wires to the speaker terminal blocks, observing the polarity labeled on the high-power bridge cover. Fusion Apollo Series Installation Instructions...
- Page 13 NOTE: If you are using pure copper wire instead of copper-coated aluminum, you can use smaller-diameter (larger gauge number) wire because of the increased material conductivity. Fusion speaker cable is sold in various lengths. See your Fusion dealer for more information. Fusion Apollo Series Installation Instructions...
-
Page 14: Completing The Connections
3 Follow the instructions in the Fusion-Link app to select a configured profile for the connected amplifier, speakers, and/or subwoofer(s). 4 Send the DSP profile to the connected stereo and test the sound. 5 Repeat steps 3 and 4 until the audio system sounds satisfactory. Fusion Apollo Series Installation Instructions... -
Page 15: Specifications
If the amplifier is powered by a battery, use a breaker or fuse Breaker or cable-fuse rating rated to protect a cable of the gauge used to connect the Protection against vertically-dripping water when installed properly with the connectors pointing downward. Fusion Apollo Series Installation Instructions... - Page 16 NOTE: A MS-AP41200 amplifier is shown for illustration purposes. Refer to the table for model-specific measurements. MS-AP41200: 235 mm (9 in.) MS-AP61800: 297 mm (11 in.) MS-AP82400: 359 mm (14 in.) 180 mm (7 in.) 45 mm (1 in.) Fusion Apollo Series Installation Instructions...
- Page 17 If the Fusion amplifier has been installed by a professional installation company, you should contact the company so a technician can assess the problem and advise you about possible solutions. Fusion Apollo Series Installation Instructions...
- Page 18 • Check the wire gauge used to connect the speakers to the amplifier, and make sure it is appropriate for the length of the wire run (Speaker Wire Gauge Guide, page 13). Fusion Apollo Series Installation Instructions...
- Page 19 NOTE: You must select the option in the app to send the DSP settings to the stereo after you configure the settings. High-volume issue Reduce the volume. Speaker fault Check all connected speaker wires. Fusion Apollo Series Installation Instructions...
- Page 20 If the LED continues to show a red fault, contact support. 物質宣言 有毒有害物质或元素 部件名称 铅 镉 汞 六价铬 多溴联苯 多溴二苯醚 电路版 框体 附件 本表格依据 SJ/T11364 的规定编制。 O: 代表此种部件的所有均质材料中所含的该种有害物质均低于 (GB/T26572) 规定的限量 X: 代表此种部件所用的均质材料中, 至少有一类材料其所含的有害物质高于 產品 (GB/T26572) 规定的限量 *該產品說明書應提供在環保使用期限和特殊標記的部分詳細講解產品的擔保使用條件。 © 2021 Garmin Ltd. or its subsidiaries support.garmin.com...
Need help?
Do you have a question about the Fusion Apollo Series and is the answer not in the manual?
Questions and answers