Advertisement
Advertisement
Table of Contents

Related Manuals for Noraxon Ninox 120


Summary of Contents for Noraxon Ninox 120
- Page 1 NiNOX Camera Quick Start Guide Quick Start Guide (Rev C)
- Page 2 NiNOX Camera Quick Start Guide (Rev C)
- Page 3 NiNOX Camera Quick Start Guide On behalf of Noraxon… Welcome and congratulations on acquiring your new NiNOX camera system! This guide will provide you with step-by-step instructions on how to install your new hardware and software, adjust device settings, and record your first data set.
-
Page 4: Hardware Installation
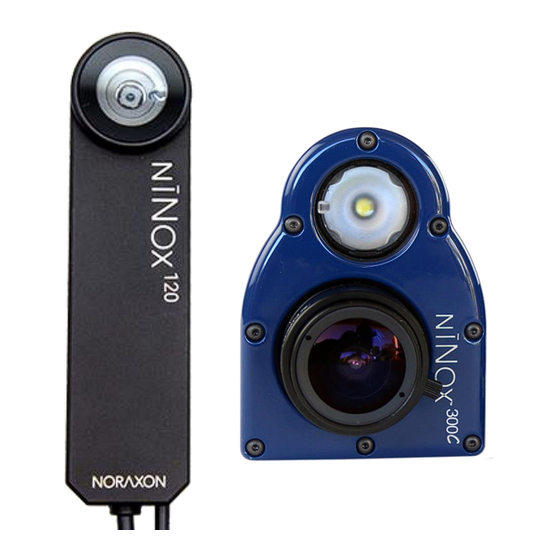
NiNOX Camera Quick Start Guide 2 Hardware Installation 2.1 Hardware Setup Instructions – NiNOX 300c Step 1 Insert micro-USB connector (#CBL31) into the USB3 receptacle on the camera. Tighten BOTH thumb screws to secure the cable to the camera. Note: Failure to connect the micro-USB connector (#CBL31) to the camera with BOTH thumb screws can result in damage to the USB3 receptacle on the camera. - Page 5 Note: For extreme cases of bright or dark conditions, the aperture can be manually adjusted. See Section 11.5 of the User Manual for more information. 2.2 Hardware Setup Instructions – NiNOX 120 Step 1 Insert the USB Type A end into a USB3.0 port on the host computer.
-
Page 6: Power Options
NiNOX Camera Quick Start Guide 3 Adjusting your Computer Settings All changes to the computer settings must be made by a user with Administrator privileges. 3.1 Power Options Before using the NiNOX camera, the host computer must have the correct power and performance options set. All computers may not have every option listed, but follow the steps below to make the necessary changes to the options available for your computer: Note: If using a laptop, be sure to change the settings for both On Battery and Plugged-In modes. - Page 7 NiNOX Camera Quick Start Guide Step 4 Expand Processor power management Change both the Minimum and Maximum processor state setting to 100% Step 5 Disable fast startup: From the Power Options menu, click Choose what the power buttons do on the left-hand side. Uncheck Turn on fast startup.
-
Page 8: Software Installation
To utilize the full functionality of the NiNOX camera system, and ensure the system has updated drivers, Noraxon’s myoRESEARCH (MR) needs to be installed on the computer. Note: The NiNOX camera system requires the Noraxon USB device driver which is pre-installed by the MR software installation. It is also available in the Downloads section of the Noraxon website. -
Page 9: Configuring The Hardware
For the NiNOX 300c, turn the lens on the camera until the image appears clear. For the NiNOX 120, click the checkbox next to Focus to disable the auto-focus feature and manually set the focus with the slider. -
Page 10: Recording A Measurement
NiNOX Camera Quick Start Guide Step 4 Click Ok to save the hardware settings and close the setup window. 6 Recording a Measurement Step 1 On the Home screen, select or create a subject. Select an application, then select or create a new protocol. -
Page 11: Viewing A Record
Slow motion playback • Customized reporting • Exporting (and importing) of data To learn more about the features available to you through the system(s) you have purchased, refer to the corresponding Hardware User Manual for this device and www.noraxon.com. (Rev C) - Page 12 NiNOX Camera Quick Start Guide (Rev C)
Need help?
Do you have a question about the Ninox 120 and is the answer not in the manual?
Questions and answers