Leica D-Lux 5 User Manual
Leica d-lux 5: user guide
Hide thumbs
Also See for D-Lux 5:
- Instructions manual (234 pages) ,
- Firmware update (6 pages) ,
- Specifications (2 pages)

Related Manuals for Leica D-Lux 5


Summary of Contents for Leica D-Lux 5
- Page 1 LEICA D - LUX 5 Anleitung / Instructions / Notice d'utilisation / Istruzioni / Instrucciones...
- Page 2 Dear Customer, We would like to take this opportunity to thank you for purchasing this LEICA D-LUX 5. Please read these instructions carefully and keep them handy for future reference. Carefully observe copyright laws. • Recording of pre-recorded tapes or discs or other published or broadcast material for purposes other than your own private use may infringe copyright laws.
-
Page 3: Information For Your Safety
Do not remove the cover (back): there are no user serviceable parts inside. Refer servicing to your Leica dealer, an authorized Leica service station / the Leica distributer in your country (for addresses, see Warranty Card), or the Leica Customer Service department (for address (>74)). - Page 4 Trade Name: Leica Model No.: LEICA D-LUX 5 Responsible party/ Support contact: Leica Camera Inc. 1 Pearl Court, Unit A FOR HOME OR OFFICE USE Allendale, New Jersey 07401 Tel.: i1 201 995 0051 232 Fax: i1 201 995 1684 e-mail: olesin@aol.com...
-
Page 5: Caution For Ac Mains Lead
(U.K. only) IMPORTANT Caution for AC mains lead The wires in this mains lead are coloured For your safety, please read the following in accordance with the following code: text carefully. Blue: Neutral, Brown: Live. This appliance is supplied with a moulded As these colours may not correspond with the coloured markings identifying the three pin mains plug for your safety and... -
Page 6: About The Battery
Rinse eyes thoroughly with water, and then consult a doctor. CAUTION Danger of explosion if battery is incorrectly replaced. Replace only with the same or equivalent type recommended by Leica Camera AG (>46). Dispose of used batteries according to the instructions (>44). •... -
Page 7: Cautions For Use
Do not use any other USB connection cables except the supplied one. • Always use the genuine Leica HDMI mini cable (available as accessory >46). Keep the camera as far away as possible from electromagnetic equipment (such as microwave ovens, TVs, video games etc.). - Page 8 Information for Users on Collection and Disposal of Old Equipment and used Batteries These symbols on the products, packaging, and/or accompanying documents mean that used electrical and electronic products and batteries should not be mixed with general household waste. For proper treatment, recovery and recycling of old products and used batteries, please take them to applicable collection points, in accordance with your national legislation and the Directives 2002/96/EC and 2006/66/EC.
-
Page 9: Table Of Contents
• Aperture-Priority Mode [±] ..............64 • Shutter-Priority Mode [´] ..............64 Manual Exposure Mode ................65 Recording Motion Pictures ................66 Playing Back Pictures ([NORMAL PLAY]) ..........67 Deleting Pictures..................68 Using the Instructions on the supplied CD-ROM ........69 Technical Data ..................70 Leica Service Addresses ................73... -
Page 10: Scope Of Delivery
Everready case 18 722 BP-DC10-E 18 719 Leather case 18 723 BP-DC10-U 18 720 Soft leather case 18 724 Charger Hand grip D-LUX 5 18 715 BC-DC10-E 423-092.001-010 BC-DC10-U 423-092.002-010 Electronic Viewfinder 18 716 EVF1 Mains cable 423-068.801-019 HDMI mini cable 14 491 423-068.801-020... -
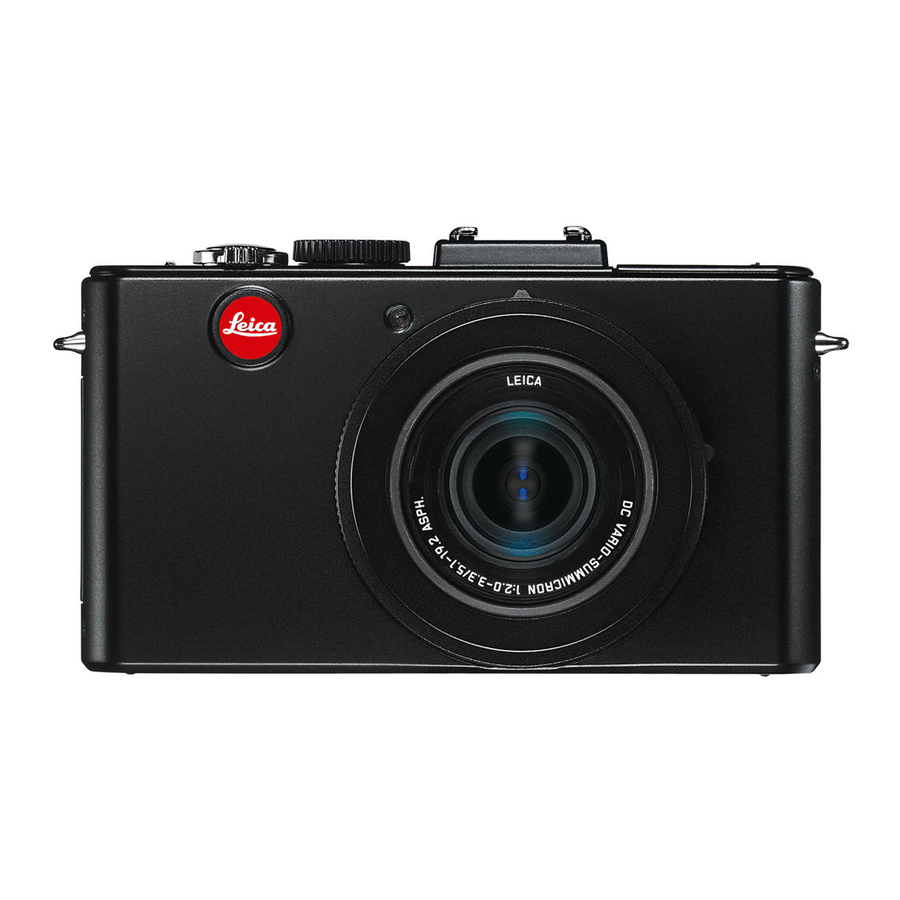
Page 11: Names Of The Components
Names of the Components Lens Self-timer indicator AF Assist Lamp Flash Shoulder strap eyelet Focus selector switch LCD monitor 7 13 8 [AF/AE LOCK] button Playback button Status indicator 10 [MENU/SET] button [DISPLAY] button 12 [Q.MENU]/Delete button 11 12 13 Rear dial Rear dial operation is indicated as follows in these instructions: e.g.: e.g.:... - Page 12 14 Cursor buttons 3/[FOCUS] button 4/Function button Assign Menu to 4 button. It is convenient to register a Menu that is used often. [FILM MODE]/[QUALITY]/[METERING MODE]/[WHITE BALANCE]/ [AF MODE]/[I.EXPOSURE]/[GUIDE LINE]/[ REC AREA]/ [REMAINING DISP.]/[FLASH]/[AUTO BRACKET]/[ASPECT BRACKET] 2/Self-timer button 1/ISO Cursor button operation, e.g. when one of them should be pressed, is indicated as follows in these instructions: Press 4 15 Aspect ratio selector switch...
- Page 13 28 Tripod thread • When you use a tripod, make sure the tripod is stable when the camera is attached to it. 29 Speaker • Do not cover the speaker with your fingers. 30 Card/Battery door • We recommend using a battery with sufficient power when recording motion pictures.
-
Page 14: Charging The Battery
Leica battery BP-DC10 E/U (>46). (Batteries which do not support this function cannot be used.) Leica cannot in any way guarantee the quality, performance or safety of any other batteries. ∫ Charging •... - Page 15 Insert the battery into the charger. • The terminals should face the charger’s contacts and the Leica logo upwards. plug-in type Connect the charger to the electrical outlet. • Disconnect the charger from the electrical socket and detach the battery after charging is completed.
-
Page 16: Recording Still Pictures
∫ Charging time Charging time Approx. 155 min ∫ Recording still pictures [when using the LCD monitor/the Electronic Viewfinder EVF1 (available as accessory >46)] Number of recordable Approx. 400 pictures By CIPA standard in pictures Program Mode Recording time Approx. 200 min Recording conditions by CIPA standard •... -
Page 17: About The Internal Memory/The Card
About the Internal Memory/the Card Internal Memory • Memory size: Approx. 40 MB • The internal memory can be used as a temporary storage device when the card being used becomes full. • The access time for the internal memory may be longer than the access time for a card. -
Page 18: Inserting And Removing Card And Battery
Set the camera ON/OFF switch to OFF, slide the release lever in the direction of the arrow, and open the card/battery door. • Use only the Leica battery BP-DC10 E/U (>46). • We cannot guarantee the quality of any other batteries. -
Page 19: Setting Date/Time (Clock Set)
Setting Date/Time (Clock Set) • The clock is not set when the camera is shipped. Turn the camera on. A [MENU/SET] button B Cursor buttons Press [MENU/SET]. Press 3/4 to select the language, and press [MENU/SET]. Press [MENU/SET]. Press 2/1 to select the items (year, month, day, hour, minute, display sequence or time display format), and press 3/4 to set. -
Page 20: Setting The Menu
Setting the Menu This section describes how to select the [REC] Mode menu settings. The same setting can also be used for the [MOTION PICTURE], [PLAYBACK], and [SETUP] menus. Example: Setting [AF MODE] from [Ø] to [š] in the Program Mode Press [MENU/SET] to display the menu. -
Page 21: Selecting The [Rec] Mode
Mode switching Selecting the [REC] Mode Turn the camera on. A Mode dial • The status indicator 2 lights up when you turn the camera on 1. (It turns off after about 1 second.) Change modes by rotating the mode dial. Align the desired mode with index B. - Page 22 ∫ Advanced Aperture-Priority Mode The exposure is determined by the automatically controlled shutter speed, based on the manually set aperture value. Shutter-Priority Mode The exposure is determined by the automatically controlled aperture value, based on the manually set shutter speed. Manual Exposure Mode The exposure is determined by the manually set aperture value and shutter speed.
-
Page 23: Program Mode
³ [REC] Mode: Program Mode The camera automatically sets both shutter speed and aperture value according to the brightness of the subject. You can change various settings in the [REC] menu. Set the mode dial to [ • Set the focus selector switch to [AF]. Aim the AF frame 1 at the point you want to focus on. -
Page 24: Program Shift
Program Shift In Program Mode, you can change the preset aperture value and shutter speed without changing the exposure. This is called Program Shift. You can make the background more blurred by decreasing the aperture value or record a moving subject more dynamically by slowing the shutter speed. -
Page 25: Snapshot Mode
[REC] Mode: Snapshot Mode The camera will set the most appropriate settings to match the subject and the recording conditions so we recommend this mode for beginners or those who want to leave the settings to the camera and take pictures easily. Set the mode dial to [ Press the shutter button halfway to focus. -
Page 26: Scene Detection
Scene Detection When the camera identifies the optimum scene, the icon of the scene concerned is displayed in blue for 2 seconds, after which its color changes to the usual red. > [i-PORTRAIT] [i-SCENERY] [i-MACRO] • [i-NIGHT PORTRAIT] Only when [ ] is selected [i-NIGHT SCENERY] [i-SUNSET]... -
Page 27: Exposure Compensation
[REC] Mode: Exposure Compensation Use this function to adjust the exposure to the important part of the subject in case of large differences in brightness within the frame. Press the rear dial to select [È], and then rotate it to compensate the exposure. -
Page 28: Aperture- And Shutter-Priority Modes
[REC] Mode: Aperture- and Shutter-Priority Modes Aperture-Priority Mode [±] Set the aperture value to a higher number when you want a larger in-focus area (in front of and behind the main subject), to a lower number for a smaller in-focus area. Set the mode dial to [ Rotate the rear dial to set the aperture value. -
Page 29: Manual Exposure Mode
[REC] Mode: Manual Exposure Mode Determine the exposure by manually setting the aperture value and the shutter speed. Set the mode dial to [ ² • The Manual Exposure Assistance appears for about 10 seconds. Rotate the rear dial to set the aperture and shutter speed. -
Page 30: Recording Motion Pictures
[REC] Mode: Recording Motion Pictures You can record high definition motion pictures compatible either with the AVCHD format or Motion JPEG. Audio will be recorded in monaural. Select the desired mode with the Mode dial. Start recording by pressing the motion picture button. -
Page 31: Playing Back Pictures ([Normal Play])
¸ [PLAYBACK] Mode: Playing Back Pictures ([NORMAL PLAY]) Press [(]. Press 2/1 to select the picture. • After selecting a motion picture, press 3 to start playback. -
Page 32: Deleting Pictures
¸ [PLAYBACK] Mode: Deleting Pictures Once deleted, pictures cannot be recovered. • The picture being played back is deleted, regardless of whether it is recorded on the internal memory or the card. Select the picture to be deleted, and then press [‚]. ‚... -
Page 33: Using The Instructions On The Supplied Cd-Rom
Using the Instructions on the supplied CD-ROM • You have practised the basic operations introduced in these instructions and want to progress to advanced operations. • You want to check the Troubleshooting. In these kinds of situations refer to instructions (PDF format) on the supplied CD-ROM. -
Page 34: Technical Data
Effective pixels 10,100,000 Minimum illuminance approx. 3 lx (when i-low light is used) Lens LEICA DC VARIO-SUMMICRON f/2.0 (wide) – 3.3 (tele) 5.1 – 19.2 mm ASPH. 35 mm camera equivalent: 24 – 90 mm Focus range 50 cm/1p 7 11/16q to ¶... - Page 35 Number of recordable pictures [2.5M (1:1), 3M (4:3), 2.5M (3:2) or 2M (16:9) is selected as the resolution.] approx. 15 when using the internal memory, immediately after formatting/ max. 100 when using a card (may differ depending on the type of card and the recording conditions) Exposure modes Program (P), Aperture-Priority (A), Shutter-Priority (S), Manual setting (M)
- Page 36 Operating temperature/ humidity 0 o – 40 oC/32 – 104 F/10 – 80%RH Interface Digital: USB 2.0 (High Speed) (With model no. 18 150, data from the PC cannot be written to the camera using the USB connection cable.) Analog video/audio: NTSC/PAL Composite (Switched by menu), Audio line output (monaural) Terminals...
-
Page 37: Leica Service Addresses
As well as outstanding high-performance products for taking and viewing photographs, for many years we have also been offering the special services of the Leica Akademie, with practical seminars and training courses, which are intended to share our knowledge about the world of photography, projection and magnification with both beginners and advanced photographic enthusiasts. - Page 38 Leica information service The Leica information service can provide you with an answer to any technical questions relating to the Leica range either in writing, on the telephone or by e-mail. Leica Camera AG Informations-Service Postfach 1180 D-35599 Solms Phone: +49 (0) 6442-208-111...
- Page 39 • QuickTime and the QuickTime logo are trademarks or registered trademarks of Apple Inc., used under license therefrom. • Leica is a registered trademark of Leica Microsystems IR GmbH. • Summicron is a registered trademark of Leica Camera AG. • Other names, company names, and product names printed in these instructions are trademarks or registered trademarks of the companies concerned.
-
Page 40: Leica Camera Ag
, como se indicó erróneamente en las instrucciones.) ® ® ITALIANO ® ® ® Errata corrige: Il software disponibile per il download sulla home page di Leica Camera AG ® ® dopo aver registrato la propria fotocamera è Adobe Lightroom ® ® ® (Non Adobe... - Page 41 Leica Camera AG / Oskar-Barnack-Straße 11 / 35606 SOLMS / GERMANY Telephone +49(0)6442-208-0 / Telefax +49(0)6442-208-333 www.leica-camera.com 93 357 / VQT3A33...
Need help?
Do you have a question about the D-Lux 5 and is the answer not in the manual?
Questions and answers