Leica D-Lux 4 Installation Instructions Manual
Firmware 2.2
Hide thumbs
Also See for D-Lux 4:
- Product catalog (15 pages) ,
- Brochure (5 pages) ,
- Instructions manual (97 pages)
Advertisement
Table of Contents
- 1 Firmware Update Procedures (Overview)
- 2 STEP 1: Checking the Current Firmware Version.
- 3 For Windows Users
- 4 For Macintosh Users
- 5 STEP 3. Copy the Firmware File Onto an SD Memory Card.
- 6 Preparation of the SD Memory Card
- 7 STEP 4. Install the Firmware Update
- 8 Press the UP-Button to Select YES
- Download this manual
See also:
Instruction Manual
Installation instructions for the LEICA D-LUX 4 - Firmware 2.2
Dear Customers,
By installing the firmware you can enhance the
Update Contents
Model Number
Update Version
Update File Name/Size
Update Date
Improvements
Version
Ver 2.2
Leica Camera AG / Page 1 of 6 / As at December 2009
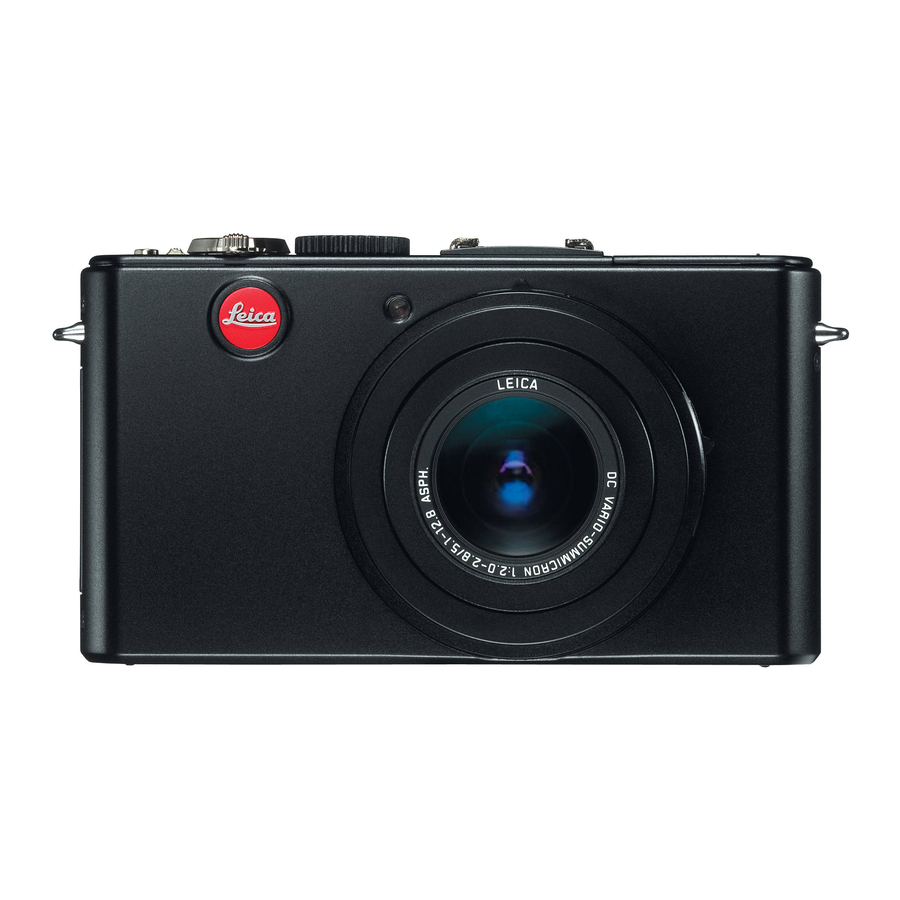
LEICA D-LUX
LEICA D-LUX 4
Ver 2.2
DLX4_220.ZIP / 6.097.035 Bytes
(After extraction, DLX4_220.BIN / 6.096.384 Bytes)
18/ Dec /2009
Description
1. Improved auto white balance performance.
2. Auto Focus speed-up.
3. Recording function with an aspect ratio of 1:1 has been added.
4. A white balance (WB) bracket function has been added.
5. [HIGH DYNAMIC] has been added to scene mode.
6. [LENS RESUME] has been added to the [SETUP] menu.
7. [MENU RESUME] has been added to the [SETUP] menu.
8. The exposure compensation and the auto bracket compensation can now be
set up to ±3EV.
9. Position of the guide line can now be set.
10. It is now possible to display the highlights in playback mode.
11. It is now possible to record the user's name in the picture.
12. Digital red-eye removal has been modified.
13. Items saved in the custom set have changed.
14. Improved auto white balance performance in sunset mode.
15. Improved recovery operation from unremoved lens cap.
16. Improved operation of MF ASSIST/AF area selection.
17. Improved display of Manual Exposure Assistance.
4's operation in the areas listed below.
Advertisement
Table of Contents

Related Manuals for Leica D-Lux 4


Summary of Contents for Leica D-Lux 4
- Page 1 15. Improved recovery operation from unremoved lens cap. 16. Improved operation of MF ASSIST/AF area selection. 17. Improved display of Manual Exposure Assistance. Leica Camera AG / Page 1 of 6 / As at December 2009 LEICA D-LUX 4’s operation in the areas listed below.
- Page 2 Actual installation steps STEP 1: Checking the current firmware version. Leica recommends that you update the firmware in your camera in the following case: If the firmware version indicated is older than the version being offered. The firmware update is not necessary if the current firmware version on your camera is Version 2.2.
- Page 3 If the file size is not the same, please download and double click the file again. The file size can be checked by right-clicking on the file and selecting properties. Leica Camera AG / Page 3 of 6 / As at December 2009 Bytes.
- Page 4 Make sure to turn off the power switch. Connect the AC adaptor's power cord to a wall outlet. <Fig. 2> Using the AC adaptor, connect the DC output on the adaptor with the DC input terminal on the LEICA D- LUX 4.
- Page 5 3) will not be displayed. If the battery is not fully charged the initial setup screen will also not appear (Fig. 3), and the LEICA D-LUX 4 will display "NO VALID PICTURE TO PLAY". Please turn off your camera and use the camera as is.
- Page 6 NOTE: Please format the SD Memory Card used for the firmware update before taking photos, otherwise it may cause the LEICA D-LUX 4 to malfunction and/or decrease the number of pictures that can be stored. Leica Camera AG / Page 6 of 6 / As at December 2009...
Need help?
Do you have a question about the D-Lux 4 and is the answer not in the manual?
Questions and answers