Advertisement
Quick Links
Advertisement

Subscribe to Our Youtube Channel
Related Manuals for Acer Chromebox Mini CXM1


Summary of Contents for Acer Chromebox Mini CXM1
- Page 1 Acer Chromebox Mini CXM1 Acer Chromebox Enterprise Mini CXM1 USER’S MANUAL...
-
Page 2: Register Your Acer Product
Images provided herein are for reference only and may contain information or features that do not apply to your computer. Acer Group shall not be liable for technical or editorial errors or omissions contained in this manual. -
Page 3: Table Of Contents
Table of contents - 3 ABLE O F C ONTEN T S Getting started Your Acer Chromebox tour Turn on your Chromebox......4 Front view ..........5 Select your language settings ....4 Rear view..........6 Connect to a network....... 4 .............. -
Page 4: Getting Started
4 - Getting started ETTI NG STARTE D Turn on your Chromebox On the Chromebox, press the power button. A "Welcome" screen will appear when the Chromebox first boots up. Select your language settings Use the "Language" drop-down list to choose your default language setting. -
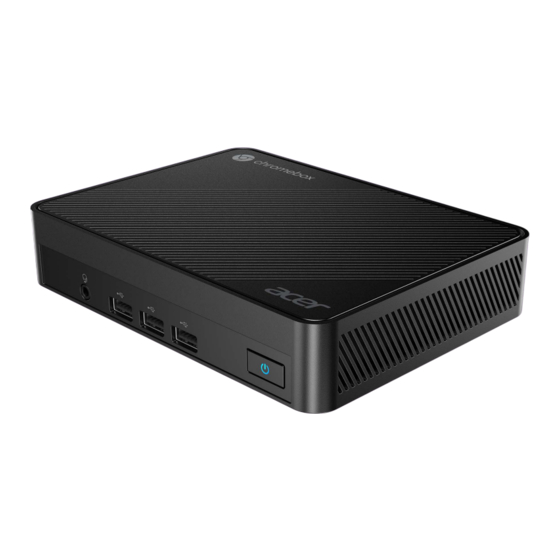
Page 5: Your Acer Chromebox Tour
Your Acer Chromebox tour - 5 O UR HROME BO X TO UR Front view Icon Item Description Connects to audio devices (e.g., Headset/speaker speakers, headphones) or a headset with jack microphone. USB port Connects to USB devices. Power button... -
Page 6: Rear View
6 - Your Acer Chromebox tour Rear view Icon Item Description Connects to an Ethernet 10/100/ Ethernet (RJ-45) 1000Mbps/2.5Gbps-based network. port (Specifications vary depending on configurations.) Kensington lock Connects to a Kensington-compatible slot security lock. Insert a paperclip into the hole to reboot Recovery button the computer. - Page 7 Your Acer Chromebox tour - 7 Icon Item Description Supports high-definition digital video HDMI port connections.
-
Page 8: Assembling The Vesa Mount
8 - Assembling The VESA Mount V E S A M SSE MBLING O UN T Your Chromebox can be fitted with a VESA-compatible mount that allows you to mount it behind a compatible monitor or TV. Note If a stand is currently installed to the VESA mounting holes on your monitor or TV, you will not be able to attach your Chromebox to the monitor or TV. - Page 9 2. Attach the VESA lock clip to the VESA mounting bracket as illustrated (1). 3. Attach the velcro unto the adapter holder as illustrated (2). 4. Attach the VESA mounting bracket to the back of your VESA display or Acer Monitor stand using the screws as illustrated. • VESA display...
- Page 10 10 - Assembling The VESA Mount • Acer monitor with 75x75 mm or 100x100 mm square hole pattern 75x75mm 100x100mm...
- Page 11 Assembling The VESA Mount - 11 5. Attach the adapter holder to the VESA bracket using the screws as illustrated. 6. Fix the screws to the back of your Chromebox as illustrated.
- Page 12 12 - Assembling The VESA Mount 7. Align and insert the screw on the Chromebox into the holes on the VESA mounting bracket (1). 8. Fasten the VESA lock bracket and attach a screw into the screw hole on the mounting bracket to secure your Chromebox (2). Note Depending on the package contents, you can use a hexagon screw to secure the Chromebox to the mounting bracket.
- Page 13 Assembling The VESA Mount - 13 9. Attach the adhesive tape at the back of the adapter (1). Fix the back of the adapter on the adapter holder(2).
-
Page 14: Frequently Asked Questions
14 - Frequently asked questions R E QUENTLY ASKED QUE ST IO N S Question Answer Chromeboxes use apps from the Google Play What software works Store and on the web. There are apps to be on a Chromebox? productive, get creative, enjoy movies and shows, play games and more. -
Page 15: Get Help Or More Information
Frequently asked questions - 15 Question Answer If you want to set up parental controls for your child, it’s important that you sign in using your child’s personal Google Account. If they don’t How do I set this up already have one, you can create one during for my child? the sign-in process on your Chromebox.
Need help?
Do you have a question about the Chromebox Mini CXM1 and is the answer not in the manual?
Questions and answers