Sign In
Upload
Download
Table of Contents
Contents
Add to my manuals
Delete from my manuals
Share
URL of this page:
HTML Link:
Bookmark this page
Add
Manual will be automatically added to "My Manuals"
Print this page
×
Bookmark added
×
Added to my manuals
Manuals
Brands
Sinclair Manuals
Air Conditioner
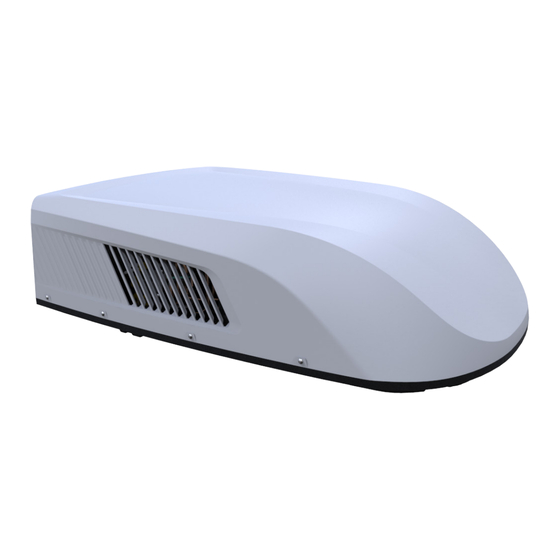
CAMPER ASV-25BIS
Service manual
Sinclair CAMPER ASV-25BIS Service Manual
Hide thumbs
1
2
Table Of Contents
3
4
5
6
7
8
9
10
11
12
13
14
15
16
17
18
19
20
21
22
23
24
25
26
27
28
29
30
31
32
33
34
35
36
37
38
39
40
41
42
43
44
45
46
47
48
49
50
51
52
53
54
55
56
57
58
59
60
page
of
60
Go
/
60
Contents
Table of Contents
Troubleshooting
Bookmarks
Table of Contents
Table of Contents
Part I : Technical Information
Summary
Specifications
Outline Dimension Diagram
Indoor Unit
Outdoor Unit
Refrigerant System Diagram
Electrical Part
Wiring Diagram
PCB Printed Diagram
Function and Control
Remote Controller Introduction
Control Panel Introduction
Ewpe Smart App Operation Manual
Brief Description of Models and Functions
Notes for Installation and Maintenance
Safety Precautions: Important
Part II : Installation and Maintenance
Installation
Accessory List
Before Installation
Stick Sponge (Sealing Strip) and Sponge
Selecting an Installation Location
Mounting Outdoor Unit
Installing the Ceiling Assembly
Electrical Wiring
Completing the Installation
Maintenance
Error Code List
Procedure of Troubleshooting
Exploded View and Parts List
Indoor Unit
Outdoor Unit
Removal Procedure
Removal Procedure of Indoor Unit
Removal Procedure of Outdoor Unit
Appendix
Appendix 1: Reference Sheet of Celsius and Fahrenheit
Appendix 2: List of Resistance for Temperature Sensor
Advertisement
Quick Links
Download this manual
Service Manual
EN
Ver.
01 10 05 2024
|
-
-
CAMPER SERIES
ASV-25BIS
ASV-35BIS
Table of
Contents
Previous
Page
Next
Page
1
2
3
4
5
Advertisement
Table of Contents
Need help?
Do you have a question about the CAMPER ASV-25BIS and is the answer not in the manual?
Ask a question
Questions and answers
Related Manuals for Sinclair CAMPER ASV-25BIS
Air Conditioner Sinclair CAMPER ASV-35BIS Service Manual
(60 pages)
Air Conditioner Sinclair ASH-18AK Series Service Manual
King series (43 pages)
Air Conditioner Sinclair ASE-18AH Service Manual
Condensing unit (46 pages)
Air Conditioner Sinclair ASGE-09AIN WK Service Manual
New uni dc inverter series outdoor units asge-xxain wk indoor units-floor-ceiling, cassette, duct type (127 pages)
Air Conditioner Sinclair ASH-09AIE2 User Manual
Element 2 series (38 pages)
Air Conditioner Sinclair ASH-09AIE2 Service Manual
Element serie (86 pages)
Air Conditioner Sinclair ARCTIC Series User Manual
Outdoor unit (24 pages)
Air Conditioner Sinclair ASH-09AIM PT Service Manual
Matrix serie (90 pages)
Air Conditioner Sinclair ASDH-96AI Service Manual
High static pressure duct serie (88 pages)
Air Conditioner Sinclair ASDH-96AI User Manual
High static pressure duct serie (12 pages)
Air Conditioner Sinclair ASD-18BI User Manual
Uni split duct series (35 pages)
Air Conditioner Sinclair ASC-18BI User Manual
Uni split cassette series (40 pages)
Air Conditioner Sinclair Spectrum Series User Manual
(32 pages)
Air Conditioner Sinclair ROCKY Series User Manual
(28 pages)
Air Conditioner Sinclair ASD-60BI Service Manual
(226 pages)
Air Conditioner Sinclair SPECTRUM ASH BIS Series Installation Manual
Outdoor unit (28 pages)
This manual is also suitable for:
Camper asv-35bis
Table of Contents
Print
Rename the bookmark
Delete bookmark?
Delete from my manuals?
Login
Sign In
OR
Sign in with Facebook
Sign in with Google
Upload manual
Upload from disk
Upload from URL


Need help?
Do you have a question about the CAMPER ASV-25BIS and is the answer not in the manual?
Questions and answers