Advertisement
Quick Links
Information relating to removal and/or replacement of the battery is intended for authorized service technicians only.
The products and related accessories are designed to be used only in accordance with the applicable user guide
provided and by using the products/accessories (including batteries), the user agrees to have read and understood
the applicable user guide, including but not limited to all instructions for use, cleaning and maintenance of the
products/accessories and the warnings contained therein, prior to using the products. Information contained herein is
not intended to be technical advice and should not be relied upon as such and you are strongly encouraged to
consult with a qualified professional and/or authorized service technician.
Battery
Replacement
Guide
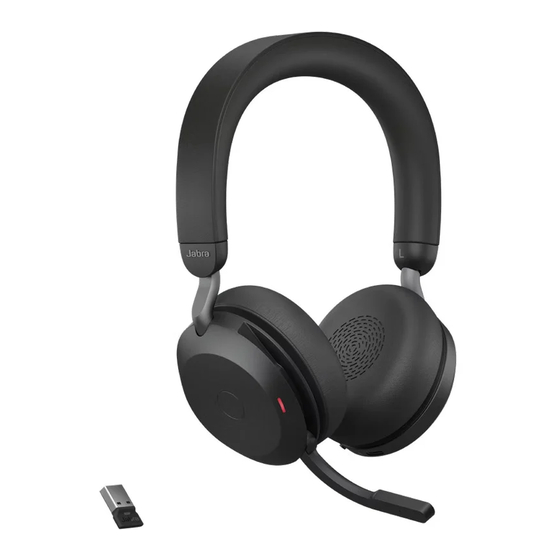
Jabra Evolve2 75
© 2024 GN Audio A/S. All rights reserved. ® Jabra is a registered trademark of GN Audio A/S.
EN Jabra Evolve2 75 Battery Replacement Guide 011024
Advertisement

Summary of Contents for Jabra Evolve2 75
- Page 1 EN Jabra Evolve2 75 Battery Replacement Guide 011024 © 2024 GN Audio A/S. All rights reserved. ® Jabra is a registered trademark of GN Audio A/S.
-
Page 2: Required Equipment
Required equipment 1x T6 screwdriver 1x T5 screwdriver 1x Tweezers 1x Cloth 1x Anti-static wristband / ESD bracelet Remove ear cushion Remove the ear cushion on the Left ear cup by gently pulling the cushion outwards from the top. - Page 3 Remove the 4 screws See the image below for screw locations. (screw specifications: FP1.8x6.0, CYL, TX, T6)
-
Page 4: Remove The Battery
Disconnect the cable Use tweezers to pull out the battery cable. Remove the battery Take note of how the battery is positioned, so the new battery is also placed in the same position. Pry up the battery slowly and carefully. - Page 5 Remove adhesive residue Use the cloth to clean any adhesive residue from the cover plate. Insert the new battery Remove the film and place the battery adhesive side down.
- Page 6 Connect the battery cable Reassemble earcup Replace the ear cup cover and fasten the screws.
- Page 7 Replace ear cushion Align the ear cushion with the clips and press. There will be audible clicks when they are in place.


Need help?
Do you have a question about the Evolve2 75 and is the answer not in the manual?
Questions and answers
What is the replacement battery part number?