
Related Manuals for Futura GPH1B


Summary of Contents for Futura GPH1B
- Page 1 LED Digital Panel Heater GPH1B GPH15B GPH2B WGPH1 WGPH15 WGPH2 REGISTER YOUR GUARANTEE www. .co.uk/guarantee...
-
Page 2: General Safety Instructions
Important! NEVER TOUCH YOUR HEATER OR ⚫ ITS CASING WITH WET HANDS! DO NOT COVER THE HEATER! ⚫ When using any electrical device, be sure to follow basic safety ⚫ precautions in this instruction manual. General safety instructions PLEASE READ THE FOLLOWING INSTRUCTIONS CAREFULLY BEFORE ⚫... - Page 3 Do not touch hot surfaces. ⚫ Do not insert or allow foreign objects to enter any ventilation or exhaust ⚫ opening as this will cause electric shock or fire and damage the unit. Always make sure your hands are dry before adjusting any switch or ⚫...
- Page 4 - Do not use if there are visible signs of damage to the heater; - Use this heater on a horizontal and stable surface, or fix it to the wall, as applicable. - WARNING: Do not use this heater in small rooms when they are occupied by persons not capable of leaving the room on their own, unless constant supervision is provided.
- Page 5 Complies with European regulations applying to the product. WARNING: In order to avoid overheating, do not cover the heater. Electrical products should not be disposed of with household waste. Please recycle them at the collection points provided for this purpose. Contact the local authorities or your dealer for recycling advice.
-
Page 6: Description Of The Heater
7 days weekly programs ⚫ Open window function ⚫ Anti-frost function: Maintain the temperature at 7℃ ⚫ Model Color Voltage Power IP rating GPH1B Black 230 V / 50 Hz 1000W IP24 GPH15B Black 230 V / 50 Hz 1500W IP24 GPH2B... -
Page 7: Installation
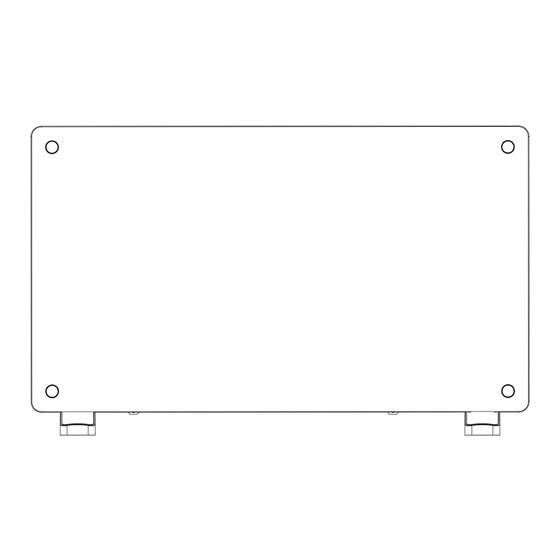
Installation Use as standing ⚫ 1 – Fit the feet onto the bottom of the body. 2 – Fasten the feet with 4 screws provided. Wall Mounted ⚫ 1. Be sure to keep the distance between the heater and floor, wall and so on at least 30cm as picture (1). 2. -
Page 8: Control Panel
Using Control panel ⚫ Display Heating indicator light Timer indicator light Mode indicator light Increase button Decrease button Mode button Timer button On / Standby button Start using ⚫ - Turn on the power switch, the heater enter into standby mode, and show on display. -
Page 9: Heating Mode
Press to confirm hour setting and enter minute setting, display show and flash. Press button to set minute. Press button to confirm all settings. Remarks: the week and time will be reset to factory default setting if the power supply cuts off. The other settings will keep the same as last settings before power supply cutting. -
Page 10: Open Window Function
For better understanding, please see below example: Tuesday ⚫ 00:00 to 07:00, desired temperature 20℃ ⚫ 07:00 to 17:00, desired temperature 10℃ ⚫ 17:00 to 24:00, desired temperature 25℃ ⚫ Setting as below: 3 seconds → Press and select 2 → Press →... -
Page 11: Maintenance
If you open a window widely in the space where the heater is located and the temperature drop 2 ℃ or more than 2 ℃ in two minutes, a sensor will detect the sharp drop in temperature. The heater will switch out automatically and show in display. - Page 12 [yes] window detection with distance control option [no] with adaptive start control [no] with working time limitation [no] with black bulb sensor [no] Applicant Name: IMPORTED BY FUTURA DIRECT LTD. Contact details Address: DONCASTER,ENGLAND,DN6 7AY...
- Page 13 [yes] window detection with distance control option [no] with adaptive start control [no] with working time limitation [no] with black bulb sensor [no] Applicant Name: IMPORTED BY FUTURA DIRECT LTD. Contact details Address: DONCASTER,ENGLAND,DN6 7AY...
- Page 14 [yes] window detection with distance control option [no] with adaptive start control [no] with working time limitation [no] with black bulb sensor [no] Applicant Name: IMPORTED BY FUTURA DIRECT LTD. Contact details Address: DONCASTER,ENGLAND,DN6 7AY...
Need help?
Do you have a question about the GPH1B and is the answer not in the manual?
Questions and answers