Table of Contents
Advertisement
Quick Links
Advertisement
Table of Contents

Related Manuals for Rich Solar 40A MPPT


Summary of Contents for Rich Solar 40A MPPT
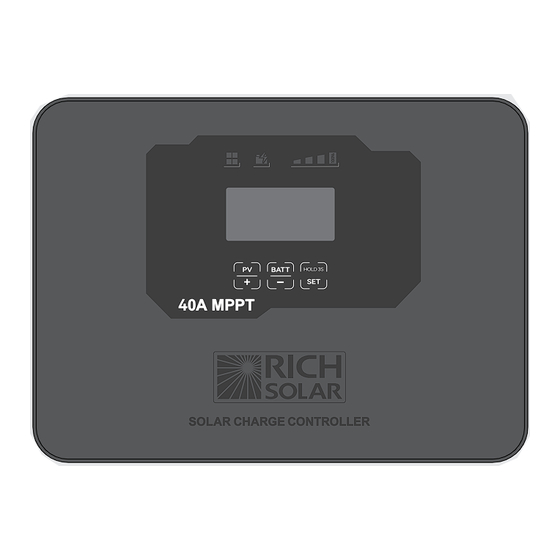
- Page 1 User Manual 40A MPPT Solar Charge Controller Input: DC 100V Maximum MODEL: RS-MPPT40FM Output: DC 12V / 24V 40A THIS MANUAL CONTAINS IMPORTANT SAFETY AND OPERATING INSTRUCTIONS FOR MPPT SOLAR CHARGE CONTROLLER. YOU READ THIS MANUAL AND FOLLOW THE INSTRUCTIONS EXACTLY.
- Page 2 WARNING – IMPORTANT PLEASE READ MOUNTING AND INSTALLATION WIRING CONNECTIONS OPERATING – LCD DISPLAY CHARGING STAGE LED INDICATIONS SAFETY PROTECTIONS MAINTENANCE SPECIFICATIONS FEATURE AND ADVANTAGE -01-...
-
Page 3: Mounting And Installation
WARNING – IMPORTANT PLEASE READ RISK OF EXPLOSIVE GASES WORKING IN VICINITY OF A LEAD-ACID BATTERY IS DANGEROUS. EXPLOSIVE GASES DEVELOP DURING NORMAL BATTERY OPERATION. IT IS IMPORTANT THAT EACH TIME BEFORE USING OR CONNECTING YOUR SOLAR CONTROLLER: This charger is designed for indoor use only and should never be exposed to rain. Do not disassemble the controller. - Page 4 1. The mounting dimensions Refer to the Fig.1 to know the panel size and depth. Refer to Fig. 2 to get a cavity for flush mounting, make sure there is sufficient depth behind the controller or in the cavity. Fig.1 Fig.2 2.
-
Page 5: The Installation Procedures
3. The installation procedures Please see below steps from 1 ~ 6 Insert the input and output cables and firmly secure the cables to the solar controller via the screws, fit the controller to the cutout and wall, secure the controller to the wall, reinstall the surface panel back to the solar controller. -
Page 6: Wiring Connections
WIRING CONNECTIONS To protect the Battery and the Solar Panel, we strongly recommend that you place an inline fuse on the positive wire on both the “Solar” and “Battery” Circuits. 50A fuse for 40A controller; 40A fuse for 30A controller, (As close to the Battery /Panel as possible). Refer to the below drawing, please cover the solar panel before connecting cables. - Page 7 OPERATING – LCD DISPLAY When the controller powers on, the unit will run self-qualify mode and automatically show below items on LCD before going into charging process. Self-test starts, digital meter segments test Software version test System battery voltage and current test External battery temperature sensor test (if connected) Absorption voltage test Float voltage test...
-
Page 8: Custom Setting
LFP battery shown in LCD indicates Lithium Iron Phosphate battery, LiFePO4 battery. LTO battery shown in LCD indicates Lithium titanate oxidized, Li4Ti5O12 battery. Caution: Incorrect battery type setting may damage your battery. Press PV / + or BATT / - button to navigate your desired battery type as below: Press the SET UP button again, the selected battery type will be solid On and confirmed. - Page 9 Alternatively display Equalization voltage character EqL.U and voltage data; Equalization voltage setting range from 13.20V ~ 16.2V, press PV / + or BATT / - button for once +/- 0.05V variation, press the SET UP button again to confirm the Equalization voltage and then move to next Equalization duration setting.
- Page 10 Solar input parameter display Once the settings are completed, the solar controller will automatically go into charging process, the LCD displays the parameters of solar input as below: Press PV / + button in sequence, the LCD will display in turn with solar input voltage, current, power and kWh.
- Page 11 CHARGING STAGE This solar controller provides multiple charging stages with smart charging algorithm. For Lead acid battery (Crystal, Gel, AGM, WET and Calcium battery): Soft Charge – Bulk Charge - Absorption charge - Equalizing Charge* - Float charge For Lithium battery (LCO, LFP, LTO battery) Soft Charge –...
-
Page 12: Led Indications
Equalization * - Only for WET or Calcium battery type, when the battery is deeply drained below 10V or every 28 days cycle, it will automatically run this stage to bring the internal cells as an equal state and fully complement the loss of capacity. (Lead crystal, Gel, AGM battery or Lithium batteries do not run Equalization charge). -
Page 13: Safety Protections
Abnormal charge Solar panel abnormal mode LCD display LED indication LCD backlight Solar panel weak <15V Flash Solar panel reverse connection Flash Flash Flash Solar panel over voltage (> 95V) Flash Flash Flash Battery abnormal mode LCD display LED indication LCD backlight Solar panel is connected, Flash... -
Page 14: Specifications
SPECIFICATIONS ELECTRICAL PARAMETERS Maximum PV open circuit voltage at -20℃ Max. Normal input PV voltage at 25℃ Max. Max. PV input current Max. Max. PV short circuit current Max. Rated charging current Max. Conversion efficiency Max. Tracking efficiency 99.5 Nominal PV power 600@12V/1200@24V Watt Self-consumption from battery when PV is disconnected... - Page 15 Equalization charging voltage at 25℃ 15.5 ±0.2 Equalization charging timer timed out Hour Equalization charging voltage for CUSTOM setting 13.2-16.2 ±0.2 Float voltage (for Crystal, GEL, WET, AGM and 13.6 ±0.2 Calcium battery) at 25℃ Restart voltage -- for Crystal, GEL, WET, AGM and Calcium battery) 12.7 ±0.2 -- for LCO battery...
- Page 16 FEATURE AND ADVANTAGE PV open circuit voltage up to 100V. The latest Maximum Power Point Tracking (MPPT) algorithm. Unique multiple peaks detected technology for maximum power point tracking. MPPT tracking efficiency above 99.5%. Wider MPP operating voltage range. Common negative grounding connection. Suit for most rechargeable batteries, up to 9 battery types preset plus custom setting.
Need help?
Do you have a question about the 40A MPPT and is the answer not in the manual?
Questions and answers