
Related Manuals for Thermon EXO TOUCH


Summary of Contents for Thermon EXO TOUCH
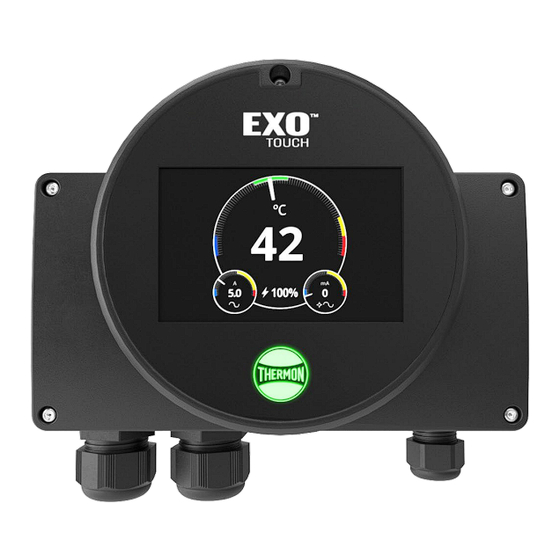
- Page 1 EXO TOUCH INSTALLATION GUIDE Thermon EXO TOUCH COMMERCIAL HEAT TRACE CONTROLLER INSTALLATION GUIDE Form CPD1092_0924 © Thermon, Inc. • Information subject to change V1.0...
-
Page 2: Version History
EXO TOUCH INSTALLATION GUIDE Version History Version Comments Document Number Base version of the Genesis EXO Touch Installation Guide V1.0 CPD1092-0924 Form CPD1092_0924 © Thermon, Inc. • Information subject to change V1.0... -
Page 3: Product Description
To carry out electrical system installations. variety of adjustable control settings. • Have a basic understanding of electrical and EXO TOUCH is internationally certified for usage in electronic systems. Ordinary Locations. With an outdoor-rated enclosure, Experience in installing Heat Trace Systems •... -
Page 4: Torque Specifications
7/64" Allen Key (included) 2.5 mm Flathead screwdriver Wire cutter/wire stripper Phillips screwdriver Torque meter a. Ensure that the EXO Touch package includes: 7/64" Allen Key 7/64" Allen Key EXO Touch Unit DIN Rail (8 inch) Cable Glands M25 (2); M20 (1) -
Page 5: Power Wiring
Using the left M25 cable gland, insert the three Electrical Heat Note: Find selection of Thermon heat tracing cables at wires being used for power connections: Live (L- Tracing Cables | Thermon IN), Neutral (N-IN), Ground (PE). - Page 6 Note: When using a single thermistor, connect to terminal labelled TEMP1. A light pull will verify if the connection is secure. Pull excess wiring outside of the enclosure. Leave enough slack to prevent any tension on the wires. Form CPD1092_0924 © Thermon, Inc. • Information subject to change V1.0...
- Page 7 When using two thermistors, connect the one routed from the extreme right cable gland to TEMP2 and the other to TEMP1. Use the steps given in Thermistor Wiring to make connections. Form CPD1092_0924 © Thermon, Inc. • Information subject to change V1.0...
- Page 8 Congratulations! Your EXO TOUCH installation is complete! You can power up the unit. Note - Please report any issues using the following link. CUSTOMER ISSUE REPORTING Controls & Monitoring Form CPD1092_0924 © Thermon, Inc. • Information subject to change V1.0...
- Page 9 EXO TOUCH INSTALLATION GUIDE Thermon • 100 Thermon Dr • PO Box 609 San Marcos, TX 78667-0609 • Phone: 512-396-5801 • 1-800-820-4328 For the Thermon office nearest you visit us at www.thermon.com Form CPD1092_0924 © Thermon, Inc. • Information subject to change...
Need help?
Do you have a question about the EXO TOUCH and is the answer not in the manual?
Questions and answers