Table of Contents
Advertisement
Quick Links
Advertisement
Table of Contents

Related Manuals for Ovation Systems FlashBack


Summary of Contents for Ovation Systems FlashBack
- Page 1 User Guide FlashBack FlashBack Video Motion Detector Module Ovation Systems Ltd. Springfield Barn London Road Milton Common Oxfordshire OX9 2JY Tel: +44 1844 279 638 Fax: +44 1844 279 071 Email: support@ovation.co.uk Web: www.ovation.co.uk Issue: 1.2 Ovation Systems Ltd Page 1...
-
Page 2: Table Of Contents
Audio Output Attenuation 7 6 Advanced Configuration ....................8 Motion Detector MainMenu Object Size: Perspective: Cover Alarm: 9 Direction: Display: 9 Auto reset: Video Insert: Field Setting: 10 7 Motion Detector Module Block Diagram ................10 Issue: 1.2 Ovation Systems Ltd Page 2 www.ovation.co.uk... -
Page 3: Introduction
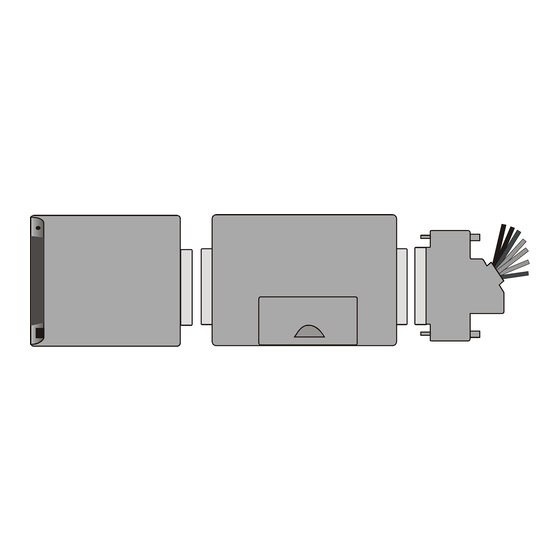
FlashBack 1 Introduction The motion detector module is designed to operate with Ovations Systems’ FlashBack 1 or 2 range of flash memory video recorders. The module has advanced features including the capability of selecting motion detection zones within the picture and an optional video and audio pre-event buffer. -
Page 4: Quick Start Guide
3 Quick Start Guide Motion Detector Set-up As standard, the motion detector is set-up to assert the FlashBack record input for at least 5 seconds each time motion in the picture is detected. It is possible to re-configure the unit via buttons and switches beneath the door. See Section 5. -
Page 5: Quick Start Guide Motion Detector Zones
4 Quick Start Guide Motion Detector Zones NB: Zones can only be set-up with a video monitor connected to the “video monitor” output (pin 23 of the D-type). E.g some of the DB25 cable assemblies supplied with FlashBack include a “video monitor” output BNC female connector. -
Page 6: Configuration
Video Monitor Output Switch The right position, Switches the video monitor output (pin 23 of the D-Type connector) to show the FlashBack video input with the motion detector onscreen display superimposed. This position should be use when setting up the motion detector. -
Page 7: Video & Audio Pre-Event Buffer
E.g if the FlashBack is set to line level input, all switches should be set to ON. If the Flashback is set to microphone level (ie a certain amount of audio gain in dB) a corresponding level of attenuation needs to be introduced using DIP Switch-2... -
Page 8: Advanced Configuration
With perspective values of 2 or more, the object detection size is the same at the top of the picture but increases towards the bottom of the picture compensating for perspective. Issue: 1.2 Ovation Systems Ltd Page 8 www.ovation.co.uk... -
Page 9: Cover Alarm
Auto reset: The post alarm delay. Once the alarm condition has cleared the alarm output will terminate after x seconds. Video Insert: Adds a pulse to the video’s vertical balancing interval on alarm. Issue: 1.2 Ovation Systems Ltd Page 9 www.ovation.co.uk... -
Page 10: Field Setting
Audio 7 Audio R 17 Rec Switch 4 Trigger / Stop Power to motion detector / memory buffer 1 Power All Other Connections Pin to Pin Figure 6: Motion Detector Block Diagram Issue: 1.2 Ovation Systems Ltd Page 10 www.ovation.co.uk...
Need help?
Do you have a question about the FlashBack and is the answer not in the manual?
Questions and answers