Advertisement
E-mail Address: hytobp@htwlkj.net
YouTube: @HYTOBP (Includes tutorial videos)
Facebook: @Hytobp Ht
Twitter: @HYTOBP
Phone Number: +� (���) ���-����
�.Please read this manual carefully before using the product.
�.Try to fly in a windless, clear and well-lit environment.
�.Make sure the drone battery is fully charged before flying.
AE�
www.hytobp.net
�� +
Advertisement
Table of Contents

Related Manuals for HYTOBP AE8


Summary of Contents for HYTOBP AE8
- Page 1 �� + AE� E-mail Address: hytobp@htwlkj.net YouTube: @HYTOBP (Includes tutorial videos) Facebook: @Hytobp Ht Twitter: @HYTOBP Phone Number: +� (���) ���-���� �.Please read this manual carefully before using the product. �.Try to fly in a windless, clear and well-lit environment.
-
Page 2: Safety Instructions
Prohibited note In order to ensure the requirements of the electromagnetic environment of aviation radio stations, it is prohibited to use all kinds of model remote controls and drones within 10 kilometers on each side of the centerline of the airport runway and 20 kilometers at each end of the runway, as well as civil aviation flight paths and routes. - Page 3 4. When using this product, please keep away from cell phone base stations, high-power transmitting equipment and other high-electromagnetic interference environment. 5. When using this product, please keep away from all kinds of manned drones. 6. Please do not use this product in rain, lightning, sand, fog, snow, wind, low tempera- ture and other harsh environments.
-
Page 4: Charging Precautions
30. The drone should be used as far away as possible from other electrical equipment and magnetic objects, which may cause mutual interference. 31. Please do not short circuit or squeeze the battery to avoid explosion. 32. The motor is a heating copmonet, please do not touch it to avoid the danger of scalding. -
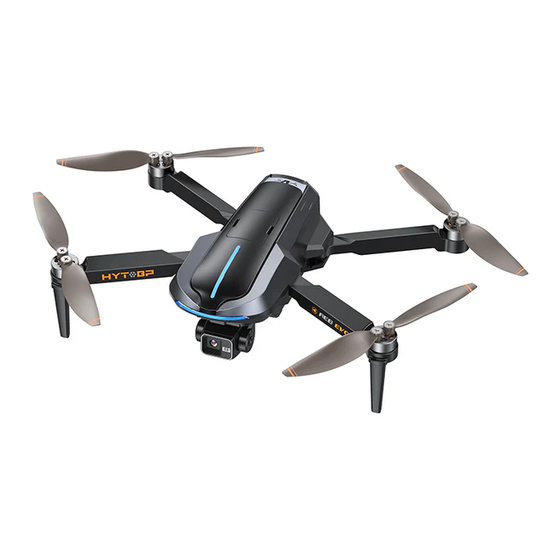
Page 5: Product Introduction
Product introduction Introduction of the drone Shell Blade A (Clockwise rotation) Blade B (Counterclockwise rotation) Blade B (Counterclockwise rotation) Blade A Brushless motor (Clockwise rotation) Camera Support stands Memory card slot Note Make sure the blades A/B are the same for each axis when replacing the blades. - Page 6 Charging and battery installation Introduction to the drone charging Interface A Interface B 1. Press and hold the battery button and 2. Connect the special charging cable to 3. Plug in the power adapter. pull it out backward, then you can charge the battery.
- Page 7 Introduction of mobile phone installation 1.Open the mobile phone holder 2.Install the mobile phone on the on the remote control. mobile phone holder. Takeoff steps Step 1: Frequency pairing Load the batteries into the drone, and long Turn on the switch of the remote control, you press the drone switch until the indicator light will hear a "di"...
- Page 8 Step 4: (1) Outdoor takeoff After completing the above operations, the drone will automatically search for GPS signal, and the rear light will be always on. When the number of GPS satellites reaches 10 or more, it means the search signal is completed.
- Page 9 Introduction to the drone functions Introduction of joystick 1. Left (Throttle) joystick (the left joystick controls the altitude and left/right direction of the flight) Down Down Turn Turn left right Turn Turn left right 2. Right (Directional) joystick (the right joystick controls the direction of forward/backward and left/right flying) Forward Forward...
- Page 10 ② When the drone monitors the low voltage for the first time, the front and rear lights of the drone will flash slowly, and the drone will automatically return to within a 20-meter radius of the starting point, and the altitude will automatically land to Location of the drone about 20 meters above the ground.
- Page 11 Safe flight guidance It is recommended to fly with the following conditions. 120 m Fly in open areas Strong GPS signal Keep the drone Flight altitude less in sight than 120 meters It is recommended to avoid going over or near crowds, trees, high voltage lines, buildings, airports or water.
- Page 12 Problem solving and guidance Problem Cause Solution 1.The ON/OFF button is in 1.Set the ON/OFF button to the "OFF" position. the "ON" position. No power of the remote control. 2.Replace the battery. 2.The battery has run down. 1.The power of the remote 1.Set the ON/OFF button control is not turned on.
Need help?
Do you have a question about the AE8 and is the answer not in the manual?
Questions and answers