Table of Contents
Advertisement
Quick Links
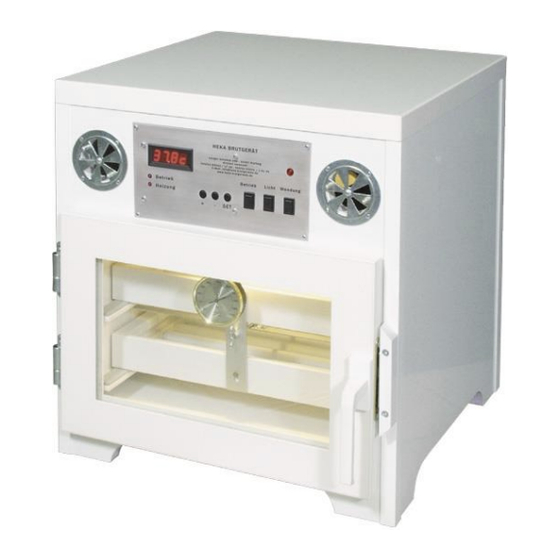
Operating Manual for
HEKA Incubators
HEKA-Brutgeräte
Small Animal Breeding and Specialised Books
Langer Schemm 290
Tel: +49 5244 1718
Email: info@heka-brutgeraete.de
HEKA-Turbo 84
HEKA-Turbo 126
HEKA-Turbo 168
HEKA-Turbo 216
HEKA-Turbo 288
HEKA-Turbo 432
HEKA-Turbo 84+S
HEKA-Turbo 126+S
HEKA-Turbo 168+S
HEKA-Turbo 90/S
HEKA-Turbo 135/S
HEKA-Turbo 180/S
HEKA-Turbo 270/S
HEKA-Turbo 360/S
HEKA-Queeny
D-33397 Rietberg,
Fax: +49 5244 10159
Advertisement
Table of Contents


Need help?
Do you have a question about the Turbo 84 and is the answer not in the manual?
Questions and answers