Advertisement
Quick Links
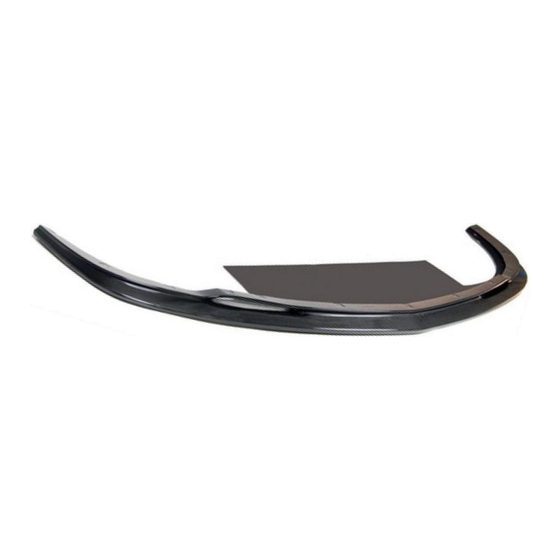
(Ver. 1) Chevrolet Corvette C6 Z06 '06-'13 (Z06/Grand Sport only)
Front Air Dam Installation Manual
[FA-208006]
Components List:
1 x Front Air Dam
2 x Long Screws (70mm)
2 x Washers
APR Performance, Inc.
4850 Murrieta St
Chino, CA 91710 U.S.A
Phone: (909) 594-3796 Fax: (909)594-3926
sales@aprperformance.com
WWW.APRPERFORMANCE.COM
1. Remove the factory front air dam by
removing the thirteen (13) screws
from its bottom-side using a 7mm
socket/wrench.
Advertisement

Subscribe to Our Youtube Channel
Related Manuals for APR PERFORMANCE FA-208006


Summary of Contents for APR PERFORMANCE FA-208006
- Page 1 2 x Long Screws (70mm) 2 x Washers 1. Remove the factory front air dam by removing the thirteen (13) screws from its bottom-side using a 7mm socket/wrench. APR Performance, Inc. 4850 Murrieta St Chino, CA 91710 U.S.A Phone: (909) 594-3796 Fax: (909)594-3926 sales@aprperformance.com...
- Page 2 3. Remove the screw from the bottom- side of the front bumper that is nearby the support beam on the passenger-side. APR Performance, Inc. 4850 Murrieta St Chino, CA 91710 U.S.A Phone: (909) 594-3796 Fax: (909)594-3926 sales@aprperformance.com...
- Page 3 Do not insert the screws through the holes on the bottom-side of the new front air dam (those holes are intended for the socket/wrench). APR Performance, Inc. 4850 Murrieta St Chino, CA 91710 U.S.A Phone: (909) 594-3796 Fax: (909)594-3926 sales@aprperformance.com...
- Page 4 8. Use one (1) long screw and one (1) washer for each of the two (2) holes near the support beams (driver and passenger sides). This completes the installation. APR Performance, Inc. 4850 Murrieta St Chino, CA 91710 U.S.A Phone: (909) 594-3796 Fax: (909)594-3926 sales@aprperformance.com...
Need help?
Do you have a question about the FA-208006 and is the answer not in the manual?
Questions and answers