DeWalt DCW620 Assembly Instructions Manual
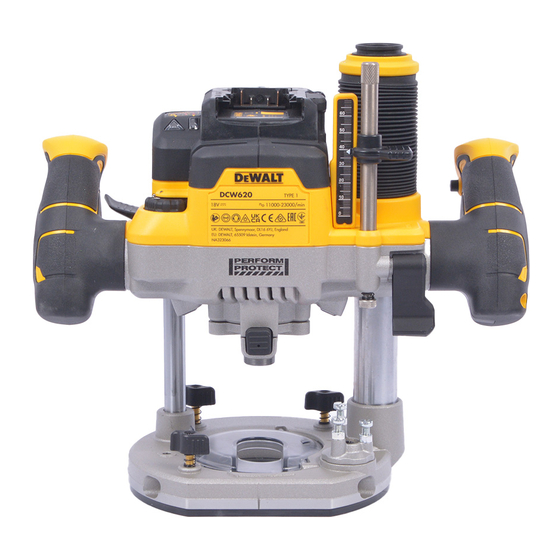
Plunge lock assembly
Hide thumbs
Also See for DCW620:
- Original instructions manual (21 pages) ,
- Original instructions manual (149 pages) ,
- Instruction manual (36 pages)

Related Manuals for DeWalt DCW620


Summary of Contents for DeWalt DCW620
- Page 1 DCW620: PLUNGE LOCK ASSEMBLY INSTRUCTIONS PLUNGE LOCK PARTS PARTS P a g e 1 | 6...
-
Page 2: Assembly Steps
DCW620: PLUNGE LOCK ASSEMBLY INSTRUCTIONS ASSEMBLY STEPS 1-2 coat the thread with a brush stroke of grease (1g) make sure that NO GREASE GETS ONTO THE THREAD SURFACE P a g e 2 | 6... - Page 3 DCW620: PLUNGE LOCK ASSEMBLY INSTRUCTIONS ASSEMBLY STEPS 3-5 • Press the #71 back, for easier assembly 2.8Nm +/-0.25Nm Torque for #75 Preload spring P a g e 3 | 6...
- Page 4 DCW620: PLUNGE LOCK ASSEMBLY INSTRUCTIONS ASSEMBLY STEPS 7-8 • Press the #76 into #75 • Screw the #75 in with 1.5Nm +-0.2Nm Try to position the #76 as shown in the picture. P a g e 4 | 6...
- Page 5 DCW620: PLUNGE LOCK ASSEMBLY INSTRUCTIONS ASSEMBLY STEPS 9 • After assembly, check the #76 position again with the Paper gauge. Paper gauge print in last page. +8° is still permitted, everything -8° is still permitted, everything 0° perfect condition after that is no longer permitted.
- Page 6 DCW620: PLUNGE LOCK ASSEMBLY INSTRUCTIONS • Positioning of the paper gauge. P a g e 6 | 6...
Need help?
Do you have a question about the DCW620 and is the answer not in the manual?
Questions and answers