Brother HL-3070CW Quick Setup Manual
Brother hl-3070cw: install guide
Hide thumbs
Also See for HL-3070CW:
- User manual (200 pages) ,
- Brochure & specs (8 pages) ,
- Repair instruction (3 pages)
Table of Contents
Advertisement
Quick Setup Guide
Start Here
Before you can use the printer, read this Quick Setup Guide for the correct setup and installation.
To view the Quick Setup Guide in other languages, please visit http://solutions.brother.com/.
IMPORTANT
DO NOT connect the interface cable yet.
1
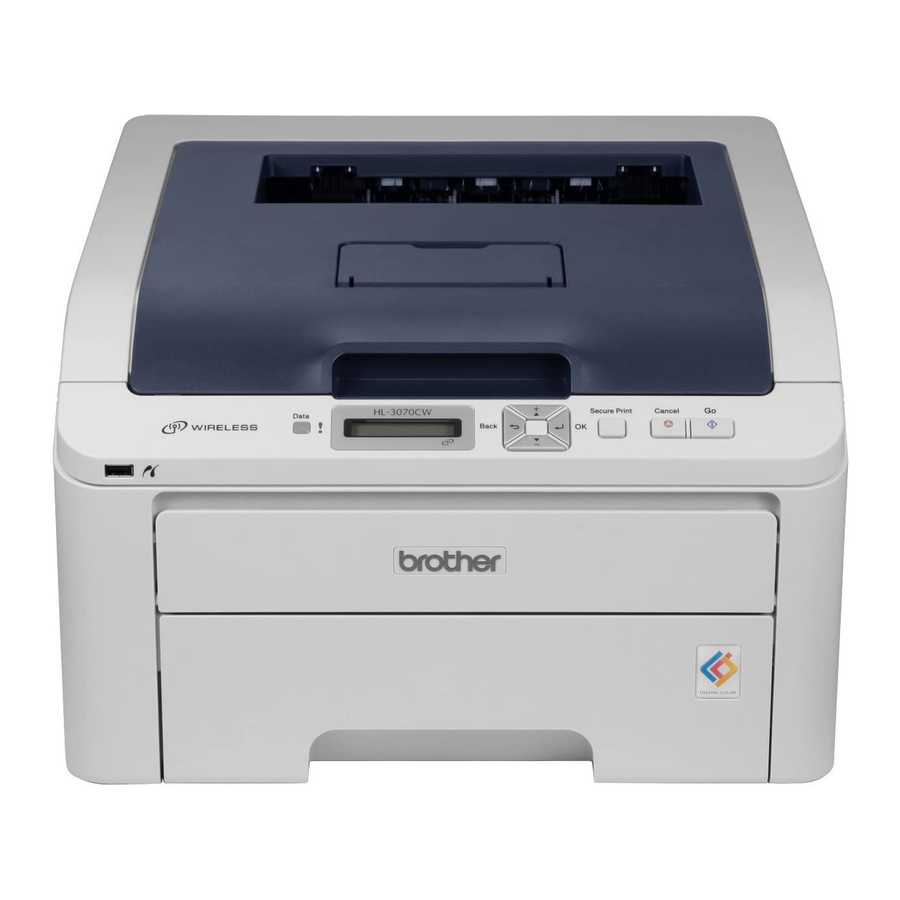
Unpack the printer and check the components
1
3
Face-down Output Tray Support Flap (Support Flap)
a
Control Panel
b
USB Direct Interface
c
Manual Feed Slot
d
Manual Feed Slot Cover
e
Paper Tray
f
Manual Feed Paper Guide
g
Power Switch
h
CD-ROM
(including User's Guide and
Network User's Guide)
Waste Toner Box
(pre-installed)
Ventilation Hole
i
Top Cover
j
Face-down Output Tray
k
Back Cover (Back Output Tray)
l
AC Power Connector
m
Network Status LEDs (Light Emitting Diodes)
n
10/100BASE-TX (Ethernet) port
o
USB Interface Connector
p
Quick Setup Guide
Belt Unit
(pre-installed)
(EU only)
HL-3070CW
AC Power Cord
Drum Unit and Toner Cartridge
Assemblies
(Black, Cyan, Magenta and Yellow)
ENG Version 1
1
Advertisement
Table of Contents

Related Manuals for Brother HL-3070CW


Summary of Contents for Brother HL-3070CW
- Page 1 Start Here (EU only) HL-3070CW Before you can use the printer, read this Quick Setup Guide for the correct setup and installation. To view the Quick Setup Guide in other languages, please visit http://solutions.brother.com/. IMPORTANT DO NOT connect the interface cable yet.
- Page 2 • Please make sure you use a USB 2.0 (Type A/B) interface cable that is no longer than 6 feet (2 meters). • When you use a USB cable, make sure you connect it to the USB port of your computer and not to a USB port on a keyboard or non-powered USB hub.
-
Page 3: Symbols Used In This Guide
Electrical Hazard icons alert you to a possible electrical shock. Hot Surface icons warn you not to touch printer parts that are hot. Notes tell you how you should respond to a situation that may arise or give tips about how the Note current operation works with other features. -
Page 4: Toner Cartridge
• DO NOT plug in the AC power cord yet. Remove the packing tape from the outside of Remove the protective cover by pulling on the the printer. - Page 5 Pull the paper tray completely out of the printer. While pressing the green paper-guide release lever a, slide the paper guides to fit the paper size you are loading in the tray. Make sure that the guides are firmly in the slots.
-
Page 6: Print A Test Page
Put paper in the tray, and make sure that the Print a test page paper is below the maximum paper mark a. The side to be printed on must be face down. IMPORTANT DO NOT connect the interface cable yet. -
Page 7: Control Panel
Press OK. General Setup Press OK again. Local Language Press + or - to choose your language. Press OK to accept. English Press Cancel to exit from Menu. Now go to Go to the next page to install the printer driver. - Page 9 Choose your connection type For USB interface cable ® Windows , go to page 10 Macintosh, go to page 13 For Wired Network ® Windows , go to page 15 Macintosh, go to page 20 For Wireless Network ® Windows...
-
Page 10: For Usb Interface Cable Users
• DO NOT connect the USB interface cable yet. Note If the Brother screen does not appear automatically, go to My Computer (Computer), • Make sure there are no USB Flash memory double-click the CD-ROM icon, and then double- drive inserted. click start.exe. Note... - Page 11 Control screen appears, click Continue. the cable to the computer. Click Next. • If you want to install the PS driver (Brother’s BR-Script Driver), choose Custom Setup and then follow the on-screen instructions. When the Select Components screen appears,...
- Page 12 Note • If you want to register your product on-line, check On-Line Registration. • If you do not want to set your printer as Default printer, uncheck Set as Default Printer. • If you want to disable the Status Monitor, uncheck Enable Status Monitor.
-
Page 13: Install The Driver
Click USB cable users and follow the on-screen instructions. Then, restart your • DO NOT connect the printer to a USB port on Macintosh. a keyboard or a non-powered USB hub. • Connect the printer directly to your computer. - Page 14 Macintosh The Brother software will search for the Brother printer. During this time the following screen will appear. Choose the printer you wish to connect, and then click OK. When this screen appears, click OK. The installation is now Finish...
-
Page 15: For Wired Network Interface Cable Users
CD-ROM icon, and then double- Note click start.exe. • If you are going to connect the printer to your network, we recommend that you contact your Click Install Printer Driver on the menu system administrator prior to installation or see screen. - Page 16 , when the User Account Address or its node name. Click Next. Control screen appears, click Continue. • If you want to install the PS driver (Brother’s BR-Script Driver), choose Custom Setup and then follow the on-screen instructions. When the Select Components screen appears,...
- Page 17 Note • If you want to register your product on-line, check On-Line Registration. • If you do not want to set your printer as Default printer, uncheck Set as Default Printer. • If you want to disable the Status Monitor, uncheck Enable Status Monitor.
-
Page 18: For Shared Network Printer Users
Click Network cable users. TCP/IP or USB Printer Note If you are going to connect to a shared printer on your network, we recommend that you ask your system administrator about the queue or share name for the printer prior to installation. - Page 19 Agreement. • If you want to register your product on-line, check On-Line Registration. • If you do not want to set your printer as Default printer, uncheck Set as Default Printer. • If you want to disable the Status Monitor, uncheck Enable Status Monitor.
-
Page 20: For Wired Network Interface Cable Users
Connect the network interface cable to the LAN connector marked with a symbol and then connect it to a free port on your hub. Click Network cable users and follow the on-screen instructions. Then, restart your Macintosh. Make sure the printer power switch is on. - Page 21 Wired Network Macintosh Note • If there is more than one of the same printer model connected on your network, the MAC Address (Ethernet Address) will be displayed after the model name. You can also confirm your IP Address by scrolling to the right.
-
Page 22: For Wireless Network Interface Users
After the printer is configured to communicate with your access point/router computers on your network will have access to the printer. To use the printer from these computers, you will need to install the printer driver. The following steps will guide you through the configuration and installation process. - Page 23 SecureEasySetup™, Wi-Fi Protected Setup (PBC ) or AOSS™, you do not need to use a computer to configure the wireless settings. The access point/router and your printer can automatically negotiate using the SecureEasySetup™, Wi-Fi Protected Setup or AOSS™ procedure.
-
Page 24: Configure The Wireless Settings
63 characters. The WEP key is for 64-bit encrypted networks or 128-bit encrypted networks and can contain both numbers and letters. If you do not know this information you should see the documentation provided with your access point or wireless router. This key is a 64-bit or 128-bit value that must be entered in an ASCII or HEXADECIMAL format. - Page 25 Click Install Printer Driver on the menu Choose Step by Step install screen. (Recommended) and then click Next. Note Choose the Install Printer Driver icon for your region. Choose With cable (Recommended) and then click Next. Click Wireless Network users.
- Page 26 • SETUP is the default SSID of the printer. Do not choose this SSID. and then click Refresh. • If the list is blank, check that the access point has power and is broadcasting the SSID, and then see if the printer and the access point are within range for wireless communication.
- Page 27 Configuration page. Click Next. If your status is Link OK, go to q. Advanced. If your status is Failed to Associate, go to p. • If you do not know the Authentication or Encryption settings for your network, contact your network administrator or the manufacture of your access point/router.
- Page 28 1 minute or more, then click Refresh. If your printer still fails to appear, reset the print server back to its factory default settings (see page 44) and go back to d on page 25 and try the wireless setup again. Note If you want to install the PS driver (Brother’s BR-...
- Page 29 Note • If you want to register your product on-line, check On-Line Registration. • If you do not want to set your printer as Default printer, uncheck Set as Default Printer. • If you want to disable the Status Monitor, uncheck Enable Status Monitor.
- Page 30 Wireless Network ® Windows Configuration in the Infrastructure mode using SES/WPS or AOSS from the control panel menu Put the supplied CD-ROM into your CD-ROM Configure the wireless drive. The opening screen will appear automatically. settings Choose your printer model and the language.
- Page 31 For Windows Vista , when the User Account Control screen appears, click Allow. Press any of the Menu buttons (a, b, OK or Back) of the control panel on your printer. Choose Wireless Setup and Driver Install (Recommended), and then click Next.
- Page 32 Install the printer driver printer has not detected your access IMPORTANT point/router on your network with the • DO NOT try to cancel any of the screens SecureEasySetup™ mode, the Wi-Fi during this installation. Protected Setup mode or AOSS™ mode enabled.
- Page 33 • If you want to register your product on-line, Address or its node name. Click Next. check On-Line Registration. • If you do not want to set your printer as Default printer, uncheck Set as Default Printer. • If you want to disabled the Status Monitor, uncheck Enable Status Monitor.
- Page 34 63 characters. The WEP key is for 64-bit encrypted networks or 128-bit encrypted networks and can contain both numbers and letters. If you do not know this information you should see the documentation provided with your access point or wireless router. This key is a 64-bit or 128-bit value that must be entered in an ASCII or HEXADECIMAL format.
- Page 35 Choose Wireless Setup and Driver Install (Recommended), and then click Next. Choose the printer you wish to configure, and click Next. If the list is blank, check if the Choose Step by Step install access point and the printer are powered on, (Recommended) and then click Next.
- Page 36 • SETUP is the default SSID of the printer. Do not choose this SSID. • If the list is blank, check that the access point has power and is broadcasting the SSID, and then see if the printer and the access point are within range for wireless communication.
- Page 37 Reset the print server back to its factory default settings (see page 44). Confirm the security setting of your wireless network that you wrote down on page 34 and try starting from d on page 35 again. Disconnect the network cable between your access point (hub or router) and the printer, and click Next.
- Page 38 Choose the printer you wish to connect, and then click OK. Note • If there is more than one of the same printer model connected on your network, the MAC Address (Ethernet Address) will be displayed after the model name.
- Page 39 Wireless Network Macintosh Configuration in the Infrastructure mode using SES/WPS or AOSS from the control panel menu Turn on your Macintosh. Put the supplied CD- Configure the wireless ROM into your CD-ROM drive. settings If your wireless access point/router supports either SecureEasySetup™, Wi-Fi Protected Setup (PBC...
- Page 40 For resetting, see Reset the network settings to the factory default on page 44. Click Next. Press any of the Menu buttons (a, b, OK or Back) of the control panel on your printer. Press a or b to choose Network. Press OK.
- Page 41 Note completed the wireless settings, and then click Next. • If there is more than one of the same printer model connected on your network, the MAC Address (Ethernet Address) will be displayed after the model name. You can also confirm your IP Address by scrolling to the right.
-
Page 42: For Network Users
BRAdmin Light utility (For Windows users) The BRAdmin Light is a utility for initial setup of Brother network connected devices. It can also search for Brother products in a TCP/IP environment, view the status and configure basic network settings, such as IP Address. -
Page 43: Bradmin Light Utility (For Mac Os X Users)
BRAdmin Light utility (For Mac OS X users) The BRAdmin Light is a utility for initial setup of Brother network connected devices. It can also search for Brother products on your network, view the status and configure basic network settings, such as IP Address from a computer running Mac OS X 10.3.9 or greater. -
Page 44: Web Based Management (Web Browser)
The Brother print server is equipped with a web server To reset all network settings of the print server to its that allows you to monitor its status or change some factory default, follow the steps below. -
Page 45: Other Information
DO NOT use flammable substances, any type of spray or any organic solvent/liquids containing alcohol or ammonia to clean the inside or outside of the printer. Doing this may cause a fire or electrical shock. Refer to for how to clean the printer. - Page 46 AC power outlet, or unplug the cords during a lightning storm. After you have just used the printer, some internal parts of the printer will be extremely hot. When you open the top or back cover (back output tray) of the printer, DO NOT touch the shaded parts shown in the illustration.
- Page 47 This equipment has been tested and found to comply with the limits for a Class B digital device, pursuant to Part 15 of the FCC Rules. These limits are designed to provide reasonable protection against harmful interference in a residential installation.
- Page 48 DO NOT connect this product to a LAN connection that is subject to over-voltages. Wiring information (UK only) If you need to replace the plug fuse, fit a fuse that is approved by ASTA to BS1362 with the same rating as the original fuse.
-
Page 49: Shipment Of The Printer
Remove the belt unit by holding the green handle and lifting the belt unit up and out of the printer. Plastic bags – to be supplied by you, the user; one for the waste toner box, and one each for the four drum and toner cartridge assemblies... - Page 50 Using two people, place the printer into the plastic bag. Put the printer and the Styrofoam pieces into the carton. Match the front side of the printer to the “FRONT” mark on the Styrofoam pieces. Put the Styrofoam piece for the drum unit and toner cartridge assemblies on the top of the printer.
-
Page 51: Supplied Cd-Rom
View the Printer User’s Guide in HTML format. the driver. Click Start, All Programs , your printer, You can also view the User’s Guide in PDF format by and then User’s Guide in HTML format. If you do not accessing the Brother Solutions Center. -
Page 52: Control Panel
-: Scroll backward through menus and the available options. OK: Choose the control panel menu. Set the chosen menu and settings. Back: Go back one level in the menu structure. For the details of the control panel, see chapter 3 of the User's Guide on the CD-ROM. -
Page 53: Options And Consumables
Replace Belt Replace WT Box When the time comes to replace consumable items, an error will be indicated by the LCD on the control panel. For more information about the consumables for your printer, visit us at http://www.brother.com/original/ or contact your local Brother reseller. - Page 54 The contents of this manual and the specifications of this product are subject to change without notice. Brother reserves the right to make changes without notice in the specifications and materials contained herein and shall not be responsible for any damages (including consequential) caused by reliance on the materials presented, including but not limited to typographical and other errors relating to the publication.
Need help?
Do you have a question about the HL-3070CW and is the answer not in the manual?
Questions and answers