Table of Contents
Advertisement
Quick Links
Advertisement
Table of Contents

Related Manuals for MICROLIT AQUA AQE-10


Summary of Contents for MICROLIT AQUA AQE-10
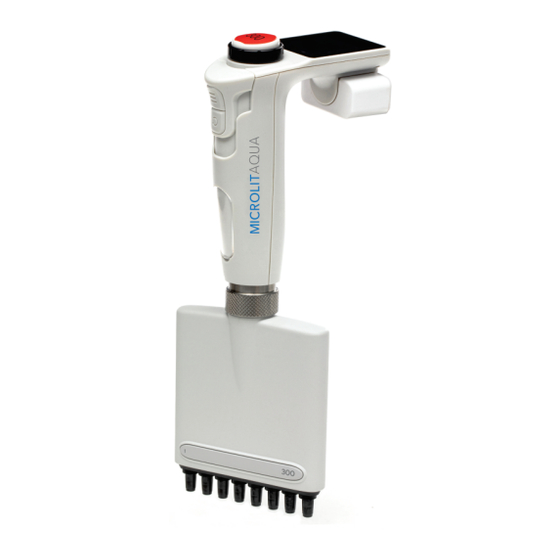
- Page 1 MICROLITAQUA Electronic Micropipette Single & Multichannel Operation Manual...
-
Page 2: Table Of Contents
Index Page No. 1. Safety Instructions and Warnings 2. General Description 2.1. Intended Use 2.2. Specifications 3. Overview 3.1. Detailed Description of the Product Keys 3.2. Symbols and Conventions 3.3. Navigation Bar 3.4. Package Contents 4. Getting Started 4.1. Initialising 4.2. -
Page 3: Safety Instructions And Warnings
2. General Description 1. Safety Instructions and Warnings 2.1 Intended Use It is beyond the scope of this manual to address The AQUA electronic micropipette is an electronic all of the potential risks associated with its use. It is the sole responsibility of the user to consult volumetric instrument designed to measure and transfer liquids precisely and safely. -
Page 4: Overview
3. Overview Electronic Single Channel Pipettes are available in 3.1 Detailed Description of Product 10 unique volume ranges Keys (Fig.3.1) (Table 1) Electronic Multi-Channel Pipettes (8 and 12 channels) are available in 4 unique volume ranges (Fig. 3.1) A. Pipetting Key-Confirmation Key: Used for aspiration/discharging in the main pipette mode. -
Page 5: Symbols And Conventions
3.2 Symbols and Conventions C. Tip Ejection Key: Used for seamless tip ejection. D. Function Key-Program Key/Pipetting Mode Switch Key: Used for switching freely between pipetting modes. Fully Charged Ba ery E. Speed Key: Low Ba ery Used for changing the aspiration/dispensing speed while operating. -
Page 6: Getting Started
4. Getting Started 4.2.2 Basic Operating Instructions 4.1 Initializing When button is switched ON, AQUA is supplied with a partially charged battery. LCD will display “ PRESS PIP”. However, it is recommended to fully charge the (Fig. 4.2A) battery for at least an hour before first use. (Fig. -
Page 7: Operations And Pipetting Modes
5. Operations and Pipetting Modes 5. Press the pipetting key again to dispense the liquid. There are 4 major pipetting modes: Pipette mode, Manual mode, Aspirate mode, and One can also dispense the lesser Multi/Stepper mode. amount than aspirated. Adjust the required volume using the volume 5.1 Pipette Mode adjustment wheel. -
Page 8: Aspirate Mode
3. Press the pipetting key for 2-3 2. Set the volume using the seconds when the aspirate bar volume adjustment wheel. indicator is ON. This will aspirate (Fig.5.3B) the set volume inside the tip. (Fig. 5.2C) (Fig. 5.3B) (Fig. 5.2C) 4. -
Page 9: Other Pipetting Operations
2. Set the volume using the volume adjustment Typically, pre-rinsing the tip is not possible and wheel. As per the set volume, the steps will be the full sample should be dispensed for defined automatically. accurate analysis. 3. Press the pipetting key to Reverse Pipetting is a technique to dispense a measured quantity of liquid by means of an... -
Page 10: Selecting Pipetting Modes
6. Memory plunger use during operation. (Refer to page no. 10 of Pipette mode.) AQUA has been smartly designed and program- Sample Dilution Technique allows researchers to add, dilute and mix samples in a single med to improve the user experience. pipetting operation. -
Page 11: Assembly And Calibration
7. Assembly and Calibration techniques may affect the calibration results. he micropipettes are constructed to permit Disassembly re-adjustment for other pipetting techniques or (Fig.7) (Fig.7) solutions/reagents of different temperatures and viscosities. O - Upper Part of ejector P - Piston If the dispensed volume of the micropipette Q - Piston Unit (as read by an analytical balance) is not within... -
Page 12: Maintenance
Calibration Check Points: It also increases the humidity resulting in less evaporation (evaporation can cause significant sample loss). This pre-rinsing operation should be repeated when the volume to be aspirated is changed or when a new tip is used (Table 6) 8.2 Aspirating and Dispensing Liquid Place a tip on the shaft of the 7. -
Page 13: Dense And Viscous Liquid
Correction value = 2 x nominal value - m/γ Avoid touching the orifice of the tip. m - the weight of the sample Dispensing γ - density of liquid Place the end of the tip against the inside wall of Check this operation once again and correct it if the vessel at an angle of 10 to 40 degrees. -
Page 14: Cleaning And Sterilization
- Never turn the pipette upside down. it is recommended to sterilize the pipettes in an - Never lay the pipette on its side when there is autoclave with an initial vacuum and drying cycle. liquid in the tip. Prior to sterilization unscrew the shaft nut slightly in the pipette. -
Page 15: Attention
(2) years from the date of delivery. If a defect is present, Microlit will, at its option and cost, repair, replace, or refund the purchase price of this product to the customer, provided it is returned during the warranty period. -
Page 16: Disposal
Do not short-circuit the battery to discharge it. non-original spare parts or components being used. Subject to technical modifications without notice. Errors accepted. This warranty does not apply if the product has been damaged by accident, abuse, misuse, or misapplication, or from ordinary wear and tear. If the required maintenance and inspection services are not performed according to the manuals and any local regulations, such warranty...
Need help?
Do you have a question about the AQUA AQE-10 and is the answer not in the manual?
Questions and answers