Table of Contents
Advertisement
Quick Links
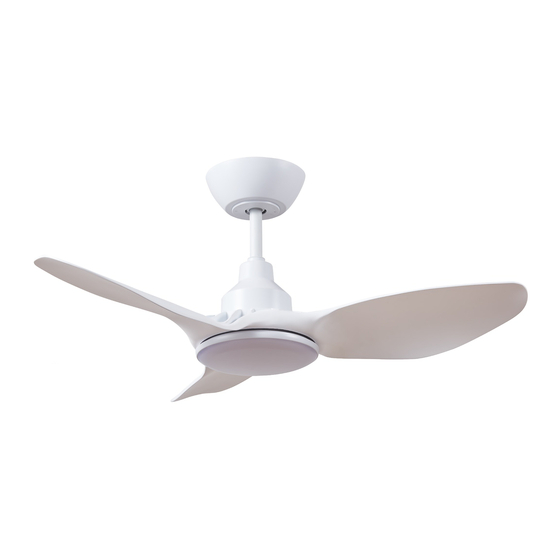
Glacier DC Ceiling Fan Instruction Manual
Revision 1.4
With LED (-L) model
Images are for reference only and may vary slightly from actual product.
Ceiling Fan Installation Manual
MODELS:
GLA903WH, GLA903WH-L, GLA903BL, GLA903BL-L
GLA1203WH, GLA1203WH-L, GLA1203BL, GLA1203BL-L
GLA1303WH, GLA1303WH-L, GLA1303BL, GLA1303BL-L
GLA1403WH, GLA1403WH-L, GLA1403BL, GLA1403BL-L
Thank you for purchasing this quality Ventair DC ceiling fan.
To ensure correct function and safety, please read all instructions
before using the product and keep all instructions for future reference.
MUST BE
CAUTION
INSTALLED BY
READ INSTRUCTIONS
DIY
CAREFULLY FOR SAFE
A LICENSED
INSTALLATION AND FAN
ELECTRICIAN
OPERATION
Advertisement
Table of Contents

Related Manuals for Ventair Glacier


Summary of Contents for Ventair Glacier
- Page 1 GLA1203WH, GLA1203WH-L, GLA1203BL, GLA1203BL-L GLA1303WH, GLA1303WH-L, GLA1303BL, GLA1303BL-L GLA1403WH, GLA1403WH-L, GLA1403BL, GLA1403BL-L Thank you for purchasing this quality Ventair DC ceiling fan. To ensure correct function and safety, please read all instructions before using the product and keep all instructions for future reference.
-
Page 2: Safety Precautions
5. The bracing should be butted up firmly and securely to the back of any non-structural roofing panel such as plaster or gyprock to ensure safety and optimum performance of the fan. 6. For safe and effective operation, Ventair recommends the fan blades being at least 2.1m above the floor. -
Page 3: Before Installation
PLEASE NOTE: Check for any damage to the fan prior to installation. Physical damage such as marks and scratches are not covered by the in home warranty. In this case, please contact the Ventair support team to discuss replacement parts. support@ventair.com.au... - Page 4 BEFORE INSTALLATION MOUNTING BRACKET • The ceiling fan must be installed in a location where the blades have a minimum 300mm spacing from the tip of the blade to the nearest objects or walls. • Secure the hanging bracket to the ceiling joist or structure that is capable of carrying a load of at least 20kg with the two fixing screws provided.
-
Page 5: Hanging The Fan
HANGING THE FAN Lift the fan assembly onto the mounting bracket. Ensure that slot (A) of the hanger ball is fully aligned/engaged with the tab (B) of the mounting bracket (C) to prevent the fan from rotating when in operation (Fig. 3). Secure the safety wire using the designated screw point on the hanging bracket... - Page 6 FINISHING THE INSTALLATION Slide receiver into position in the hanging bracket ensuring the AC input connecter from the hanging bracket is aligned with the AC port on the receiver. Refer Fig 7.1 and 7.2. A. For fan models without light, plug cable marked 'MOTOR' into remote control box. See Fig 7.2.
-
Page 7: Electrical Wiring Diagram
ELECTRICAL WIRING DIAGRAM WARNING: FOR YOUR SAFETY, ALL ELECTRICAL CONNECTIONS MUST BE UNDERTAKEN BY A LICENSED ELECTRICIAN IN ACCORDANCE WITH AS/NZS 3000 WIRING RULES. • Connect “LIVE” supply to the “L” of the terminal block on the mounting bracket. • Connect “EARTH”... -
Page 8: Remote Control Operation
REMOTE CONTROL OPERATION PLEASE NOTE: The Remote Handset’ cannot be used either simultaneously, or in conjunction with a ‘Wall Controller’ (DC Wall Controller available separately). Fan models without Light Fan “ON” and “OFF” Forward - Downdraft for cooling (Summer mode) Reverse - Updraft for heat circulation (Winter mode) Increase fan speed until Max (speed 5) Decrease fan speed until Min (speed 1) - Page 9 Receiver Handset The Glacier DC remote control comes pre-paired from the factory and is ready to use. Pairing will only be required in the situations mentioned below. 1. Using 1 remote handset to control 2 or more Glacier DC Ceiling fans •...
-
Page 10: Important Facts
AC type ceiling fan motors. The Glacier DC range are one of the quietest fans available and are ideal for all areas of the home especially bedrooms where noise is a crucial consideration. -
Page 11: Technical Information
• The owners name, address and contact number • Certificate of electrical safety (if requested) The customer will not gain the benefit of this warranty without making a claim with Ventair. This warranty is not valid if any repairs or replacement is undertaken without the prior written approval of Ventair.
Need help?
Do you have a question about the Glacier and is the answer not in the manual?
Questions and answers