Table of Contents
Advertisement
Quick Links
Item #1010017252 Model #26232
Item #1010017268 Model #26242
Item #1010017277 Model #26252
USE AND CARE GUIDE
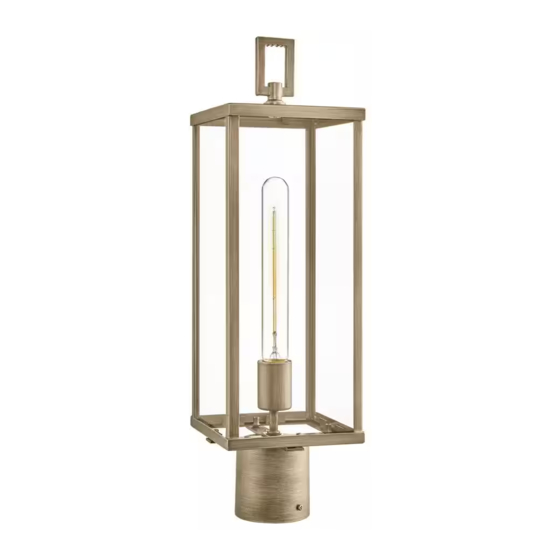
PORTER HILLS
1-LIGHT OUTDOOR POST MOUNT
Questions, problems, missing parts? Before returning to the store,
call Hampton Bay Customer Service
8 a.m. - 7 p.m., EST, Monday – Friday, 9 a.m. – 6 p.m., EST, Saturday.
1-855-HD-HAMPTON
HAMPTONBAY.COM
THANK YOU
We appreciate the trust and confidence you have placed in Hampton Bay through the purchase of this lighting fixture. We strive to continually
create quality products designed to enhance your home. Visit us online to see our full line of products available for your home improvement
needs. Thank you for choosing Hampton Bay!
Advertisement
Table of Contents

Subscribe to Our Youtube Channel
Related Manuals for HAMPTON BAY PORTER HILLS 26232


Summary of Contents for HAMPTON BAY PORTER HILLS 26232
- Page 1 THANK YOU We appreciate the trust and confidence you have placed in Hampton Bay through the purchase of this lighting fixture. We strive to continually create quality products designed to enhance your home. Visit us online to see our full line of products available for your home improvement...
-
Page 2: Table Of Contents
Table of Contents Safety Information ........2 Pre-Installation . -
Page 3: Pre-Installation
Pre-Installation PLANNING INSTALLATION Before beginning the installation, make sure all the parts are included using the Hardware Included and Package Contents sections. If any part is missing or damaged, do not attempt to assemble, install, or operate the product. NOTE: To avoid damaging this product, place it on a a soft, non-abrasive surface, such as carpet or cardboard. -
Page 4: Pre-Installation
Pre-Installation (continued) PACKAGE CONTENTS BULB (NOT INCLUDED) Part Description Quantity Loop Cage Glass panel Post Mount Fixture mounting screw... -
Page 5: Installation
Installation Preparing the post Connecting the wires □ Strip 3/4 in. of the insulation from the ends of the fixture wires. IMPORTANT: Disconnect the power at the main fuse box. □ Twist the end of the fixture ground wire and the end of the house ground wire (copper) together. - Page 6 Installation (continued) Connecting the wires (continued) Attaching the post mount to the post □ Twist the end of the house lead wire (black) and the end of □ Carefully push the wires down into the post. Place the the fixture lead wire together. Twist a wire connector (AA) post mount (D) down over the post.
- Page 7 Installation (continued) Installing the glass panels and the bulb □ Carefully place one glass panel (C) inside the cage (B). Set the bottom edge of the glass panel (C) into the channel along the bottom of the side of the cage (B). Carefully push CLIP the glass panel (C) against the inside of the cage (B).
-
Page 8: Maintenance
Maintenance WARNING: Before you perform any cleaning or maintenance work, turn off the electricity at the main circuit breaker panel. Care and Cleaning □ Wipe the fixture with a dry, soft cloth. □ Do not use any cleaners with chemicals, solvents, or harsh abrasives. Troubleshooting Problem Possible Cause... - Page 9 Questions, problems, missing parts? Before returning to the store, call Hampton Bay Customer Service 8 a.m. – 7 p.m., EST, Monday – Friday, 9 a.m. – 6 p.m., EST, Saturday. 1-855-HD-HAMPTON HAMPTONBAY.COM Retain this manual for future use.
Need help?
Do you have a question about the PORTER HILLS 26232 and is the answer not in the manual?
Questions and answers