Advertisement
Advertisement
Table of Contents

Summary of Contents for Fortinet FortiVoice Gateway GS24
- Page 1 FortiVoice Gateway GS24 FVG-GS24 QuickStart Guide...
- Page 2 Fortinet. For absolute clarity, any such warranty will be limited to performance in the same ideal conditions as in Fortinet’s internal lab tests.
-
Page 3: Before You Begin
Before you begin Register your device to access FortiGuard updates, cloud management, firmware upgrades, technical support and warranty coverage. https://support.fortinet.com... - Page 4 Deployment Guide and Administration Guide. Customer Service For contracts, licensing, product registration, and account management, contact FortiCare Support at https://www.fortinet.com/support/contact. Technical Support To access our Resource Center, Professional Services and Technical Support Services, visit https://www.fortinet.com/support. Thank you for choosing Fortinet...
-
Page 5: Package Contents
Package Contents FortiVoice Gateway GS24 FVG-GS24 • FortiVoice Gateway GS24 device • QuickStart Guide • Power cable (Europe version) • Power cable (North America version) • Ethernet cable • 2 rack-mount brackets • 2 wall-mount brackets • 4 rack screws •... -
Page 6: Setup Options
Setup Options Port 1 Management Computer Ethernet Cable Configure the management computer to be on the same subnet as the internal interface as the FortiVoice Gateway unit: IP address: 192.168.1.x Netmask: 255.255.255.0... - Page 7 Speed (default): 115200 Data bits: Stop bits: Parity: None Console Cable Flow Control: None Console Port Management Computer In the terminal emulation program, log in using admin and no password.
-
Page 8: Rack Installation
Rack Installation You can mount the FortiVoice Gateway unit in any standard 19-inch (48.26 cm) rack unit with the provided rack-mount brackets and screws. 1. Place the FortiVoice Gateway unit on a stable surface prior to doing the rack-mount installation. 2. - Page 9 3. Position the FortiVoice Gateway unit in the 19-inch (48.26 cm) rack at a maximum height of 6 ft (2 m). Make sure that there is at least 1.5 in (3.8 cm) of clearance on all sides to allow for adequate airflow. 4.
-
Page 10: Wall Installation
Wall Installation You can mount the FortiVoice Gateway unit to the wall using the provided wall-mount brackets. 1. Place the FortiVoice Gateway unit on a stable surface prior to doing the wall-mount installation. 2. Attach the provided wall-mount brackets to the sides of the unit using the provided bracket screws. - Page 11 3. Position the FortiVoice Gateway unit at a maximum height of 6 ft (2 m) on the wall. Make sure that there is at least 1.5 in (3.8 cm) of clearance on all sides to allow for adequate airflow. 4. Make sure that the FortiVoice Gateway unit is level. 5.
-
Page 12: Desktop Installation
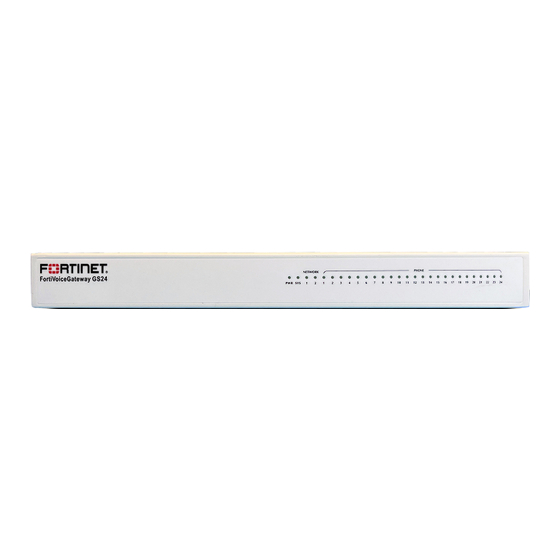
Desktop Installation 1.5 in 1.5 in 1.5 in 1.5 in 1. Place the FortiVoice Gateway unit on a flat, clean, and stable surface. 2. Make sure that there is at least 1.5 in (3.8 cm) of clearance on all sides of the unit to allow for adequate airflow. - Page 13 Front view of FVG-GS24 Green: The unit is on. Off: The unit is off. Green: The system is ready. Off: The system is not ready. NETWORK Green: The Ethernet port is ready. Flashing Green: The Ethernet port is in use. Off: No link is established.
- Page 14 Back view of FVG-GS24 Grounding terminal Line Type RJ-21 interface for FXS 1 to 24. This port is not in use. Console Type RJ-45. Use for CLI management. Network Ethernet ports for connection to your network and the internet. Reset pinhole System reset.
- Page 15 Cautions and Warnings Environmental specifications Ambient operating temperature: 0°C to 40°C Rack Mount Instructions - The following or similar rack-mount instructions are included with the installation instructions: Instructions de montage en rack - Les instructions de montage en rack suivantes ou similaires sont incluses avec les instructions d’installation: Elevated Operating Ambient - If installed in a closed or multi-unit rack assembly, the operating ambient temperature of the rack environment may be greater than room ambient.
- Page 16 - Do not use the telephone to report a gas leak in the vicinity of the leak. - Ne pas utiliser le téléphone pour rapporter une fuite de gaz à proximité de la fuite. - Use only the power cord and batteries indicated in this manual. Do not dispose of batteries in a fire. They may explode. Check with local codes for possible special disposal instructions.
- Page 18 Fortinet.com...


Need help?
Do you have a question about the FortiVoice Gateway GS24 and is the answer not in the manual?
Questions and answers