Advertisement
Quick Links
Advertisement

Subscribe to Our Youtube Channel
Related Manuals for Crosley CATS24B2


Summary of Contents for Crosley CATS24B2
- Page 1 黑色BLACK...
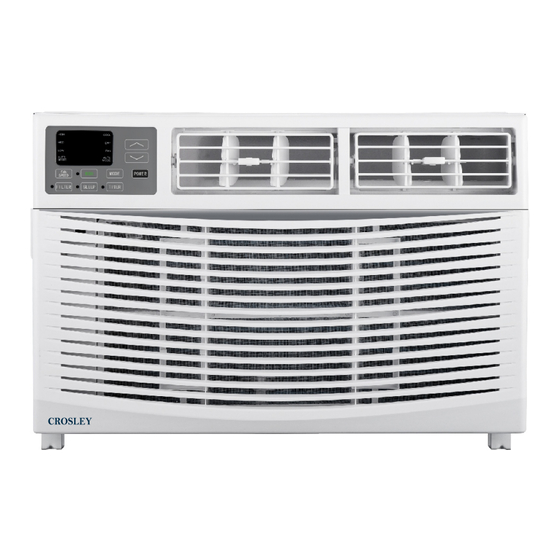
- Page 2 CATS15B1 | CATS18B2 | CATS24B2...
- Page 3 INTRODUCTION IMPORTANT SAFETY INSTRUCTION ................ELECTRICAL REQUIREMENTS ................... PACKING LIST ......................INSTALLATION&ASSEMBLY INSTRUCTIONS .............. USING YOUR AIR CONDITIONER ................OPERATING YOUR AIR CONDITIONER ................ CARE AND CLEANING ....................TROUBLESHOOTING ....................
- Page 4 FCC Caution. This device complies with part 15 of the FCC Rules. Operation is subject to the following two conditions: (1) This device may not cause harmful interference, and (2) this device must accept any interference received, including interference that may cause undesired operation. Any Changes or modifications not expressly approved by the party responsible for compliance could void the user's authority to operate the equipment.
- Page 5 18K/22K/24K...
- Page 6 5/16" Long Hex-head Screw 5/8" Long Hex-head Screw 1/2" Long Hex-head Screw 5/8" Long Flat Head Bolt and Locknut Sill Angel Bracket 1/2" Long Flat Head Bolt and Locknut Gasket Support Bracket(with R and L remark)
- Page 7 15K/18K 22K/24K 17.91 18.625 23.625 26.50 19.00 19.50 28.00 30.00 41.00 41.00...
- Page 8 (15K/18K See FIG.1/FIG.2 ; 22K/24K See FIG.3/FIG.4). FIG.1 FIG.2 SASH SASH 19 MIN 1/2 MIN 1/2 MIN 19 MIN 1/2 MIN Storm Window Frame or Obstruction Storm Window Frame or Obstruction FIG.3 FIG.4 SASH SASH 19 1/2 MIN 1/2 MIN 1/2 MIN 19 1/2 MIN 1/2 MIN...
- Page 9 FIG.5 FIG.6 FIG.5 FIG.6 FIG.7 & 8 FIG.9 FIG.9 FIG.7 FIG.8...
- Page 10 6.Remove the six screws from the cabinet.(Every side for top,left and right has two screws.) (FIG.10) FIG.10 FIG.11 FIG.11 8.Take the pearl cotton for 24K(FIG.12). FIG.12...
- Page 11 FIG.13a FIG.13a 5/16 Long Hex-head Screw FIG.13b- FIG.13b 5/16" Long Hex-head Screw FIG.14 (Suggest to keep a downward oblique, to let accumulated rain water to drain out, from back side of the unit bottom.)
- Page 12 Long Flat head Bolt and Locknut 5/8" Long Flat Head Bolt (It should set on the gasket for 22K/24K) Long Flat head Bolt and Locknut 5/8" Long Hex-head Screw Gasket 5/8" Long Hex-head Screw 1/2" Long Hex-head Screw...
- Page 13 sash lock Sash Lock 5/8" Long Hex-head Screw FIG.15...
- Page 14 15K/18K 22K/24K 18 1/4 (46.4 cm) 19 1/2 (49.5 cm) 23 7/8 (60.6 cm) 26 9/10 (68.3 cm) FIG.16 (Page 6 and 7) FIG.17 FIG.18...
- Page 15 FIG.19 FIG.20...
- Page 16 Cool Mode: The cooling function allows the air conditioner to cool the room and at the same time reduces Air humidify. Press the MODE button to activate the cooling function. To optimize the function of the air conditioner, adjust the temperature and the speed by pressing the button indicated.
- Page 17 6. Eco Button: When the unit is in ECO mode, the Directional Louvers: To direct the airflow, light will turn on. In ECO mode, the unit will use the horizontal wheel to control the horizontal turn off once the room is cooled to the user-set direction, and use the air deflectors to control the...
-
Page 18: Auto Mode
5. Timer: Use these buttons on the control panel and remote to set the Timer. Timer Off: The timed stop is programmed by pressing TIMER button. Set the rest time by pressing the button until the rest time displayed is to your demand then press TIMER button again. - Page 19 FIG.21 FIG.21...
- Page 25 CrosleyCare servicer. For one year from your original date of purchase, Crosley will pay all costs for repairing or replacing any parts of this appliance that prove to be defective in materials or workmanship when such appliance is installed, used and maintained in accordance with the provided instructions.
Need help?
Do you have a question about the CATS24B2 and is the answer not in the manual?
Questions and answers