Advertisement
Installing a Power Supply
•
•
•
•
•
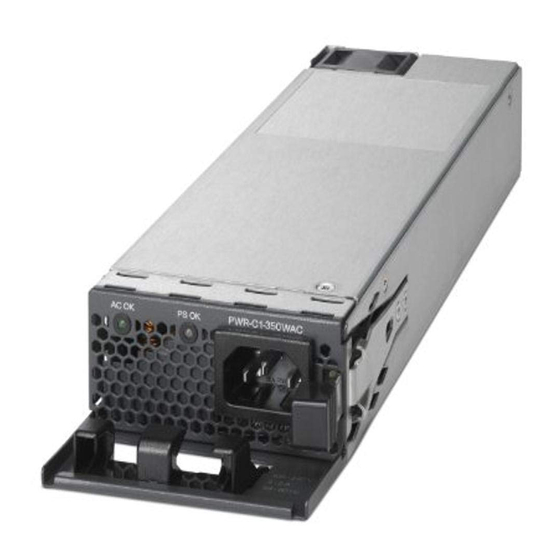
Power Supply Modules Overview
The switch operates with either one or two active power supply modules. A switch that is part of a StackPower
stack operates with power that is supplied by other stack switches. Two power supply modules can be powered
up from two different phases.
You can use two AC modules or one module and blank cover. All power supply modules have internal fans.
All switches ship with a blank cover in the second power supply slot.
Power Supply Modules Overview, on page 1
Installation Guidelines, on page 6
Installing or Replacing an AC Power Supply, on page 7
Installing a DC Power Supply, on page 8
Finding the Power Supply Module Serial Number, on page 14
Installing a Power Supply
1
Advertisement
Table of Contents


Need help?
Do you have a question about the PWR-C1-350WAC and is the answer not in the manual?
Questions and answers