Advertisement
Advertisement
Table of Contents

Subscribe to Our Youtube Channel
Related Manuals for Packard Bell cloudBook N14550


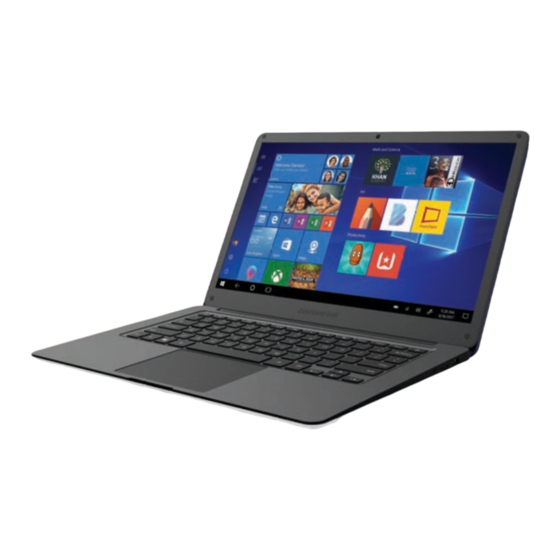
Summary of Contents for Packard Bell cloudBook N14550
- Page 1 cloudBook ® Quick Start Guide Quick Start Guide N14550...
- Page 2 In the box 14.5” Laptop cloudBook ® Quick Start Guide N14550 Quick start guide Adapter...
-
Page 3: Buttons And Ports
Buttons and ports Left Right Click Click Charging indicator light Power indicator light DC Input Caps lock indicator light USB 3.0 Num lock indicator light Mini HDMI Function/Shortcut keys USB type C (data only) Power button Camera 3.5mm headphone jack... - Page 4 USB 2.0 Touchpad MicroSD card slot Dual speakers SSD slot...
-
Page 5: Getting Started
Getting started POWER ON: Press and hold the POWER button until the laptop turns on. LOCK: Brie y press the POWER button to lock the laptop. POWER OFF: Press and hold the POWER button until the laptop turns o . Power button Wall outlet... - Page 6 After completing the Windows setup, the home screen will be displayed. Click to see all the pre-installed apps.
- Page 7 Using the touchpad The touchpad provides the functionality of a mouse. It has a touch-sensitive surface that senses the motion and position of your nger(s). NOTE: Do not press down on the area in gray below, it is for touch commands only. Touch Only (Do not press down) Left...
- Page 8 Scroll: Place two ngers on the touchpad and slide them to scroll in any direction on the page or program Zoom: Place two ngers on the touchpad and then move them apart or closer to zoom-in or zoom-out. Switch program: Place two ngers on the touchpad and swipe to either side to switch between open windows and programs.
-
Page 9: Function/Shortcut Keys
Function/Shortcut keys To access the shortcuts of the Function keys, F1 through F12, press & hold the button and select the desired Function key. - Page 10 Windows 10 S Mode Your laptop is shipped with Windows 10 S Mode which is a version of Windows 10 that's streamlined for security and performance, while providing a familiar Windows experience. To increase security, it allows only apps from the Microsoft Store, and requires Microsoft Edge for safe browsing.
- Page 11 3. On the page that appears in the Microsoft Store (Switch out of S mode or a similar page), select “Get.” After you con rm this action, you’ll be able to install apps from outside the Microsoft Store.
- Page 12 Expanding the storage You can expand the storage of your laptop (up to 1TB) by adding a SATA M.2 SSD (not included) into the slot on the bottom of the laptop. Note: Make sure your laptop is shutdown while you are installing or removing the SSD.
- Page 13 To add the SSD follow the steps below. 1. Locate the SSD slot on the bottom of the laptop. 2. Unscrew and open the SSD slot cover.
- Page 14 3. Remove the screw inside the SSD slot. 4. Install the SSD (in order shown above).
- Page 15 5. Secure the SSD with the screw as shown above. 6. Close and screw in the SSD slot cover.
-
Page 16: Legal Information
Legal information FCC Part 15: This equipment has been tested and found to comply with the requirements for a Class B digital device under Part 15 of the Federal Communications Commission (FCC) rules. These requirements are intended to provide reasonable protection against harmful interference in a residential installation. - Page 17 Designed and distributed by Southern Telecom Inc. Brooklyn, NY 11220 © 2020 All Rights Reserved. Packard Bell ® is a registered trademark of PBX Holding LLC. All other trademarks and trade names are those of their respective owners. Images simulated and may di er from the actual product.
- Page 18 1-Year Limited Warranty Territory: United States/Canada LIMITED WARRANTY TO ORIGINAL CONSUMER This product (including any accessories included in the original packaging) as supplied and distributed new by an authorized retailer is warranted by Southern Telecom, Inc. to the original consumer purchaser against defects in materials and workmanship (“Warranty”) as follows: To obtain warranty service: Visit our website at www.southerntelecom.com...
Need help?
Do you have a question about the cloudBook N14550 and is the answer not in the manual?
Questions and answers