Table of Contents
Advertisement
Quick Links
Advertisement
Table of Contents

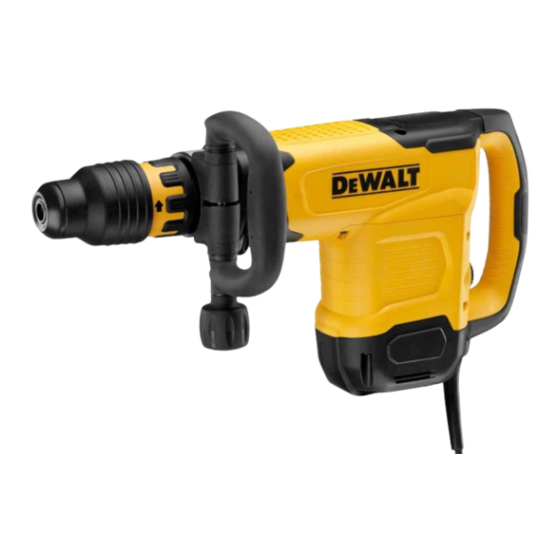
Summary of Contents for DeWalt D25881K-QS
- Page 1 D25881...
- Page 2 English (original instructions) Français (traduction de la notice d’instructions originale) (العربية: (مترجم عن التعليمات األ أ صلية Copyright D WALT...
- Page 3 Fig. A A شكل XXXX XX XX Fig. B Fig. C B شكل C شكل...
- Page 4 Figure D Figure E D شكل E شكل...
-
Page 5: Technical Data
English BREAKER D25881 Congratulations! SAVE ALL WARNINGS AND INSTRUCTIONS FOR FUTURE REFERENCE You have chosen a D WALT tool. Years of experience, thorough The term “power tool” in the warnings refers to your product development and innovation make D WALT one of the mains‑operated (corded) power tool or battery‑operated (cordless) most reliable partners for professional power tool users. -
Page 6: Hammer Safety Warnings
English source and/or battery pack, picking up or carrying surfaces do not allow for safe handling and control of the the tool. Carrying power tools with your finger on the tool in unexpected situations. switch or energising power tools that have the switch on 5) Service invites accidents. -
Page 7: Electrical Safety
English Keep the power cord away from the bit. Do not wrap the • • Risk of burns due to accessories becoming hot cord around any part of your body, this may cause personal during operation. injury by loss of control. Damage supply cords could cause •... -
Page 8: Description (Fig. A)
English 2. Pull back the locking sleeve 7 and insert the bit shank. Date Code Position (Fig. A) 3. Release the locking sleeve and turn the bit slightly until the The production date code consists of a 4-digit year followed 11 locking sleeve snaps into position. by a 2-digit week and is extended by a 2-digit factory code. -
Page 9: Operation
English Service Indicator LED (Fig. A) as necessary. Refer to Mounting 2. Adjust the side handle 2 the Side Handle Assembly. Your breaker has an LED service indicator. Refer to the table for 3. Place the chisel on the desired location. more information on LED functionality. 4. -
Page 10: Protecting The Environment
English Protecting the Environment Separate collection. Products marked with this symbol must not be disposed of with normal household waste. Products contain materials that can be recovered or recycled, reducing the demand for raw materials. Please recycle electrical products according to local provisions. Further information is available at www.2helpU.com.


Need help?
Do you have a question about the D25881K-QS and is the answer not in the manual?
Questions and answers