Advertisement
Quick Links
where inspiration flows
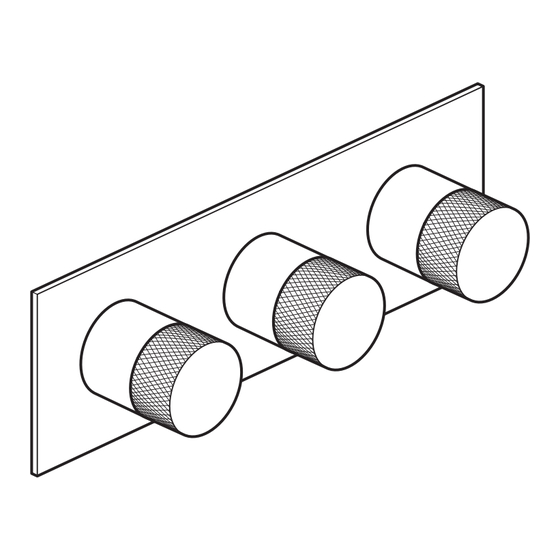
KNURLED ACCENTS
Installation Guide
3 way thermostatic shower valve
TAB-128/3-H-CPK
This instruction booklet covers model:
TAB-128/3-H-CPK
Vado
Wedmore Road, Cheddar, Somerset, England BS27 3EB
tel 01934 744466
fax 01934 744345
aftersales @ vado.com
www.vado.com
Keep for future reference
Version 1, 1-2-20
Advertisement

Related Manuals for VADO KNURLED ACCENTS TAB-128/3-H-CPK


Summary of Contents for VADO KNURLED ACCENTS TAB-128/3-H-CPK
- Page 1 KNURLED ACCENTS Installation Guide 3 way thermostatic shower valve TAB-128/3-H-CPK This instruction booklet covers model: TAB-128/3-H-CPK Vado Wedmore Road, Cheddar, Somerset, England BS27 3EB tel 01934 744466 fax 01934 744345 aftersales @ vado.com www.vado.com Keep for future reference Version 1, 1-2-20...
- Page 2 Important - please read Contents of Packaging Please read these instructions carefully before starting installation and keep for future reference. Remove all packaging and check the product for missing parts or damage before starting installation. Any alterations made to this product and fittings may infringe water regulations and will invalidate the guarantee.
- Page 3 Dimensions Installation - Quick guide 90mm 242mm 40mm ¾" ¾" 80mm 80mm 250mm...
-
Page 4: Installation
If you are fitting the valve to a partition wall or a wall of particularly soft substrate you will need specialist fixings. Please contact VADO or retailer for WG-STUDFAST-C-S/S fixing. If you are going to install the valve in the horizontal position follow the same procedure as shown. - Page 5 Installation Installation Mortar Connect hot supply to the lower right Outlet Cold guard inlet of the valve and cold supply to the upper right inlet. Connect the outlets to the desired channels e.g. outlet 1 to the shower, outlet 2 to the handset and outlet 3 to the bath.
- Page 6 Installation - handles Temperature resetting Temperature handle (middle) Handle stop at 12 o’clock Ensure the temperature handle is correctly located with the handle stop at Splines 12 o’clock. Carefully slide the handle onto the splines of the valve and then screw the shroud part to the valve whilst holding the handle part.
Need help?
Do you have a question about the KNURLED ACCENTS TAB-128/3-H-CPK and is the answer not in the manual?
Questions and answers