Advertisement
Quick Links
Advertisement

Subscribe to Our Youtube Channel
Related Manuals for Viking spas VALHALLA


Summary of Contents for Viking spas VALHALLA
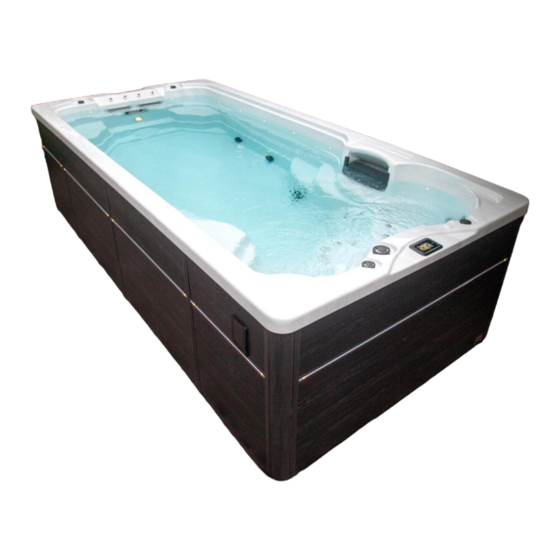
- Page 1 Swim Spa OWNER’S MANUAL VALHALLA, ASGARD ODIN, THOR...
- Page 2 The third way to remove and install the skirt. Pictured to the right is the inside of the swim spa behind the front door. The electrician now has access to connect the swim spa for power. While the front door is off, refer to page 7 for instructions on ensuring the plumbing fittings are secure (but do not be tempted to over-torque or over-tighten these fittings).
- Page 3 Filling and Powering Up Your Swim Spa 1. Inspect the swim spa equipment. Inspect all plumbing connections in the equipment area of your swim spa. Make sure unions in the equipment pack are tight. (Be careful not to over-tighten the plumbing fittings.) Never run the swim spa with the gate closed valves or without water circulating for long periods of time.
-
Page 4: Led Lighting
Swim Spa Control Panel Jets Almost all of the jets in your swim spa are adjustable. Rotating the face of an adjustable jet to the left will decrease the amount of water flow through the jet. Rotating the face of an adjustable jet to the right will increase the amount of water flow through the jet. -
Page 5: Vacation Care
Vacation Care You can leave your swim spa unattended for up to two weeks if you follow these instructions. ALWAYS lock your cover using the cover locks if you plan to be away from home and the swim spa is filled with water. 1. - Page 6 Using the Bluetooth Sound System The sound system is ready to pair when it is not already connected to another device. To pair your device , first make sure you are close enough to the system, and that it is turned on. 1.
- Page 7 Automatic timer may have completed its cycle. Press JETS or Pump turns off JETS 1 button to start the cycle again. during operation Pump may have overheated due to the vents on the equipment door being blocked. Make sure the front of the swim spa is not blocked to allow air flow.
-
Page 8: Limited Warranty
LIMITED WARRANTY...
Need help?
Do you have a question about the VALHALLA and is the answer not in the manual?
Questions and answers